
Welcome to our step-by-step guide on how to download and set up Metamask IO – the leading Ethereum wallet and decentralized application (DApp) browser extension. Whether you’re new to blockchain technology or an experienced user, this guide will walk you through the process of getting started with Metamask IO, allowing you to securely manage your digital assets and interact with the decentralized web.
Step 1: Download Metamask IO
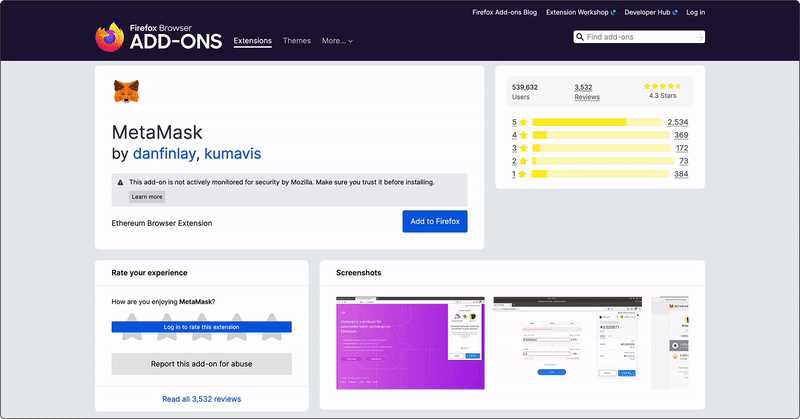
The first step is to download the Metamask IO extension for your preferred web browser. Metamask IO is compatible with Chrome, Firefox, Brave, and Edge. Simply visit the respective web store for your browser and search for “Metamask IO”. Click on the “Add to Chrome” or “Add to Firefox” button, then follow the prompts to install the extension.
Note: Metamask IO is well-regarded for its security features, but it’s always recommended to verify the authenticity and legitimacy of any extension you install.
Step 2: Create a New Wallet
Once you have Metamask IO installed, click on the extension in your browser toolbar to open the app. You will be prompted to create a new wallet. Choose a strong password and click “Create”. Metamask IO will generate a unique 12-word seed phrase that can be used to restore your wallet if you ever lose access to it. Write this phrase down and keep it in a safe place. Click “Next” once you have done so.
Important: Never share your seed phrase with anyone. It is the key to your wallet and allows anyone to access your funds.
Step 3: Backup Your Wallet
Metamask IO will show you a series of words from your seed phrase in a random order. You must select the words in the correct order to verify that you have properly backed up your wallet. Once you have done so successfully, click “Confirm” to proceed. Congratulations, you have now created and backed up your Metamask IO wallet!
Pro Tip: Consider using a hardware wallet for enhanced security and peace of mind. Metamask IO is compatible with various hardware wallets and can be seamlessly integrated for added protection.
Now that you have downloaded and set up Metamask IO, you are ready to explore the world of decentralized finance (DeFi), NFTs, and other exciting blockchain applications. Enjoy the freedom and control that Metamask IO provides, and remember to stay informed and vigilant about protecting your digital assets.
Downloading Metamask IO
To start using Metamask IO, you need to download and install it on your web browser. Follow these steps to get started:
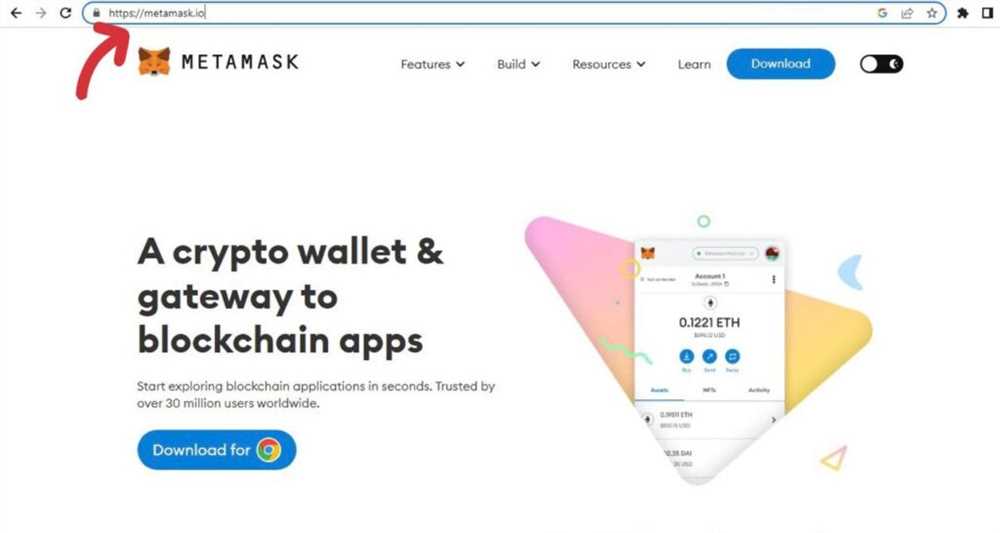
- Open your web browser and go to the official Metamask IO website.
- Click on the “Download” button located on the homepage.
- Choose the appropriate version of Metamask IO for your web browser (Firefox, Chrome, or Brave).
- After selecting your web browser, you will be redirected to the respective extension store.
- Click on the “Install” button to start the download process.
- Once the download is complete, the Metamask IO extension will be added to your browser.
Now that you have successfully downloaded and installed Metamask IO, you can proceed to the next step – setting it up.
Installing Metamask IO
To install Metamask IO, follow the steps below:
- Open your web browser and navigate to the Metamask IO website.
- Click on the “Get Chrome Extension” button located on the home page.
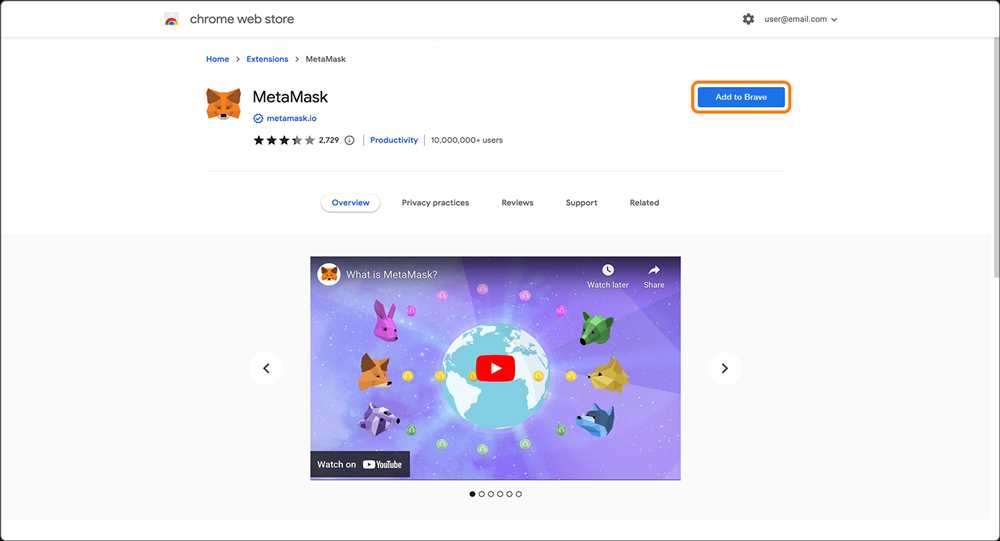
- A new tab will open in your browser, displaying the Metamask Chrome extension page. Click on the “Add to Chrome” button.
- A confirmation dialog will appear. Click on “Add extension” to proceed with the installation.
- Once the extension is added, you will see the Metamask icon added to your browser’s toolbar.
- Click on the Metamask icon to open the extension.
- A welcome screen will appear. Click on the “Get Started” button.
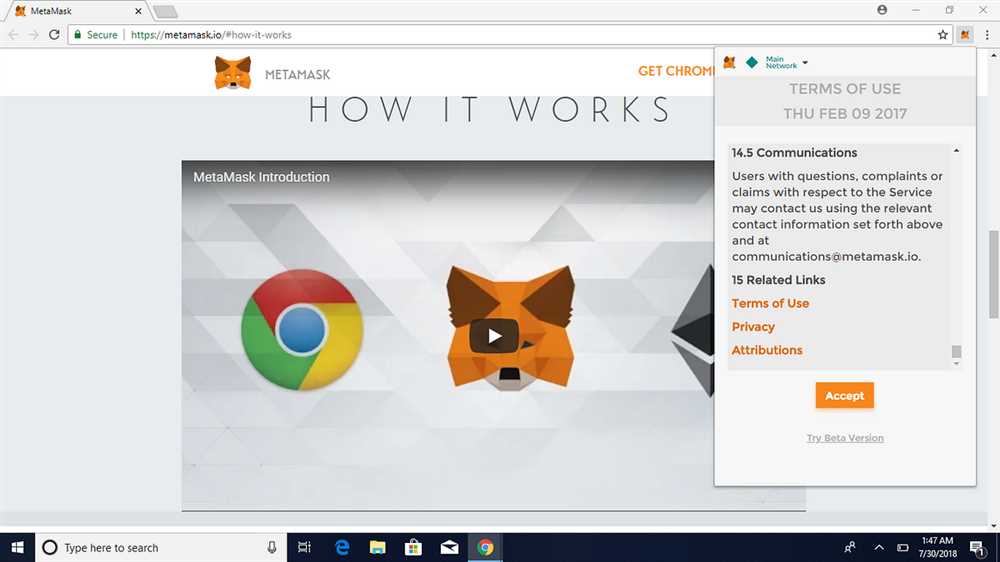
- You will be presented with the Terms of Service. Review them and click on the “Accept” button to continue.
- Create a new wallet by clicking on the “Create a Wallet” button.
- Choose a strong password for your wallet and click on “Create”. Confirm your password on the next screen.
- You will be provided with a unique seed phrase. Write it down and keep it somewhere safe. This seed phrase can be used to recover your wallet in case you lose access to it.
- After verifying your seed phrase, your Metamask wallet will be successfully created.
- Finally, click on the “All Done” button to start using Metamask IO.
Congratulations! You have successfully installed and set up Metamask IO.
Creating Your Metamask Account
Metamask is a digital wallet that allows you to manage your Ether and interact with Ethereum-based decentralized applications (dApps) in your web browser. To start using Metamask, you need to create an account. Here’s how:
Step 1: Install the Metamask Extension

To begin, install the Metamask extension for your web browser. You can download it from the official Metamask website or from the browser’s extension marketplace. After installation, you’ll see the Metamask icon in your browser’s toolbar.
Step 2: Launch Metamask
Click on the Metamask icon in your browser’s toolbar to launch the extension. The first time you open Metamask, you’ll be greeted with a welcome screen that provides an overview of its features and terms of use. Take a moment to read through the information, then click on the “Accept” button to proceed.
Step 3: Set Up Your Account
Next, you’ll be asked to create a new account. Enter a secure password for your account and click on the “Create” button. Make sure to choose a strong password that is unique and difficult to guess.
Once you’ve created your account, you’ll be provided with a secret backup phrase. This phrase is crucial for recovering your account in case you lose access to your device. Write down the backup phrase on a piece of paper and store it in a safe place. Do not share this backup phrase with anyone.
After you’ve written down the backup phrase, click on the “Next” button to proceed. Metamask will then ask you to verify your backup phrase by selecting the words in the correct order. Follow the instructions and enter the correct words to complete the verification process.
Step 4: Connect to a Network
After verifying your backup phrase, you’ll be prompted to select a network to connect to. Ethereum Mainnet is the default network and is suitable for most users. If you want to explore test networks or custom networks, you can choose different options from the dropdown menu. Once you’ve selected a network, click on the “Next” button to proceed.
Congratulations! You’ve successfully created your Metamask account. You can now use Metamask to manage your Ether and interact with dApps. Take some time to familiarize yourself with the Metamask interface and explore its features.
Remember to always keep your password and backup phrase safe and secure. Losing access to your account can result in permanent loss of funds.
Setting Up Metamask IO
Metamask IO is a browser extension that allows users to interact with the Ethereum blockchain. To get started with Metamask, follow the step-by-step instructions below:
Step 1: Download Metamask IO
- Open your preferred web browser (such as Google Chrome, Firefox, or Brave).
- Go to the official Metamask IO website.
- Click on the “Download” button to download the extension.
- Follow the prompts to install the extension.
Step 2: Create a New Wallet
Once you have installed the Metamask IO extension, follow these steps to create a new wallet:
- Click on the Metamask icon in your browser toolbar.
- Click on the “Get Started” button.
- Read and accept the terms of use.
- Set a strong password for your wallet.
- Click on the “Create” button.
- Follow the instructions to backup your wallet seed phrase. This phrase is essential for restoring your wallet if you ever lose access to it.
Step 3: Import an Existing Wallet (Optional)
If you have an existing Ethereum wallet, you can import it into Metamask IO using the following steps:
- Click on the Metamask icon in your browser toolbar.
- Click on the “Import Wallet” button.
- Enter your wallet’s seed phrase or private key.
- Set a password for your imported wallet.
- Click on the “Import” button.
Step 4: Connect Metamask to a Network
After setting up your wallet, you need to connect Metamask IO to a blockchain network:
- Click on the network dropdown located at the top of the Metamask window.
- Select the desired network. For example, “Ethereum Mainnet” for the Ethereum network.
- Wait for the network to connect.
Congratulations! You have successfully set up Metamask IO and are ready to start using it to interact with decentralized applications and manage your Ethereum assets.
What is Metamask IO and why should I download and set it up?
Metamask IO is a cryptocurrency wallet and browser extension that allows you to securely store and manage your Ethereum and ERC-20 tokens. By downloading and setting it up, you can easily interact with decentralized applications (dApps) and participate in the growing ecosystem of blockchain technology.
Can I use Metamask IO on mobile devices?
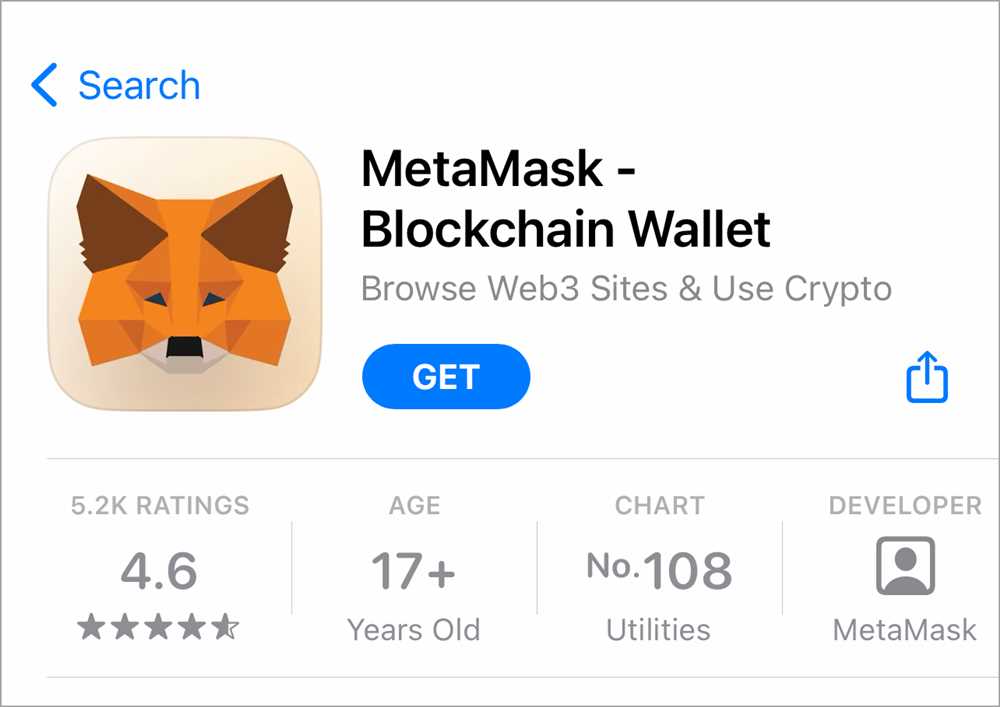
Yes, you can use Metamask IO on mobile devices. Metamask has a mobile app available for both iOS and Android. To download and install the mobile app, go to the App Store or Google Play Store and search for “Metamask”. Follow the instructions to set up the app on your mobile device.
Is Metamask IO safe to use?
Yes, Metamask IO is generally considered safe to use. However, it is important to follow security best practices to protect your wallet and funds. This includes using a strong password, enabling two-factor authentication, and being cautious of phishing attempts. Additionally, make sure to only download Metamask IO from official sources, such as the Metamask website or trusted app stores.