
MetaMask is an essential tool for interacting with the world of decentralized finance (DeFi). With its user-friendly interface and secure wallet, it simplifies the process of managing your Ethereum funds and interacting with various decentralized applications (DApps). However, did you know that MetaMask also supports ERC20 tokens?
ERC20 tokens are tokens built on the Ethereum blockchain that follow a specific set of rules and standards. These tokens enable the creation of various applications and services, and they have become a vital part of the DeFi ecosystem. By adding ERC20 tokens to your MetaMask wallet, you can expand the range of your financial activities and take full advantage of the opportunities offered by the decentralized world.
In this article, we will explore some tips and tricks to enhance your MetaMask experience with ERC20 tokens. We will cover topics such as adding and managing ERC20 tokens in your wallet, securely storing them, and efficiently using them for transactions and investments. Whether you are new to MetaMask or an experienced user, these tips and tricks will help you make the most out of your decentralized finance journey.
How to Enhance Your MetaMask Experience with ERC20 Tokens
If you’re using MetaMask for your cryptocurrency transactions, you can further enhance your experience by including support for ERC20 tokens. ERC20 is a popular standard for tokens built on the Ethereum blockchain, and with MetaMask, you can easily manage and interact with these tokens.
Adding ERC20 Tokens to MetaMask
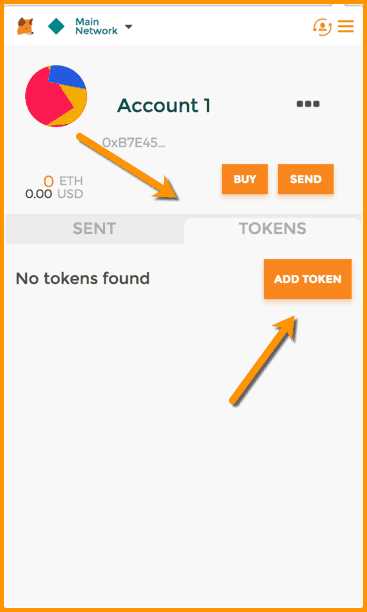
In order to add ERC20 tokens to your MetaMask wallet, you will need the token contract address for the specific token you want to add. This address is unique to each token and can usually be found on the token’s official website or through a token explorer like Etherscan.
Once you have the token contract address, follow these steps to add it to your MetaMask wallet:
- Open your MetaMask extension and click on the hamburger menu in the top-right corner.
- Select Add Token from the dropdown menu.
- In the Add Token screen, click on the Custom Token tab.
- Enter the token contract address in the Token Contract Address field.
- MetaMask will automatically fetch the Token Symbol and Decimals of Precision for the token. Verify that these details are correct.
- Click on Add Tokens to add the token to your MetaMask wallet.
Interacting with ERC20 Tokens

Once you have added an ERC20 token to your MetaMask wallet, you can easily interact with it. Here are some common actions you can perform:
- Send Tokens: From the MetaMask wallet, you can send ERC20 tokens to other wallet addresses. Simply enter the recipient’s address, the amount of tokens you want to send, and confirm the transaction.
- Receive Tokens: To receive ERC20 tokens, you can provide the sender with your wallet address, which they can use to send the tokens to you.
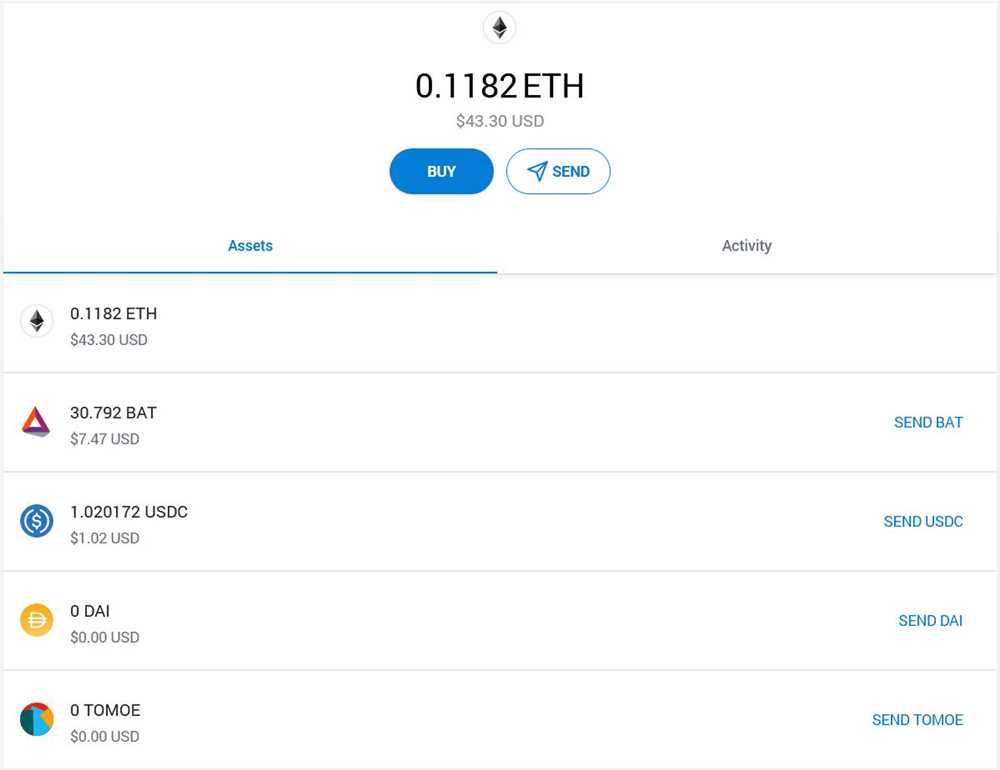
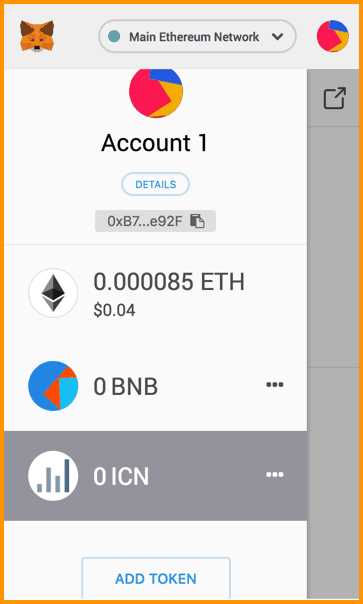
- View Token Balance: MetaMask will display your token balances alongside your Ether balance. You can easily view your ERC20 token balances by selecting the token from the dropdown menu.
Enhancing your MetaMask experience with ERC20 tokens allows you to broaden your cryptocurrency portfolio and take advantage of the wide range of tokens available on the Ethereum blockchain. By following these simple steps, you can seamlessly integrate ERC20 tokens into your MetaMask wallet and manage them alongside your Ether holdings.
Manage Your ERC20 Tokens Efficiently

When it comes to managing ERC20 tokens in MetaMask, there are a few tips and tricks that can help you do it more efficiently. Here are some guidelines to help you make the most out of your token management:
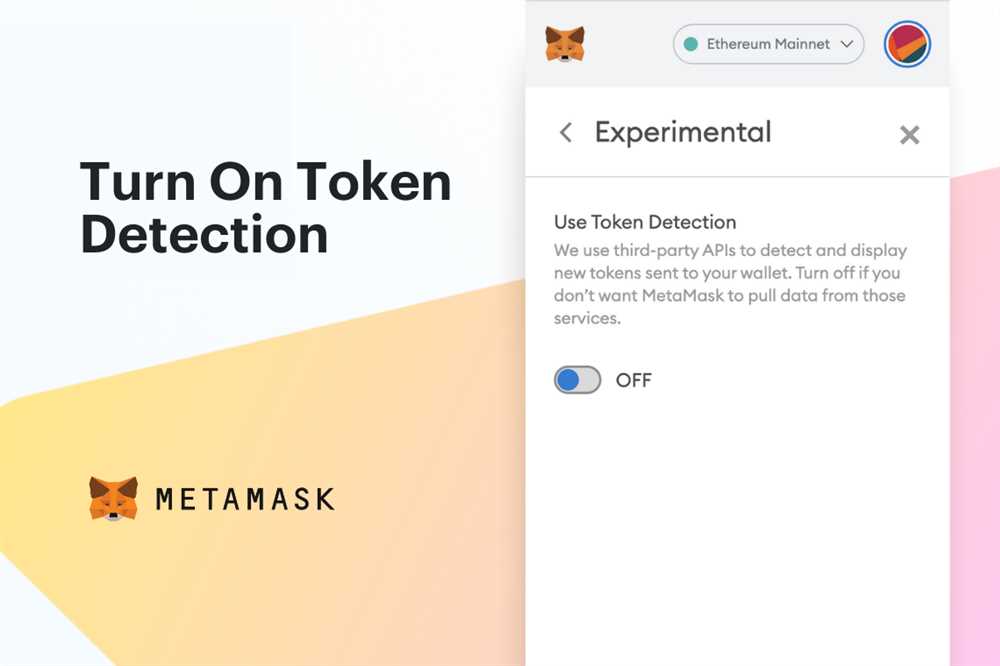
1. Add Custom Tokens: MetaMask automatically detects most ERC20 tokens, but if a token is not visible in your token list, you can manually add it by finding the token’s contract address and adding it through the “Add Token” function in the MetaMask interface.
2. Organize Your Tokens: As your token collection grows, it can become overwhelming to manage them all. Use folders or labels to organize your tokens based on your preferences, such as project type or token value.
3. Keep Track of Token Prices: MetaMask allows you to view token prices in your local currency directly within the interface. This feature can help you stay updated on the current value of your tokens without having to switch to a separate website or application.
4. Use Hardware Wallets: For added security, consider connecting your MetaMask wallet to a hardware wallet, such as Ledger or Trezor. This will ensure that your ERC20 tokens are stored in a more secure offline environment.
5. Be Cautious with Tokens: While ERC20 tokens can offer great investment opportunities, it’s important to do thorough research before investing in any token. Be cautious of scams and always double-check the token’s legitimacy before making any transactions.
6. Keep Your Wallet Secure: Protecting your MetaMask wallet is crucial for managing your ERC20 tokens efficiently. Use strong passwords and enable two-factor authentication to secure your wallet from potential threats.
By following these tips and tricks, you can enhance your MetaMask experience and manage your ERC20 tokens more efficiently. Remember to stay informed, exercise caution, and always prioritize your wallet’s security.
Improve Security of Your ERC20 Tokens

The enhanced features of MetaMask make it easier than ever to manage and store your ERC20 tokens securely. Here are some tips to improve the security of your tokens:
Use a Hardware Wallet
Consider using a hardware wallet, such as Ledger or Trezor, to store your ERC20 tokens. Hardware wallets provide an extra layer of security by keeping your private keys offline and protected from potential online threats.
Enable Two-Factor Authentication
Setting up two-factor authentication (2FA) can add an additional layer of security to your MetaMask account. By requiring a second method of verification, such as a code generated by an authenticator app, you can prevent unauthorized access to your ERC20 tokens.
Be sure to enable two-factor authentication for your MetaMask account and any exchange accounts where you trade or store your ERC20 tokens.
Use a Strong Password
A strong and unique password is essential for the security of your ERC20 tokens. Avoid using common or easily guessable passwords, and consider using a password manager to generate and store complex passwords securely.
Additionally, it is important to regularly update your password and avoid reusing passwords across different platforms.
Exercise Caution with Phishing Attempts
Be vigilant when interacting with websites or links related to your ERC20 tokens. Phishing attempts can trick you into revealing your private keys or login credentials.
Always double-check the URL of the website you are accessing and do not enter your private keys or login credentials on suspicious or unfamiliar websites.
Conclusion
By following these security tips, you can enhance the protection of your ERC20 tokens stored in MetaMask. It is crucial to remain proactive in safeguarding your assets and staying informed about the latest security practices.
Explore Advanced Features of MetaMask for ERC20 Tokens

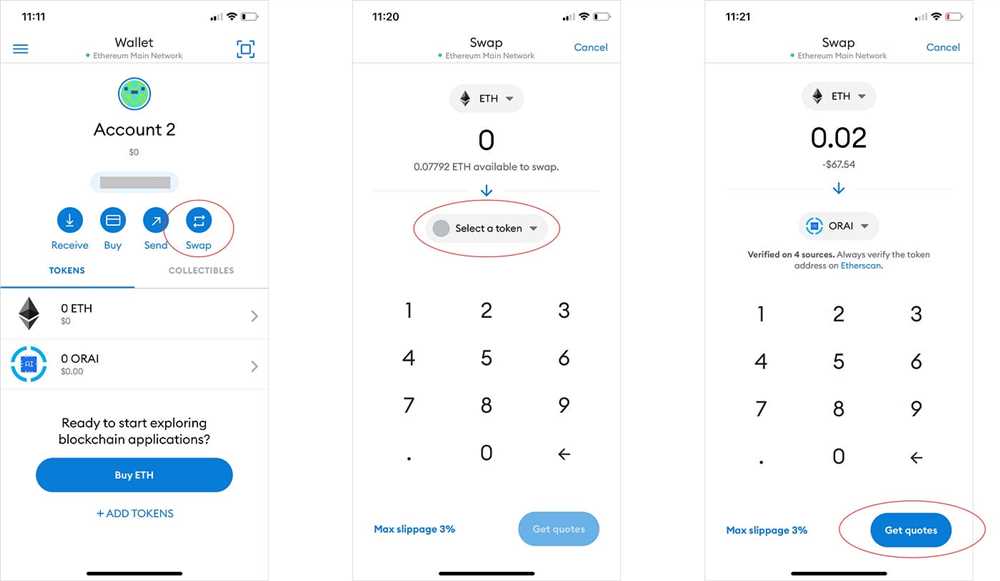
1. Token Swapping
MetaMask provides a convenient way to swap ERC20 tokens directly within the wallet. This feature enables you to exchange one token for another without the need for a centralized exchange. To use the token swapping feature, simply navigate to the “Swap” tab in your MetaMask wallet, select the tokens you want to swap, enter the desired amount, and confirm the transaction.
2. Token Approval
Prior to interacting with a decentralized application (dApp) that requires ERC20 tokens, you may need to grant permission to the dApp to access and spend your tokens. MetaMask allows you to easily approve token transfers by simply clicking the “Approve” button when prompted by the dApp. This feature provides convenience and security by ensuring that you have control over which applications can access your tokens.
| 3. Custom Token Addition |
|---|
|
In addition to supporting popular ERC20 tokens by default, MetaMask allows you to add custom tokens to your wallet. This feature is useful for managing tokens that are not listed by default or newly released tokens. To add a custom token, simply click on the “Add Token” button in your MetaMask wallet, enter the contract address, and the token symbol and decimals will automatically be populated. |
MetaMask’s advanced features for ERC20 tokens provide a seamless and secure user experience when interacting with decentralized finance (DeFi) applications. Whether you’re swapping tokens, granting approvals, or adding custom tokens, MetaMask offers powerful tools to enhance your ERC20 token management within the wallet.
What is MetaMask?
MetaMask is a cryptocurrency wallet and browser extension that allows users to interact with the Ethereum blockchain. It enables users to store, send, and receive Ether (ETH) and ERC20 tokens, as well as connect with decentralized applications (dApps).
How can I add ERC20 tokens to my MetaMask wallet?
To add ERC20 tokens to your MetaMask wallet, open the MetaMask browser extension, click on the menu icon in the top-right corner, and select “Add Token”. From there, you can either choose tokens from the list of popular tokens or manually enter the contract address of the token you want to add. Once added, you will be able to see, send, and receive the ERC20 tokens in your MetaMask wallet.
Can I view my ERC20 token balances in MetaMask?
Yes, you can view your ERC20 token balances in MetaMask. After adding the ERC20 tokens to your MetaMask wallet, you will be able to see the token balances by clicking on the account icon in the top-right corner and selecting the desired account. The token balances will be displayed alongside your Ether (ETH) balance.
How can I send ERC20 tokens using MetaMask?
To send ERC20 tokens using MetaMask, open the MetaMask browser extension and make sure you are on the account that holds the tokens you want to send. Click on the “Send” button, enter the recipient’s address, specify the amount of tokens you want to send, and click “Next”. Review the transaction details and click “Confirm” to send the tokens. Make sure you have enough Ether (ETH) in your MetaMask wallet to cover the transaction fees.