
If you’re new to the world of cryptocurrency, you may be wondering how to transfer your digital assets from Coinbase to MetaMask. Don’t worry, it’s easier than you think! In this guide, we’ll walk you through the step-by-step process of moving your crypto from one wallet to another.
First, let’s cover the basics. Coinbase is a popular cryptocurrency exchange where you can buy, sell, and store various digital currencies. MetaMask, on the other hand, is a digital wallet that allows you to manage your Ethereum-based assets, including tokens and decentralized applications.
Transferring your crypto from Coinbase to MetaMask is important if you want to take advantage of the various features and functionalities offered by MetaMask. With MetaMask, you can easily interact with Ethereum-based platforms, participate in token sales, and securely store your digital assets.
Now, let’s dive into the process. To transfer your crypto from Coinbase to MetaMask, you’ll need to follow these steps:
How to Transfer Your Cryptocurrency: A Step-by-Step Guide from Coinbase to MetaMask
If you’re looking to transfer your cryptocurrency from Coinbase to MetaMask, follow these step-by-step instructions to ensure a smooth and secure transfer:
Step 1: Sign in to Coinbase
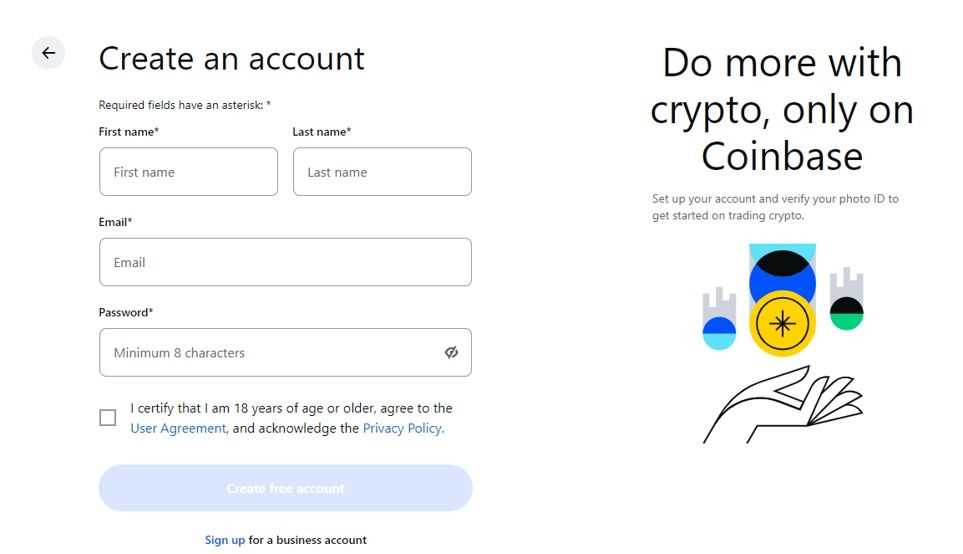
Start by signing in to your Coinbase account using your registered email address and password. If you don’t have a Coinbase account, you’ll need to create one.
Step 2: Navigate to the Accounts Page
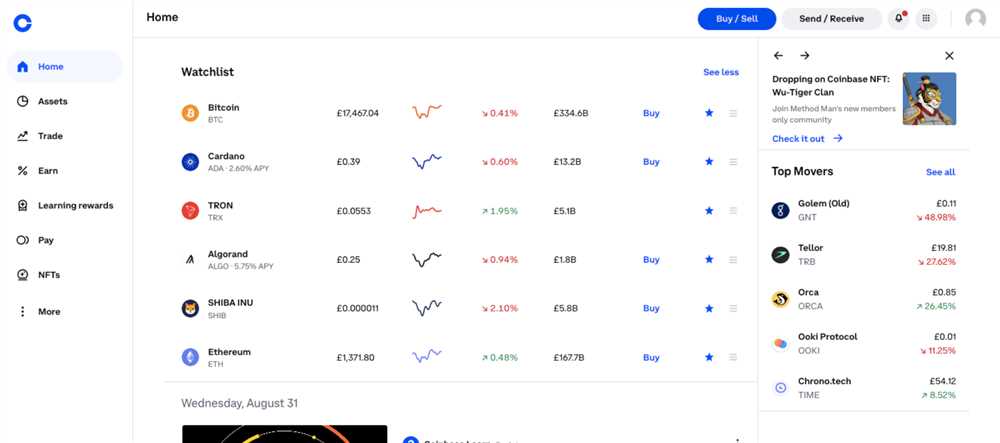
Once you’re signed in, navigate to the “Accounts” page. This page will show you a list of the cryptocurrencies you currently hold in your Coinbase wallet.
Step 3: Select the Cryptocurrency to Transfer
Choose the cryptocurrency you want to transfer from Coinbase to MetaMask. Click on its name to access the specific wallet for that cryptocurrency.
Step 4: Click on the “Send” Button
On the cryptocurrency wallet page, locate the “Send” button and click on it. This button will initiate the transfer process.
Step 5: Enter Your MetaMask Wallet Address
In the “Recipient” field, enter your MetaMask wallet address to specify where you want to send the cryptocurrency. Make sure to double-check the address to ensure accuracy.
Step 6: Specify the Amount to Transfer
Enter the amount of cryptocurrency you want to transfer from Coinbase to MetaMask. Take note of any network fees or minimum transfer amounts that may apply.
Step 7: Review and Confirm
Review the transaction details to ensure everything is correct. Once you’re confident, click on the “Confirm” button to proceed with the transfer.
Step 8: Wait for Confirmation
Depending on the cryptocurrency and network congestion, it may take some time for the transfer to be confirmed. You can track the progress of the transfer on the blockchain explorer.
Step 9: Check Your MetaMask Wallet

After the transfer is confirmed, open your MetaMask wallet to verify that the cryptocurrency has been successfully transferred. It should now be visible in your MetaMask wallet balance.
| Tips: |
|---|
| • Double-check the wallet address to avoid sending your cryptocurrency to the wrong destination. |
| • Be aware of any network fees or minimum transfer amounts that may apply to the cryptocurrency you’re transferring. |
| • Keep track of the transfer progress using a blockchain explorer. |
| • Always ensure your MetaMask wallet is secure and that you have control over your private keys. |
| • Consider practicing with a small amount of cryptocurrency before transferring larger sums. |
Step 1: Setting Up Your MetaMask Wallet
To transfer your cryptocurrency from Coinbase to MetaMask, you will first need to set up your MetaMask wallet. Follow the steps below to get started:
Step 1.1: Install the MetaMask Extension
The first step is to install the MetaMask extension in your web browser. MetaMask is available for Google Chrome, Mozilla Firefox, and Brave browsers. Simply visit the respective extension stores and search for “MetaMask”. Click on the install button and follow the on-screen instructions to add MetaMask to your browser.
Step 1.2: Create a New MetaMask Wallet
Once you have installed the MetaMask extension, click on the MetaMask icon in your browser’s toolbar to launch the application. You will be prompted to create a new wallet or import an existing one. Choose the “Create a Wallet” option.
MetaMask will then generate a unique 12-word seed phrase for your wallet. Make sure to write down the seed phrase and store it in a safe place. This seed phrase is crucial for recovering access to your wallet in case you forget your password or lose your device.
After writing down the seed phrase, click on the “Next” button. MetaMask will then ask you to confirm your seed phrase by selecting the words in the correct order. Once you have completed this step, click on the “Confirm” button.
You will then be asked to create a password for your MetaMask wallet. Make sure to choose a strong password that you can remember. After entering and confirming your password, click on the “Create” button.
Congratulations! You have successfully set up your MetaMask wallet. You will now have access to your wallet’s public address and be able to receive cryptocurrencies.
Step 2: Connecting MetaMask to Coinbase
Once you have successfully set up your MetaMask wallet, the next step is to connect it to your Coinbase account. This will allow you to easily transfer your cryptocurrencies between the two platforms.
To connect MetaMask to Coinbase, follow these simple steps:
Step 1: Open MetaMask in your browser and click on the menu icon (three lines) in the top right corner.
Step 2: Select “Settings” from the dropdown menu.
Step 3: Scroll down and click on “Connected Sites”.
Step 4: Click on the “+” button to add a new connected site.
Step 5: A popup window will appear asking you to enter the website URL. Copy and paste the URL of Coinbase (https://www.coinbase.com) into the field and click on “Connect”.
Step 6: You will then be directed to a login page for Coinbase. Enter your Coinbase username and password to authorize the connection.
Step 7: After successfully logging in, you will see a confirmation screen asking you to allow MetaMask to connect to your Coinbase account. Click on “Allow” to grant permission.
Step 8: Congratulations! You have now successfully connected your MetaMask wallet to Coinbase. You can now easily transfer your cryptocurrencies between the two platforms by clicking on the MetaMask extension icon and selecting “Send”.
Note: Make sure to keep your MetaMask wallet secure and only connect it to trusted websites and platforms like Coinbase.
Step 3: Transferring Your Crypto from Coinbase to MetaMask
Once you have set up your MetaMask wallet and copied your wallet address, you can proceed with transferring your cryptocurrencies from Coinbase to MetaMask. Follow these steps to ensure a smooth transfer:
Step 1: Log into your Coinbase account
Open your internet browser and go to the Coinbase website. Enter your login credentials to access your Coinbase account.
Step 2: Navigate to the “Send/Receive” section
Once logged in, click on the “Portfolio” tab in the top navigation bar. From the dropdown menu, select “Assets”. Locate the cryptocurrency you want to transfer and click on it.
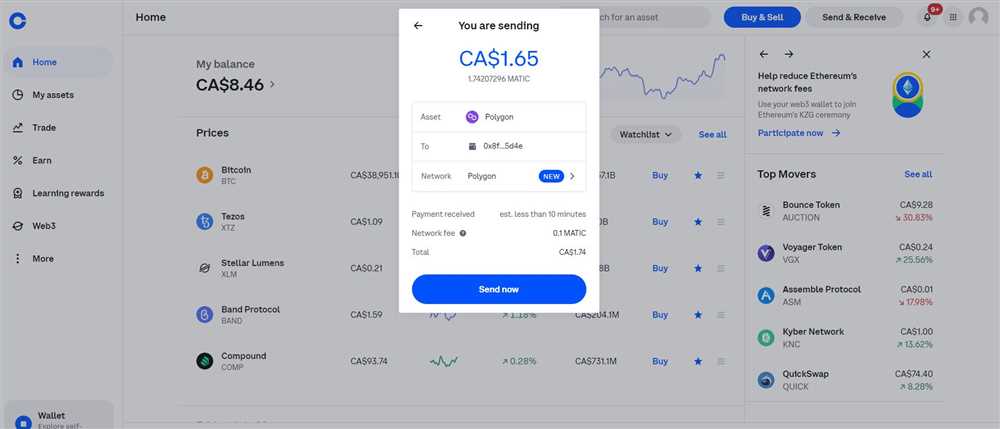
On the cryptocurrency’s information page, click on the “Send” button.
Step 3: Enter your MetaMask wallet address
In the “Recipient” or “To” field, paste the wallet address that you copied from your MetaMask wallet. Double-check the address to ensure accuracy.
Specify the amount of cryptocurrency you want to transfer. You may have the option to enter a specific amount or select a percentage of your total holdings.
Note: Make sure you have enough funds in your Coinbase account to cover the transaction fee.
Step 4: Review and confirm the transaction
Before confirming the transaction, review the details to ensure accuracy. Take note of any network fees that may be applied. Once you are satisfied with the information, click on the “Confirm” or “Send” button to initiate the transfer.
Depending on network congestion, it may take some time for the transaction to be confirmed and reflected in your MetaMask wallet. You can monitor the progress of the transfer by checking the transaction history in MetaMask or using a blockchain explorer.
Step 5: Verify the transfer in MetaMask
Once the transfer is complete, open your MetaMask wallet and navigate to the asset you transferred. You should see the updated balance reflecting the transferred amount.
Congratulations! You have successfully transferred your cryptocurrency from Coinbase to MetaMask. You can now use your MetaMask wallet to interact with various decentralized applications (dApps) and participate in the exciting world of decentralized finance (DeFi).
| Troubleshooting: |
|---|
| If you encounter any issues during the transfer, double-check the wallet address you entered and ensure that you have sufficient funds in your Coinbase account to cover the transaction fee. |
| If the transfer is taking longer than expected, it could be due to network congestion. You may need to wait for the transaction to be confirmed by the blockchain network. |
| If you still have trouble, consult the support documentation provided by Coinbase and MetaMask, or consider contacting their respective customer support teams for assistance. |
How do I transfer my cryptocurrency from Coinbase to MetaMask?
To transfer your cryptocurrency from Coinbase to MetaMask, you first need to download and set up the MetaMask wallet on your browser. Once you have done that, you need to copy your MetaMask wallet address and go to Coinbase. Navigate to the “Send/Request” tab on Coinbase, enter your MetaMask wallet address, select the amount of cryptocurrency you want to transfer, and confirm the transaction. The funds should then appear in your MetaMask wallet.
Is it easy to transfer cryptocurrency from Coinbase to MetaMask?
Yes, transferring cryptocurrency from Coinbase to MetaMask is relatively easy. You just need to follow a few simple steps. However, it’s important to note that fees may apply and it’s always a good idea to double-check the wallet address you are sending to, as any mistakes can result in permanent loss of funds. So, while the process is straightforward, it’s still important to exercise caution and pay attention to the details when transferring your crypto.