
If you’re a cryptocurrency enthusiast, chances are you’ve heard of Metamask. Metamask is a popular browser extension wallet that allows users to interact with Ethereum-based decentralized applications (dApps) directly from their browsers. While Metamask supports the Ethereum main network by default, you may want to add a new network to your wallet to access dApps or testnets on other networks.
Adding a new network to Metamask is a simple process, but it requires a few steps. In this step-by-step guide, we will walk you through the process of adding a network to your Metamask wallet, so you can seamlessly connect with different dApps and explore the vast world of decentralized finance.
Step 1: Open Metamask
The first step is to open Metamask in your browser. If you haven’t installed Metamask yet, you can easily find it as a browser extension in Chrome, Firefox, or Brave. Once installed, click on the Metamask icon in your browser’s extension area to open the wallet.
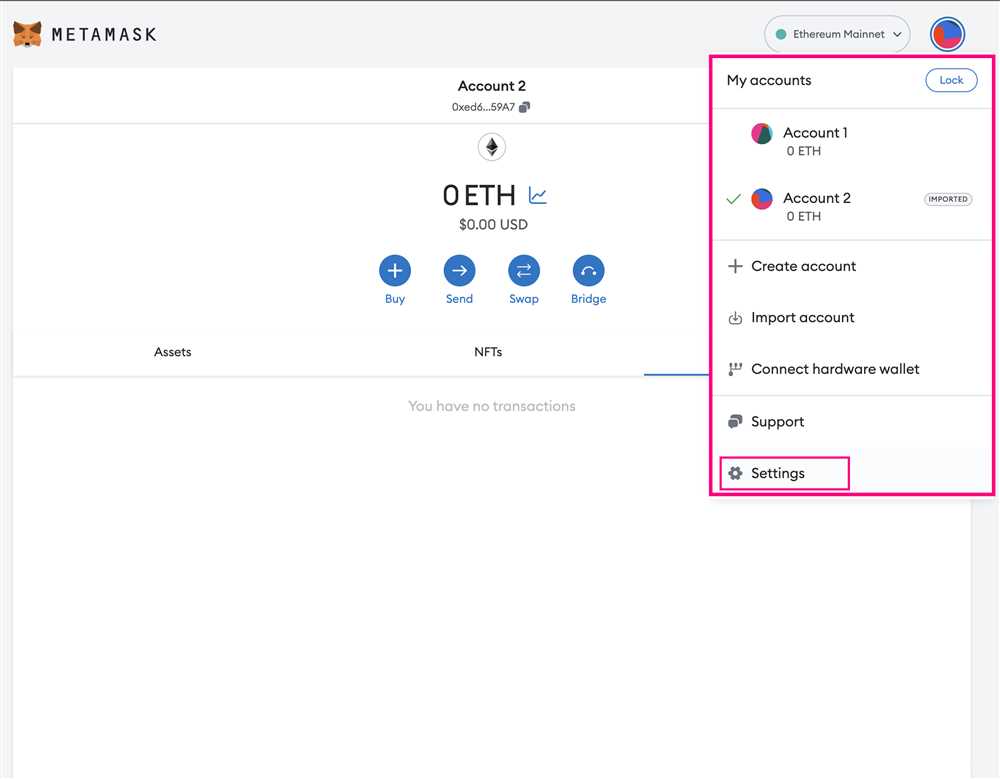
Step 2: Access Settings
After opening Metamask, you will see a small fox icon at the top-right corner of your browser. Click on the icon to open the Metamask menu. From the menu, select “Settings” to access the wallet’s settings and configurations.
Step 3: Network Selection
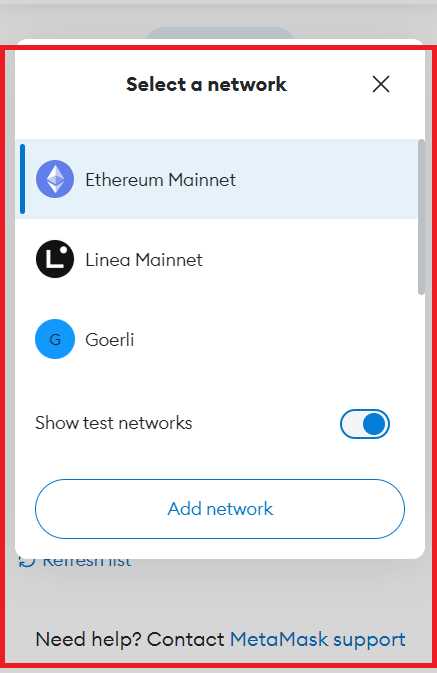
In the Metamask settings page, you will find various options and configurations. Look for the “Networks” tab on the left side of the page and click on it. This tab allows you to manage and add new networks to your Metamask wallet.
Step 4: Add Network
In the Networks tab, scroll down until you find the “Add Network” button. Click on the button to open a form where you can input the details of the new network you want to add. Here, you will need to enter the network name, the RPC URL, the chain ID, and the currency symbol for the new network.
Step 5: Save Changes
After entering the details of the new network, click on the “Save” button to save the changes and add the network to your Metamask wallet. Once saved, you will see the new network listed in the Networks tab.
That’s it! You have successfully added a new network to your Metamask wallet. Now you can easily switch between networks and explore different dApps and testnets using your favorite browser extension wallet. Remember, always exercise caution and ensure the network you are connecting to is secure before interacting with any dApps or performing transactions.
Step 1: Opening Metamask Settings
To add a new network to Metamask, you first need to open the Metamask settings. To do this, follow the steps below:
1. Click on the Metamask icon
Locate the Metamask icon, typically located at the top-right corner of your web browser. It looks like a fox head.
2. Click on the Metamask menu
After clicking on the Metamask icon, a dropdown menu will appear. Click on the menu button to access the Metamask settings.
3. Select “Settings” from the dropdown menu
In the dropdown menu, you will see a list of options. Select “Settings” to open the Metamask settings page.
Once you have successfully opened the Metamask settings, you will be ready to proceed to the next step of adding a new network to Metamask.
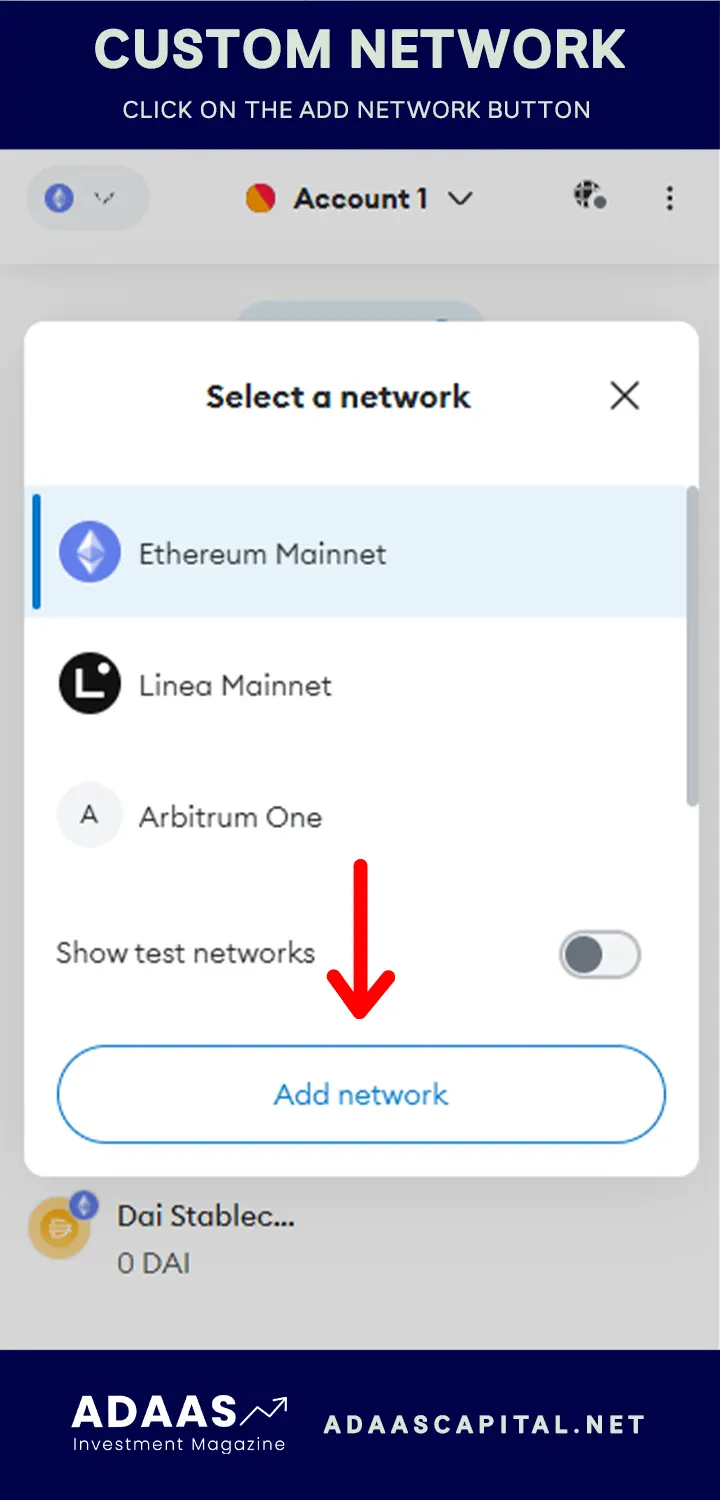
Step 2: Selecting “Networks” Tab
After installing the Metamask extension and creating a wallet, the next step is to select the “Networks” tab within the Metamask interface.
To do this, you must first locate the Metamask icon, which typically appears as a small fox head on your browser’s toolbar. Once you have found it, click on the icon to launch the Metamask interface.
Once the interface has been launched, you will see a series of tabs at the top of the screen, including “Wallet,” “Activity,” and “Networks.” Click on the “Networks” tab to proceed.
After selecting the “Networks” tab, you will be presented with a list of existing networks that are already available on Metamask. These networks may include Ethereum’s mainnet, testnets such as Ropsten and Rinkeby, as well as other custom networks that you might have previously added.
If you have never added a custom network before, the list will most likely be limited to the default Ethereum networks. However, if you have previously added a custom network, it will also be displayed in the list.
To proceed with adding a new network, locate the “Add Network” button, which is typically located in the top right corner of the “Networks” tab. Click on this button to begin the process of adding a new network to Metamask.
Step 3: Adding a New Network
After installing and setting up Metamask, you can start adding a new network to your wallet. This will allow you to connect to different networks and access various decentralized applications.
1. Open Metamask
Open the Metamask extension by clicking on the Metamask icon in your browser’s toolbar. If you haven’t installed Metamask yet, make sure to do so from the official website.
2. Access Networks
Once you have opened Metamask, click on the network name located at the top of the extension’s interface. This will open a dropdown menu with the available networks.
3. Add Custom Network
To add a new network, click on the “Custom RPC” option located at the bottom of the dropdown menu. This will prompt a form where you can enter the details of the new network.
4. Configure the New Network
Fill in the following details for the new network:
Network Name: Enter a name for the network that will help you easily identify it.
New RPC URL: Enter the RPC URL provided by the network you want to add. This URL usually ends with a number, such as “https://networkname.infura.io/v3/YOUR-PROJECT-ID”.
Chain ID: Specify the Chain ID of the network you are adding. This is usually a number that identifies the network.
Currency Symbol (optional): You can add the symbol of the cryptocurrency used in this network, such as ETH or BNB.
After entering these details, click on the “Save” button to add the new network to your Metamask wallet.
Once the new network is added, you can switch between networks by selecting the network from the dropdown menu in the Metamask extension.
Note: Make sure to only add networks from trusted sources to ensure the safety of your funds.
Step 4: Configuring Network Parameters
Once you have added a new network to Metamask, the next step is to configure the network parameters. This involves specifying the network’s RPC URL, chain ID, symbol, and block explorer URL.
RPC URL
The RPC URL is the endpoint that your Metamask extension will use to interact with the network. You need to enter the correct RPC URL provided by the network you are adding. This URL is typically in the format “https://rpc.examplenetwork.com”.
Chain ID
The chain ID is a unique identifier for the network you are adding. It helps ensure that your transactions are valid on the correct chain. The chain ID is usually a numeric value, such as 1 for the Ethereum mainnet or 4 for the Rinkeby testnet.
Symbol
The symbol is a shorthand representation of the network. It is typically a few characters or a mnemonic that helps identify the network. For example, “ETH” is the symbol for the Ethereum mainnet, and “RIN” is the symbol for the Rinkeby testnet.
Block Explorer URL
A block explorer is a tool that allows you to search and view transactions on a specific blockchain. Some networks provide their own block explorers, which can be useful for verifying and tracking transactions. You can enter the block explorer URL for the network you are adding here.
After configuring these parameters, you can click on the “Save” button to save your changes. Metamask will now be configured to connect to the new network, allowing you to interact with dapps and perform transactions on that network.
How do I add a new network to Metamask?
To add a new network to Metamask, first open the Metamask browser extension and click on the network selection button at the top. From the dropdown menu, click “Custom RPC” and enter the details of the network you want to add, including the network name, RPC URL, chain ID, symbol, and block explorer URL. Once you have entered the details, click “Save” and the new network will be added to your Metamask wallet.
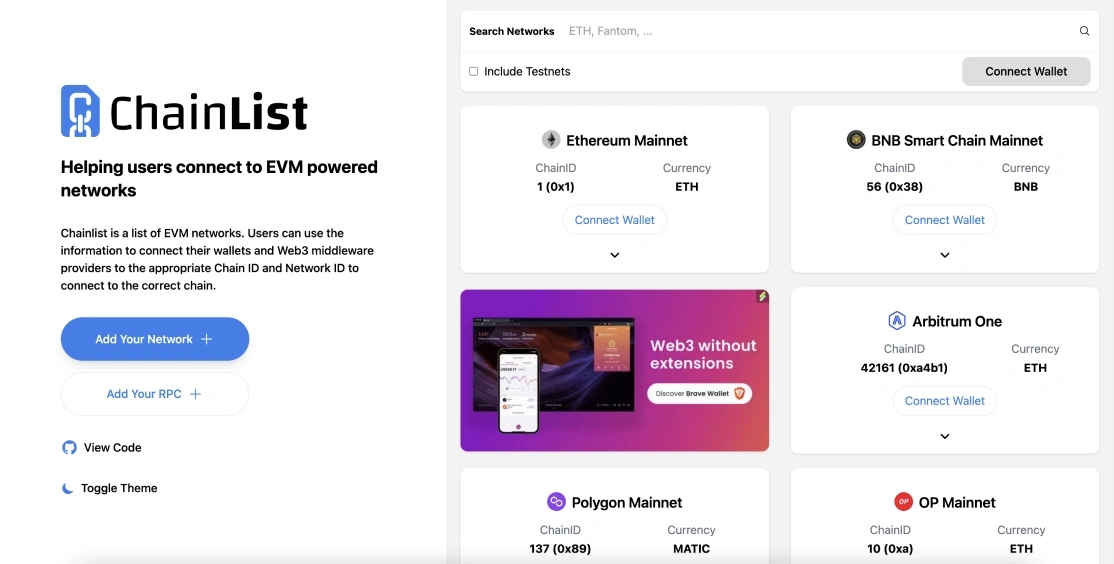
Where can I find the RPC URL and chain ID for the network I want to add?
The RPC URL and chain ID for a specific network can usually be found on the network’s documentation or website. If you are adding a popular network like Ethereum or Binance Smart Chain, you can easily find the RPC URL and chain ID with a quick internet search. Make sure to use the correct RPC URL and chain ID for the network you want to add.
Can I add multiple networks to Metamask?
Yes, Metamask allows you to add multiple networks. You can add custom networks or select from a list of popular networks that are already available in Metamask. By adding multiple networks, you can easily switch between different networks and interact with decentralized applications (dApps) on those networks without needing to create multiple wallets or use different tools.