
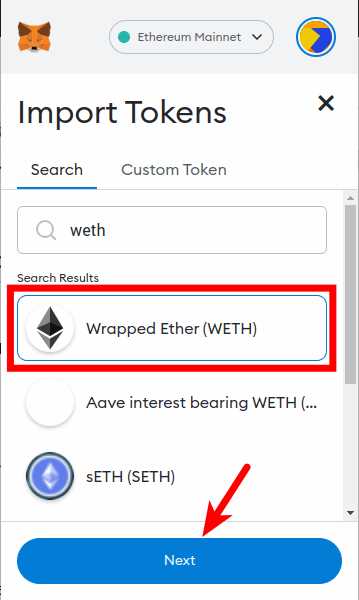
Are you interested in converting your Ethereum (ETH) to Wrapped Ethereum (WETH) using Metamask? If so, this step-by-step guide is for you! WETH is an ERC-20 compatible token that represents ETH on the Ethereum blockchain, allowing users to easily trade and interact with Ethereum-based decentralized applications (dApps).
Metamask is a popular web browser extension that serves as a cryptocurrency wallet, enabling users to store, manage, and interact with their digital assets. By converting your ETH to WETH using Metamask, you can take advantage of the features and benefits offered by the Ethereum ecosystem.
Converting ETH to WETH with Metamask is a simple and straightforward process. In this guide, we will walk you through the necessary steps to help you seamlessly convert your ETH to WETH. So, let’s get started!
Step 1: Install Metamask Extension in your Browser
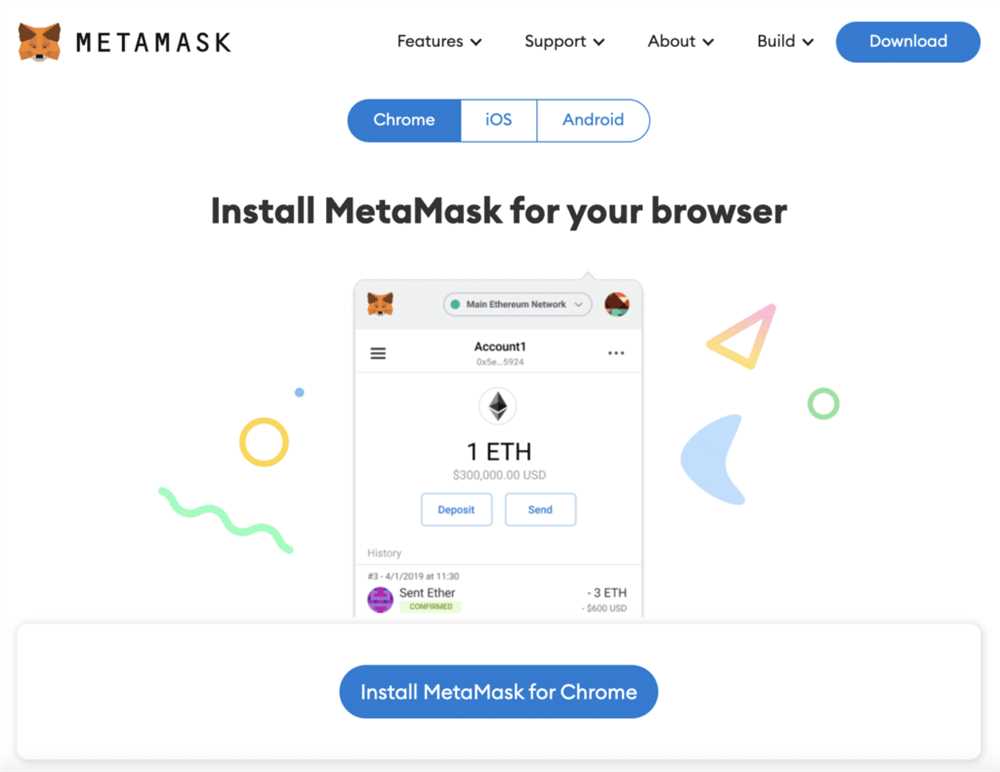
Before you can convert ETH to WETH using Metamask, you need to have Metamask installed in your browser. Metamask is a cryptocurrency wallet and a browser extension available for popular browsers like Chrome, Firefox, and Brave.
To install Metamask, follow these steps:
-
Open your browser and go to the Metamask website. You can find it by searching for “Metamask” in your favorite search engine.
-
Once you are on the Metamask website, click on the “Get Chrome Extension” button if you are using Chrome browser. If you are using a different browser, look for the appropriate button or link to download Metamask for your browser.
-
After clicking on the download button, you will be redirected to the Chrome Web Store or the official extension store for your browser. Click on the “Add to Chrome” button or any similar button for your browser to initiate the installation process.
-
A pop-up will appear asking for confirmation to add the extension. Click “Add extension” or any similar button based on your browser to proceed with the installation.
-
Once the installation is completed, you will see the Metamask icon added to the browser’s toolbar or the extensions bar. Click on the icon to open Metamask for the first time.
-
Follow the on-screen instructions to create a new wallet or import an existing one. Make sure to securely store your wallet’s secret phrase as it will be needed to access your wallet in the future.
-
After setting up your wallet, you will be ready to use Metamask to convert ETH to WETH or perform other cryptocurrency transactions.
Installing Metamask is an essential first step to use its features and capabilities. Once you have successfully installed and set up Metamask, you can proceed to the next steps to convert ETH to WETH.
Step 2: Create an Ethereum Wallet in Metamask
To convert ETH to WETH, you will need to have an Ethereum wallet. Metamask is a popular browser extension that allows you to easily manage your Ethereum wallet. Follow the steps below to create an Ethereum wallet using Metamask:
- Download the Metamask extension for your preferred browser (Chrome, Firefox, or Brave).
- Once installed, click on the Metamask icon in your browser’s toolbar to open the extension.
- A welcome screen will appear. Click on the “Get Started” button to begin the wallet creation process.
- Create a new wallet by clicking on the “Create a Wallet” button.
- You will be prompted to agree to the terms of service. Read through the terms and click on the checkbox to confirm that you agree.
- Click on the “Create” button to proceed with wallet creation.
- Choose a strong password for your wallet and enter it in the provided field. Make sure to use a combination of uppercase and lowercase letters, numbers, and special characters for added security.
- Click on the “Create” button to finalize the wallet creation process.
- Your wallet is now created, and you will be given a unique set of 12 words called a “seed phrase.” This phrase is a backup for your wallet and can be used to restore it if necessary. Make sure to write down the seed phrase and store it in a safe place.
- Once you have written down your seed phrase, click on the “Next” button to continue.
- You will be asked to confirm your seed phrase by selecting the correct words in the provided order. This step is important to ensure that you have correctly written down your seed phrase. Select the words in the correct order and click on the “Confirm” button.
- Congratulations! Your wallet is now set up. You will be directed to the Metamask dashboard, where you can view your wallet address and balance.
Now that you have created an Ethereum wallet in Metamask, you are ready to proceed to the next step and convert ETH to WETH.
Step 3: Fund your Ethereum Wallet with ETH
Before you can convert your ETH to WETH using Metamask, you need to make sure you have enough ETH in your Ethereum wallet to cover the transaction fees. Follow these steps to fund your Ethereum wallet with ETH:
1. Open your Ethereum wallet in Metamask
Launch Metamask by clicking on its extension icon in your browser toolbar and enter your password to unlock your wallet.
2. Click on the “Send” button
In the Metamask interface, locate and click on the “Send” button. This will open a form where you can send ETH to your wallet.
3. Enter the recipient address
In the “Recipient Address” field, enter the address of your Ethereum wallet. Make sure you double-check the address to avoid sending your ETH to the wrong wallet.
4. Enter the amount of ETH
In the “Amount” field, enter the amount of ETH you want to send to your Ethereum wallet. You can choose the amount based on your needs and the available balance in your wallet.
5. Set the transaction fee
Metamask will automatically provide a recommended transaction fee, but you can also adjust it according to your preferences. Keep in mind that higher transaction fees usually result in faster confirmations.
6. Review and confirm the transaction
Double-check all the details of the transaction, including the recipient address, the amount of ETH, and the transaction fee. Once you are satisfied with the information, click on the “Confirm” button to initiate the transfer.
7. Wait for the transaction confirmation
After confirming the transaction, you need to wait for it to be confirmed by the Ethereum network. The transaction confirmation time can vary depending on the network congestion and the transaction fee you set.
Once the transaction is confirmed, you will see the new ETH balance in your Ethereum wallet.
Step 4: Convert ETH to WETH using Metamask
Now that you have successfully wrapped your ETH into WETH, it’s time to convert your ETH into WETH using Metamask. Here’s how you can do it:
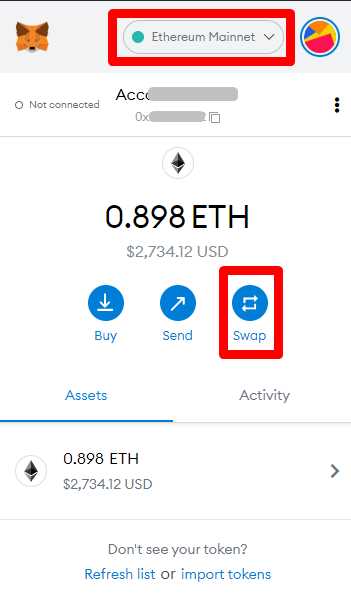
1. Open Metamask
Ensure that your Metamask wallet is open and connected to the Ethereum Mainnet. If you haven’t installed Metamask, you can download it from the official website and set it up following the instructions.
2. Go to Uniswap Exchange

Visit the Uniswap exchange website and make sure you are on the Ethereum Mainnet. Uniswap is a decentralized exchange where you can trade your assets. Click on “Launch App” to access the exchange.
3. Connect Your Wallet
On the Uniswap interface, locate and click on the “Connect to a Wallet” button. A pop-up will appear showing the list of supported wallets. Select Metamask from the options.
4. Allow Access
Metamask will request permission to access the Uniswap interface. Click on “Connect” to grant the necessary permissions.
5. Enter the Amount
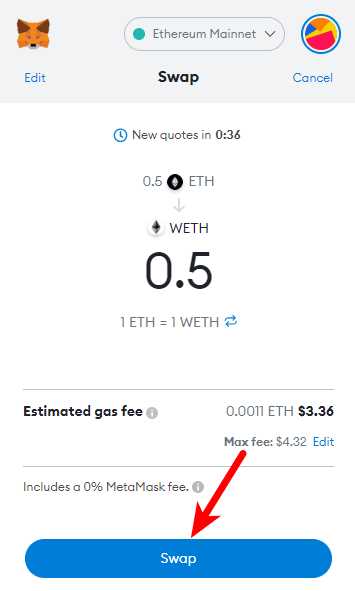
In the Uniswap interface, you will see two input fields labeled “From” and “To.” Set the “From” field to ETH and the “To” field to WETH. Enter the amount of ETH you wish to convert into WETH in the “From” field.
6. Verify Transaction
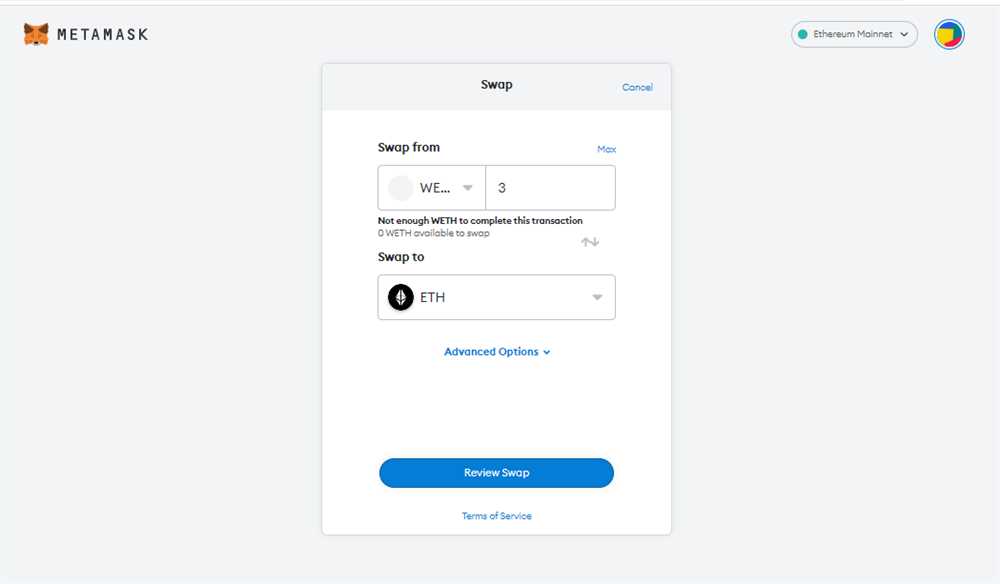
Review the transaction details, including the estimated gas fee. Ensure that you have enough ETH in your wallet to cover the gas fee. Once you are satisfied, click on the “Swap” button to initiate the transaction.
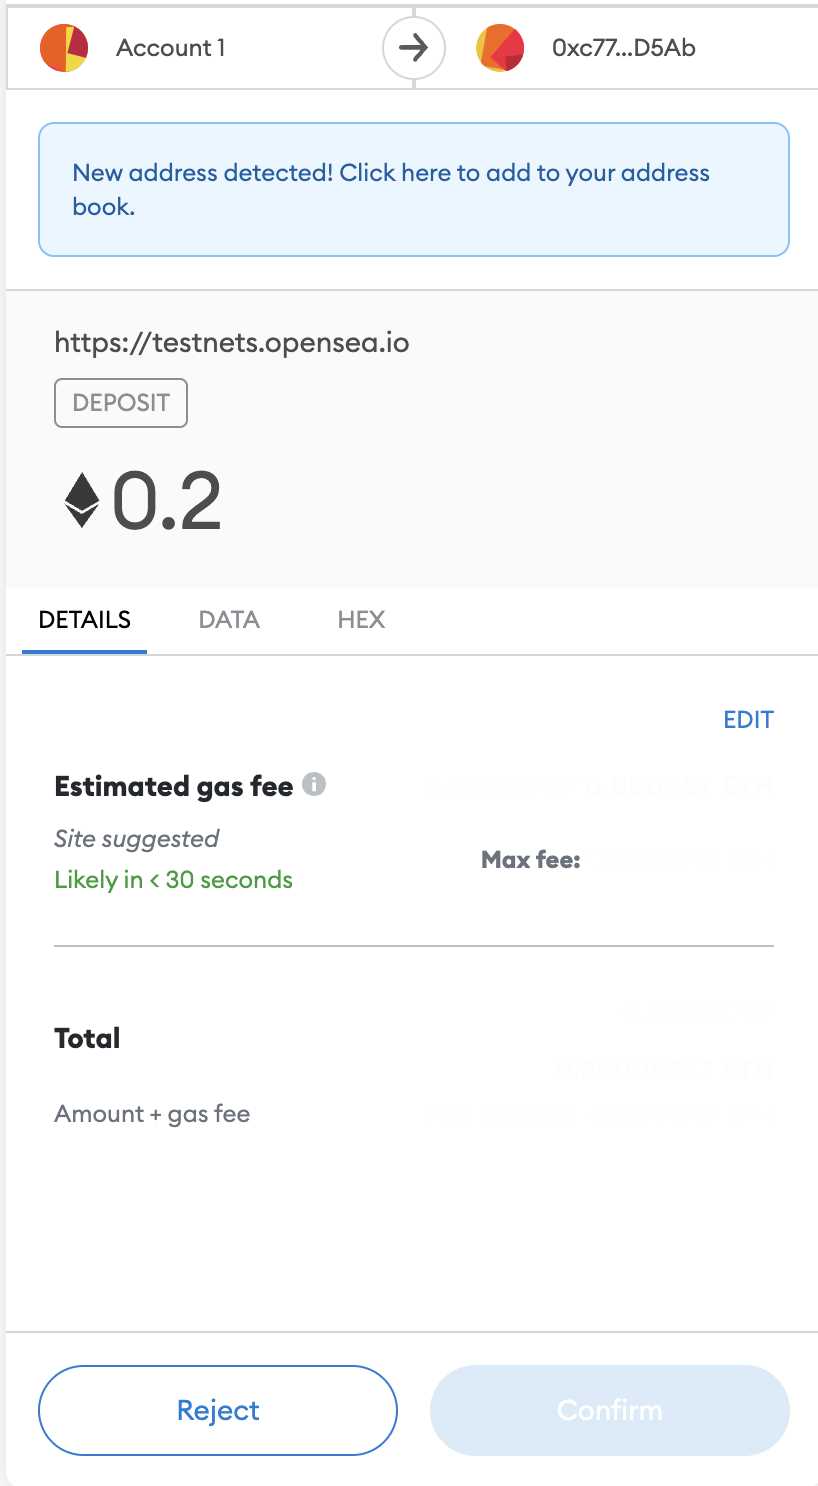
7. Confirm Transaction
A Metamask pop-up will appear showing the transaction details. Review the details carefully and click on “Confirm” to proceed with the transaction. Wait for the transaction to be confirmed on the Ethereum blockchain.
8. Transaction Complete
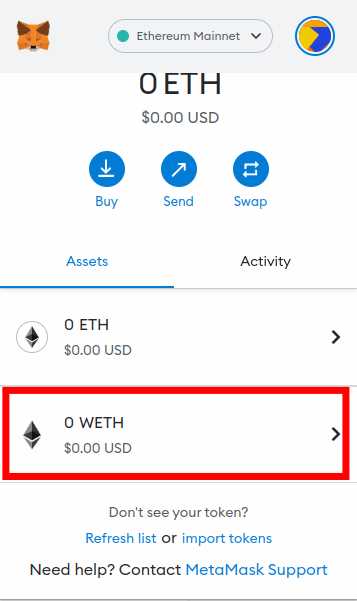
Once the transaction is confirmed, you have successfully converted your ETH into WETH using Metamask. You can check your wallet balance to see the updated amount of WETH in your account.
Congratulations! You have completed the process of converting ETH to WETH using Metamask. Now you can use your WETH for various decentralized finance (DeFi) applications and token swaps.
What is Metamask?
Metamask is a cryptocurrency wallet and browser extension that allows users to interact with decentralized applications (dApps) on the Ethereum blockchain. It acts as a bridge between users and the blockchain, making it easy to send, receive, and store Ethereum and other ERC-20 tokens.
Why would I want to convert ETH to WETH?
Converting ETH to WETH (Wrapped Ethereum) can be useful in situations where you want to trade or use your Ethereum in decentralized applications that require ERC-20 tokens. WETH is an ERC-20 token that represents Ether on the Ethereum blockchain, which means it can be easily used in dApps and decentralized exchanges.