
If you’ve recently delved into the exciting world of NFTs (Non-Fungible Tokens), you might be wondering how to view and manage your newly acquired digital assets. Metamask, the popular Ethereum wallet and DApp browser, offers a convenient way to interact with your NFT collection. In this step-by-step guide, we’ll walk you through the process of viewing and appreciating your NFTs in Metamask.
The first step is to ensure that you have Metamask installed and set up in your preferred web browser. If you haven’t done so yet, you can easily download and install Metamask from the official website. Once installed, open Metamask and follow the instructions to create a new wallet or import an existing one.
After setting up your Metamask wallet, the next step is to connect it to a compatible NFT marketplace platform. There are several platforms you can choose from, such as OpenSea, Rarible, and SuperRare. Simply navigate to your preferred platform’s website and connect your Metamask wallet by clicking on the connect or wallet button. This will establish a secure connection between your wallet and the platform.
Once your wallet is connected, you can start exploring and viewing your NFT collection. On most platforms, you’ll find a dedicated section that displays your owned NFTs. This section may be called “My Collection” or something similar. Clicking on it will open your collection, presenting you with a visually appealing gallery of your NFTs. Take your time to browse through your collection and appreciate the unique art, music, or collectibles that you own.
Within the collection gallery, you can click on individual NFTs to view more details about them. This may include information such as the artist’s name, the title of the artwork, and any associated metadata. Some platforms also allow you to interact with your NFTs, such as setting them for sale or transferring them to another wallet. These actions can typically be accessed through buttons or options within the platform interface.
With Metamask and a compatible NFT platform, viewing your digital art collection has never been easier. Start exploring the vibrant world of NFTs and enjoy the unique experience of owning one-of-a-kind digital assets. Remember to always exercise caution when transacting with NFTs and to do your research before making any purchase or sale.
How to View NFTs in Metamask
If you are interested in the world of NFTs (Non-Fungible Tokens) and want to view them in your Metamask wallet, this step-by-step guide will show you how to do it.
1. Open your Metamask wallet and make sure it is connected to the Ethereum Mainnet.
2. Go to a reputable NFT marketplace or platform, such as OpenSea or Rarible, and browse through the available NFT collections.
3. Once you’ve found an NFT you are interested in, click on it to view its details.
4. Look for the “View on Chain” or “View on Etherscan” button, which will allow you to see the NFT on the Ethereum blockchain.
5. Click on the “View on Chain” button, and a new tab or window will open with the NFT’s transaction history and details on Etherscan.
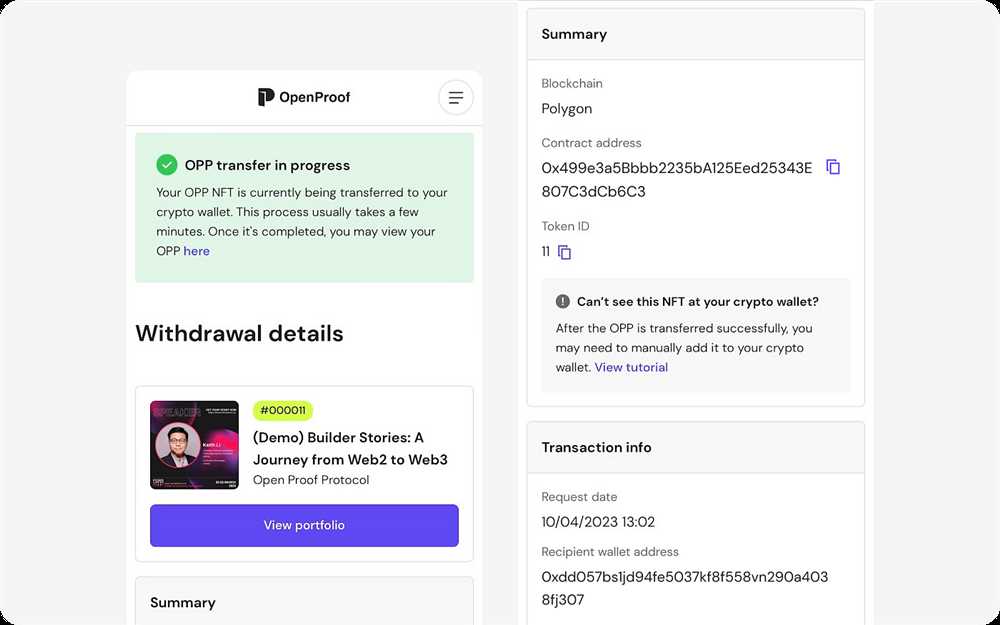
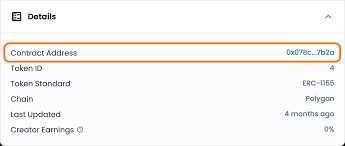
6. On the Etherscan page, you will be able to see the NFT’s contract address, token ID, and other relevant information.
| Contract Address | Token ID | Owner |
|---|---|---|
| 0x123456789ABCDEF | 12345 | 0x987654321ABCDE |
7. Copy the contract address and token ID, and go back to your Metamask wallet.
8. Click on the “Add Token” button in your Metamask wallet.
9. Paste the contract address in the “Token Contract Address” field.
10. The token symbol and decimal places should automatically populate. If not, you can manually enter the information.
11. Click on the “Next” button, and Metamask will show you the NFT’s details, including the image and name.
12. Click on the “Add Tokens” button to add the NFT to your Metamask wallet.
Now, you can view your NFTs directly in your Metamask wallet whenever you want. Simply click on the “Assets” tab to see your NFT collection.
Remember that viewing NFTs in Metamask doesn’t mean you own them. To own an NFT, you need to purchase it or receive it as a gift or transfer.
A Step-by-Step Guide
Are you ready to view NFTs in Metamask? Follow this step-by-step guide to get started:
Step 1: Make sure you have the Metamask extension installed on your web browser. If you don’t have it yet, you can download it from the Metamask website.
Step 2: Open Metamask and create a new wallet or import an existing one. Make sure you have some Ethereum (ETH) in your wallet to purchase NFTs.
Step 3: Connect your Metamask wallet to the decentralized application or marketplace where the NFTs are located. This is usually done by clicking on the Metamask icon in your browser and approving the connection request.
Step 4: Once your wallet is connected, navigate to the page where the NFTs are listed. You should be able to see a collection of NFTs, each with its own unique artwork or digital asset.
Step 5: Click on an NFT that you want to view in more detail. This will usually open a separate page or modal window with additional information about the NFT.
Step 6: Take a closer look at the artwork or digital asset associated with the NFT. You can zoom in, rotate, or interact with the NFT depending on the capabilities of the platform you are using.
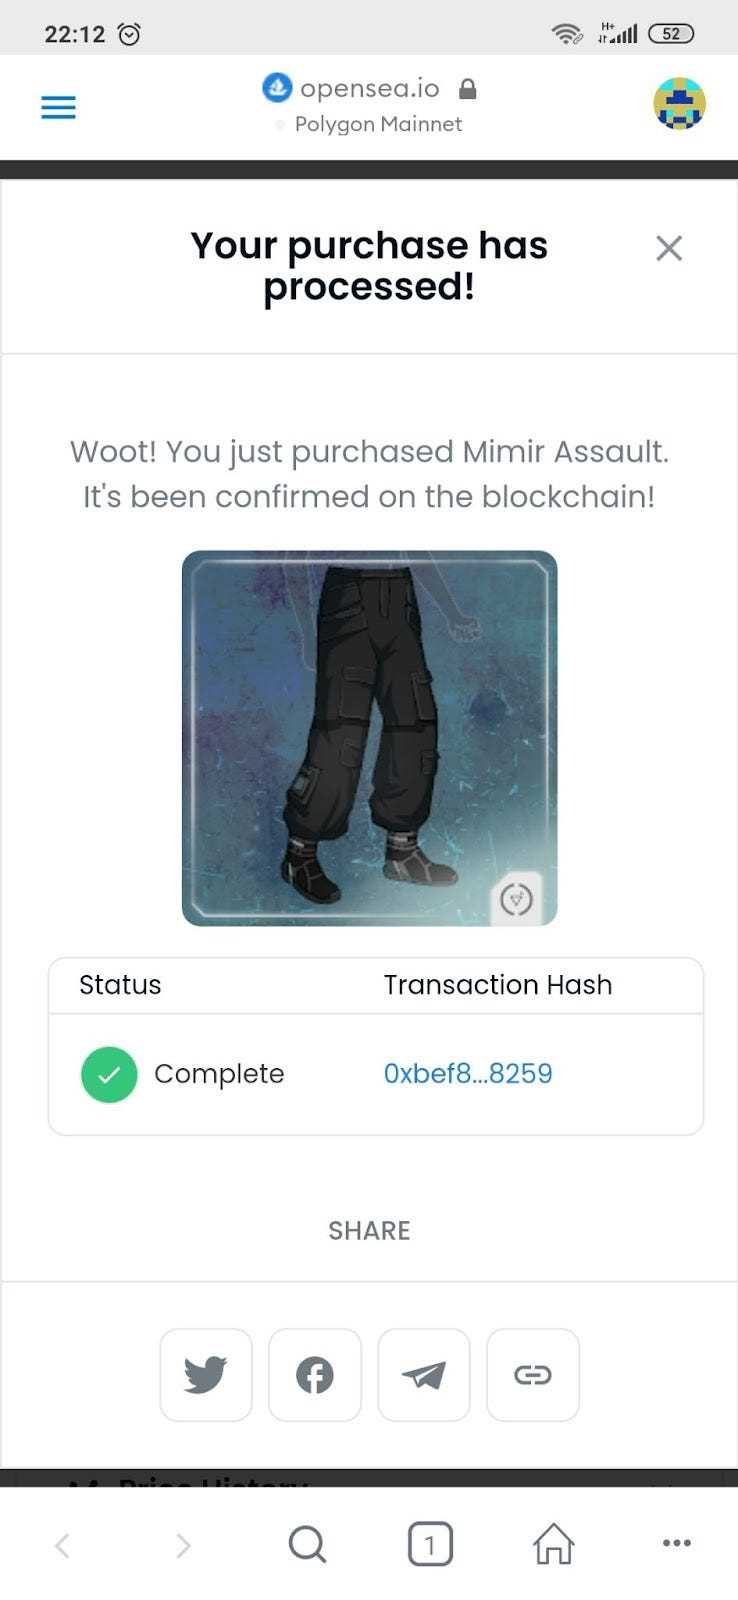
Step 7: If you decide to purchase the NFT, click on the appropriate button or link to initiate the transaction. You will be prompted to confirm the transaction in your Metamask wallet.
Step 8: Review the transaction details and gas fees, then confirm the transaction in Metamask. Once the transaction is confirmed on the Ethereum blockchain, the NFT will be added to your wallet.
Step 9: Back in your Metamask wallet, you can now view and manage your newly acquired NFT. You can also transfer or sell it on other platforms, if desired.
Congratulations! You have successfully learned how to view NFTs in Metamask using this step-by-step guide. Enjoy exploring the world of digital art and collectibles!
Installing Metamask Extension
In order to view NFTs in Metamask, you must first have the Metamask extension installed in your web browser. Follow these steps to install the Metamask extension:
-
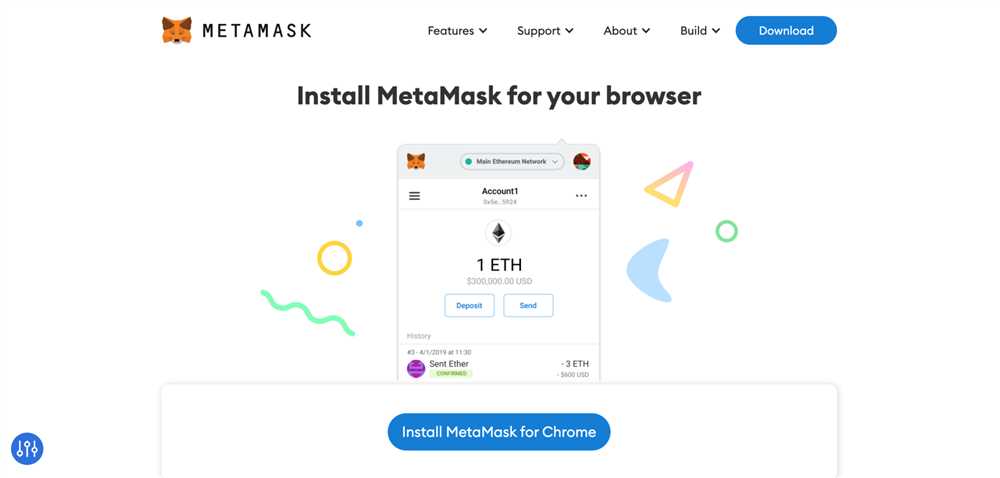
Open your web browser and go to the Metamask website. You can do this by searching for “Metamask” in your preferred search engine and clicking on the official Metamask website.
-
Once on the Metamask website, click on the “Get Started” or “Download” button. This will typically be a prominent button located on the homepage.
-
You will then be redirected to the extension store for your web browser. For example, if you are using Google Chrome, you will be taken to the Chrome Web Store. Click on the “Add to Chrome” or “Install” button to begin the installation process.
-
After clicking the “Add to Chrome” or “Install” button, a pop-up window will appear asking for confirmation to add the extension. Click on “Add extension” or “Confirm” to proceed with the installation.
-
Once the installation is complete, you will see the Metamask icon added to your browser’s toolbar. It usually looks like a fox or a mask icon. Click on this icon to open the Metamask extension.
-
You will be prompted to set up a new wallet or import an existing one. Follow the on-screen instructions to create or import your wallet. Make sure to securely backup your wallet information, as it is essential for accessing your NFTs and managing your cryptocurrency funds.
Congratulations, you have successfully installed the Metamask extension! Now you are ready to view NFTs in Metamask and explore the exciting world of blockchain-based digital art and collectibles.
Step 1: Open Your Browser
To view NFTs in Metamask, the first step is to open your preferred web browser. Metamask is a browser extension, so it is important to ensure that you have a compatible browser installed on your device.
Some popular browsers that support Metamask include:
- Google Chrome
- Mozilla Firefox
- Brave
Once you have opened your browser, make sure that it is up to date to ensure optimal performance and compatibility with Metamask.
Creating a Metamask Account
To view NFTs in Metamask, you’ll first need to create a Metamask account. Follow these steps to create an account:
| Step 1: | Go to the Metamask website (https://metamask.io) and click on the “Get Chrome Extension” button. |
| Step 2: | Once the extension is installed, click on the Metamask icon in your browser’s toolbar. |
| Step 3: | A pop-up window will appear. Click on the “Create a Wallet” button. |
| Step 4: | Create a strong password and click on the “Create” button. |
| Step 5: | Read and accept the Terms of Use. |
| Step 6: | Click on the “Reveal Seed Phrase” button. |
| Step 7: | Write down your seed phrase and keep it in a safe place. This phrase is extremely important and can be used to restore your wallet. |
| Step 8: | Confirm your seed phrase by typing it in the correct order. |
| Step 9: | Your Metamask account is now created! You can start exploring and viewing NFTs. |
Remember to never share your seed phrase with anyone, as it can grant them access to your wallet and funds. Keep it safe and secure!
Step 1: Click on the Metamask Extension
The first step to view NFTs in Metamask is to click on the Metamask extension in your browser. The Metamask extension is a cryptocurrency wallet that allows you to interact with decentralized applications (DApps) and manage your digital assets.
Once the Metamask extension is installed and activated in your browser, you can usually find its icon in the top right corner of the browser window. The icon is usually an orange fox-shaped logo. Click on the Metamask icon to open the extension.
Alternatively, you can access the Metamask extension by clicking on the extensions menu in your browser and selecting the Metamask option. This menu is typically located in the top right corner of the browser window and represented by three horizontal lines or dots.
After clicking on the Metamask extension, a popup window will appear on your screen. This window is the Metamask wallet interface, where you can manage your cryptocurrencies, view transaction history, interact with DApps, and view your NFTs.
What is Metamask?
Metamask is a cryptocurrency wallet that allows users to interact with decentralized applications (dApps) on the Ethereum blockchain. It is a browser extension that enables users to securely store, send, and receive Ethereum and other ERC-20 tokens.
How do I install Metamask?
To install Metamask, you need to first go to the Metamask website and click on the “Get Chrome Extension” button. This will redirect you to the Chrome Web Store, where you can install the Metamask extension. Once installed, you can create a new wallet or import an existing one.