
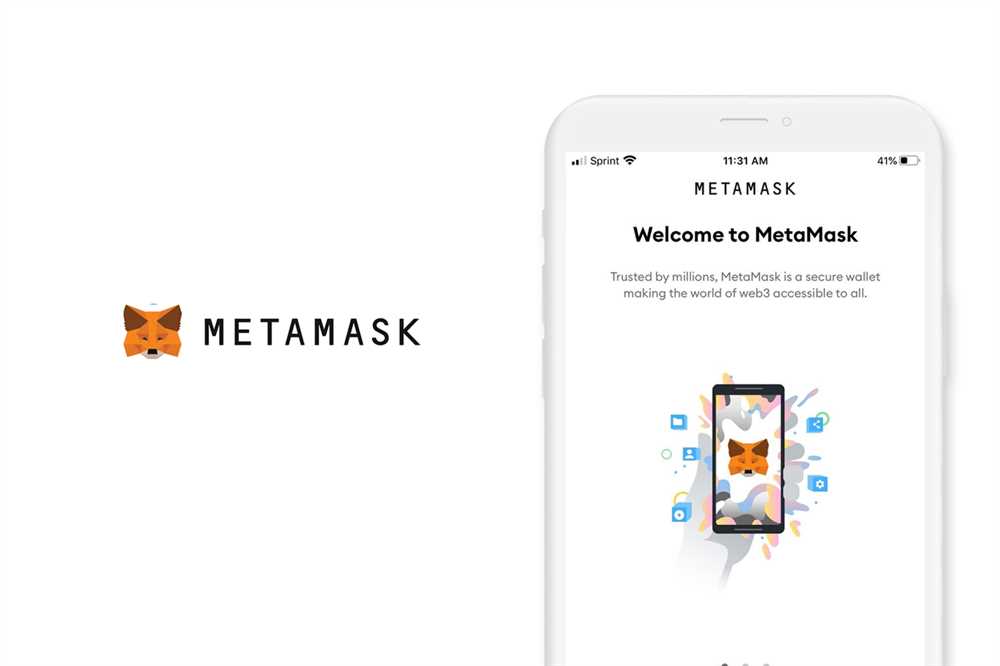
If you’re a cryptocurrency enthusiast, chances are you’ve heard of Metamask. Metamask is a popular browser extension that acts as a digital wallet, allowing users to securely store, manage, and interact with Ethereum-based tokens and decentralized applications (dApps).
In this step-by-step guide, we will walk you through the process of setting up and using Metamask on iCloud, Apple’s cloud computing service. By following these simple instructions, you’ll be able to access your Ethereum wallet and dApps on any device connected to your iCloud account.
Step 1: Install Metamask
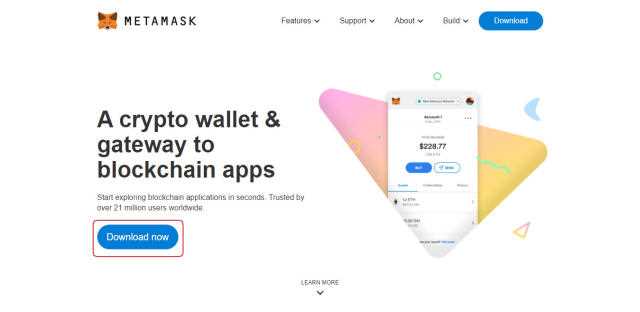
The first step in using Metamask on iCloud is installing the extension. Open your preferred web browser and go to the official Metamask website. Click on the “Get Chrome Extension” button and follow the prompts to add the extension to your browser.
Pro tip: Metamask is currently only available for Google Chrome, Mozilla Firefox, and Brave browsers. Make sure you’re using one of these browsers before proceeding.
Step 2: Create a New Metamask Wallet
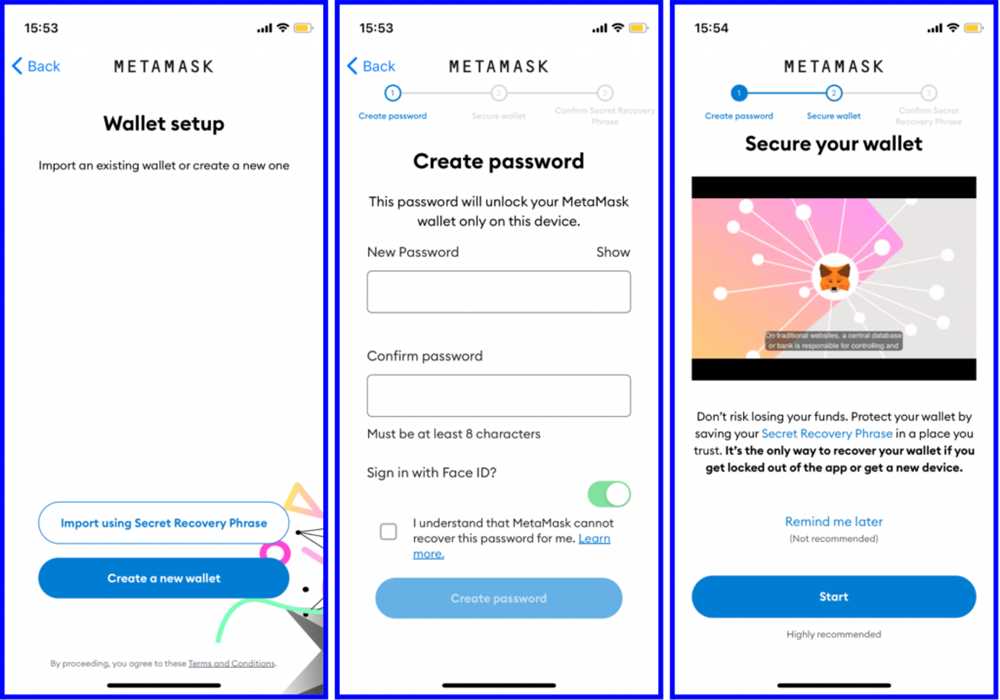
Once the extension is installed, click on the Metamask icon in your browser’s toolbar. A welcome screen will appear, prompting you to create a new wallet. Click on the “Create a Wallet” button and follow the instructions to set up a new wallet.
Important: Make sure to create a strong password and backup your seed phrase. This seed phrase is crucial for recovering your wallet in case you lose access to your iCloud account.
Step 3: Connect Metamask to iCloud
After setting up your wallet, click on the account icon in the top right corner of the Metamask window. Select “Settings” from the dropdown menu, then choose the “Connect to iCloud” option. Follow the prompts to link your Metamask wallet to your iCloud account.
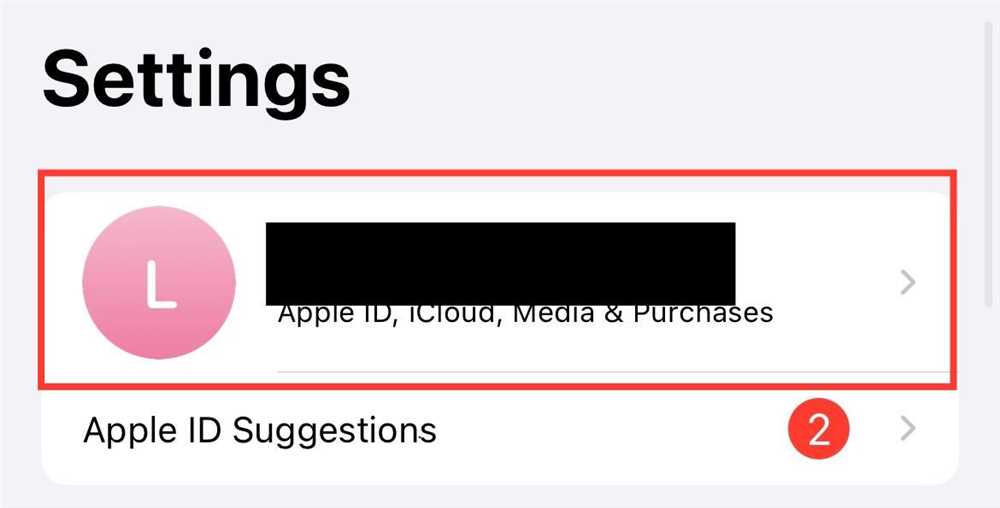
Note: You will need to sign in to your iCloud account using your Apple ID credentials in order to connect Metamask.
Step 4: Accessing Your Metamask Wallet and dApps on iCloud
Now that Metamask is connected to iCloud, you can easily access your wallet and dApps on any device that is linked to your iCloud account. Simply open your browser, click on the Metamask icon, and enter your password to unlock your wallet.
Tip: Remember to keep your password and seed phrase safe and secure. Do not share this information with anyone and consider enabling two-factor authentication for added security.
By following these steps, you’ll be able to seamlessly use Metamask on iCloud, giving you convenient access to your Ethereum wallet and dApps no matter where you are or which device you’re using.
Setting Up Metamask with iCloud: A Step-by-Step Guide
Metamask is a popular browser extension that allows users to interact with the Ethereum blockchain. By setting up Metamask with iCloud, you can securely store your Ethereum assets and easily access them from different devices. In this step-by-step guide, we will walk you through the process of setting up Metamask with iCloud.
Step 1: Install Metamask
The first step is to install the Metamask browser extension. Open your preferred web browser and search for “Metamask extension.” Click on the official Metamask website and follow the instructions to add the extension to your browser.
Step 2: Create a Metamask Account
Once the extension is installed, click on the Metamask icon in your browser toolbar. A new window will open, prompting you to create a new account. Click on “Create a Wallet” and follow the instructions to set up a new Metamask account.
Make sure to choose a strong password and write down your secret backup phrase. This backup phrase will be used to recover access to your wallet in case you forget your password or lose access to your device.
Step 3: Enable iCloud Sync
After creating a Metamask account, click on the Metamask icon again to open the extension. In the Metamask window, click on the “Settings” menu icon (represented by three horizontal lines) located at the top right corner of the window.
In the Settings menu, scroll down and click on “Advanced.” Under the “Advanced” section, you will find the “Sync with Mobile” option. Enable this option by clicking on the toggle switch.
A QR code will appear on your screen. On your enabled mobile device, open the Metamask app and select “Sync with Extension.” Use your device’s camera to scan the QR code on your computer screen. Once the sync is complete, you will be able to access your Metamask wallet on both your computer and mobile device.
Note: Make sure you are signed in to the same iCloud account on both your computer and mobile device.
Step 4: Manage Your Metamask Assets
With Metamask set up with iCloud, you can now manage your Ethereum assets across devices. You can send and receive Ethereum, interact with decentralized applications (dApps), and securely store your digital assets.
Keep in mind that your wallet’s private keys are stored locally on your device and are encrypted with your password. It is important to keep your password safe and never share it with anyone.
Follow these steps to set up Metamask with iCloud and enjoy the convenience of accessing your Ethereum assets from different devices. Remember to always stay vigilant and protect your wallet’s security.
Create an iCloud Account
To start using Metamask on iCloud, you will first need to create an iCloud account. Follow the steps below to create your account:
Step 1: Go to the iCloud website
Open your web browser and go to the iCloud website by typing in “icloud.com” in the address bar. Press enter.
Step 2: Click on “Create Apple ID”
On the iCloud homepage, you will see a button that says “Create Apple ID”. Click on this button to start the account creation process.
Step 3: Fill in your personal information
Follow the prompts and fill in the required fields with your personal information, such as your name, email address, and password. Make sure to choose a secure password that you will remember.
Step 4: Verify your email address
After filling in your personal information, you will need to verify your email address. Check your inbox for an email from Apple and click on the verification link provided.
Step 5: Set up security questions and answers
To ensure the security of your iCloud account, you will need to set up security questions and answers. Choose questions that you will easily remember the answers to but are difficult for others to guess.
Step 6: Agree to the Terms and Conditions
Read through the Terms and Conditions, and if you agree, check the box to indicate your acceptance. Click on the “Continue” button to proceed.
Step 7: Start using your iCloud account
Once you have completed the previous steps, your iCloud account will be created. You can now start using your account and explore the features and services offered by iCloud.
Congratulations! You have successfully created your iCloud account. Now, you can proceed with setting up and using Metamask on iCloud by following the step-by-step guide provided.
Download and Install Metamask
To start using Metamask on your iCloud device, you will first need to download and install the Metamask extension. Follow the step-by-step guide below:
| Step 1: | Open your preferred web browser. |
| Step 2: | Go to the Metamask website. |
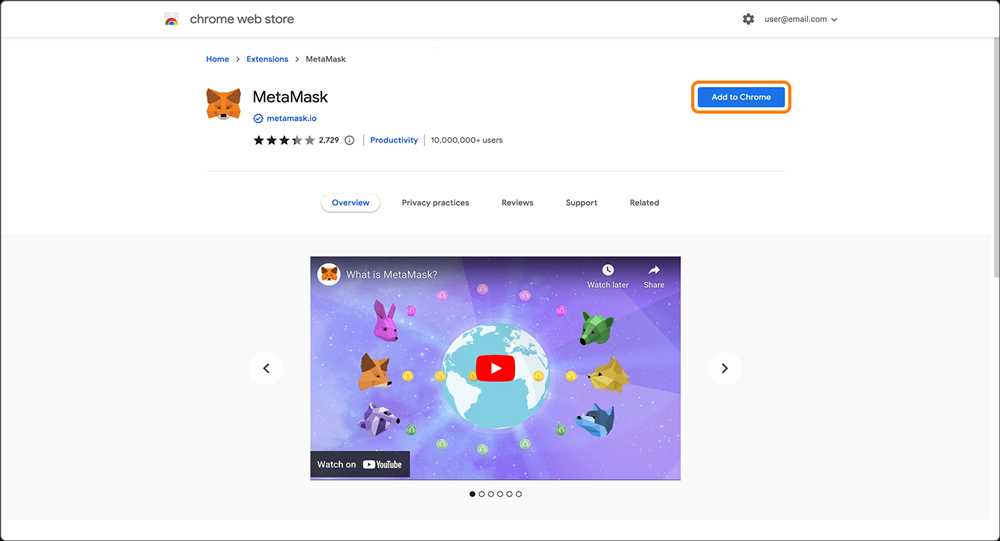
| Step 3: | Click on the “Get Chrome Extension” button. |
| Step 4: | A new tab will open with the Metamask extension in the Chrome Web Store. |
| Step 5: | Click on the “Add to Chrome” button. |
| Step 6: | A confirmation dialog will appear. Click on “Add extension”. |
| Step 7: | The Metamask extension will start downloading and installing. |
| Step 8: | Once the installation is complete, a new tab will open with the Metamask setup screen. |
| Step 9: | Click on the “Get Started” button. |
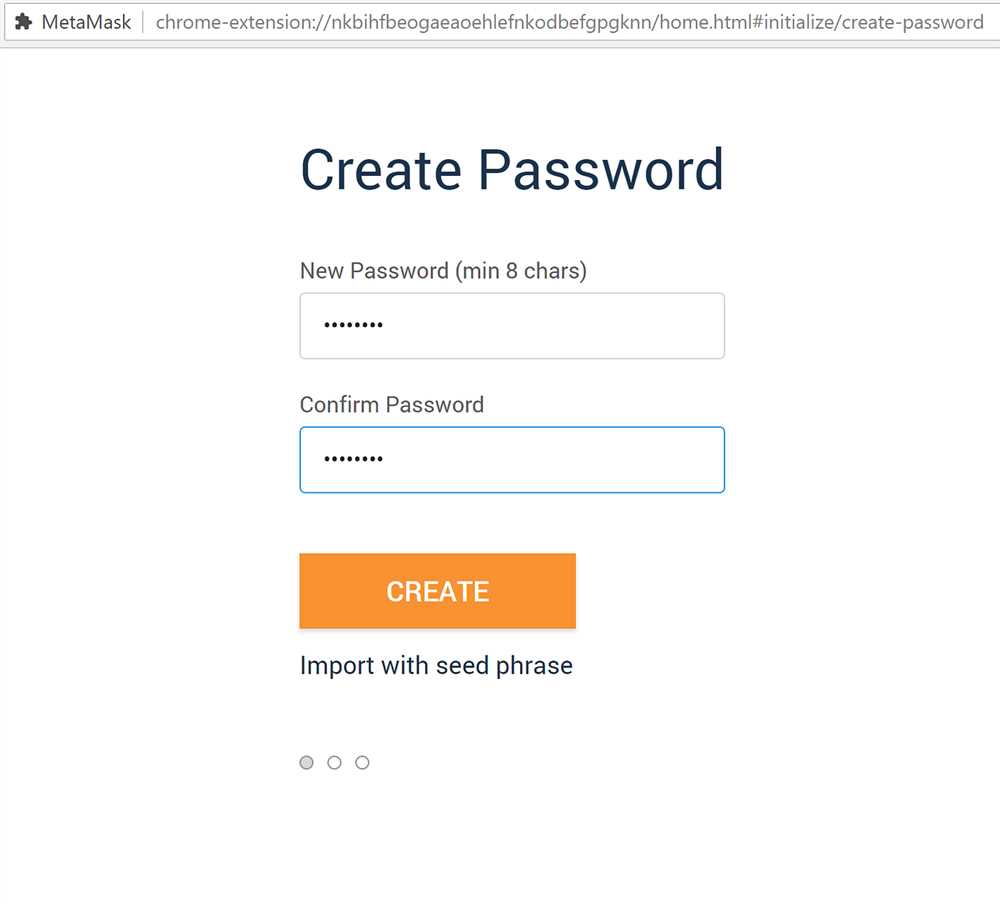
| Step 10: | You will be prompted to create a new password for your Metamask wallet. Enter a strong and secure password and click on “Create”. |
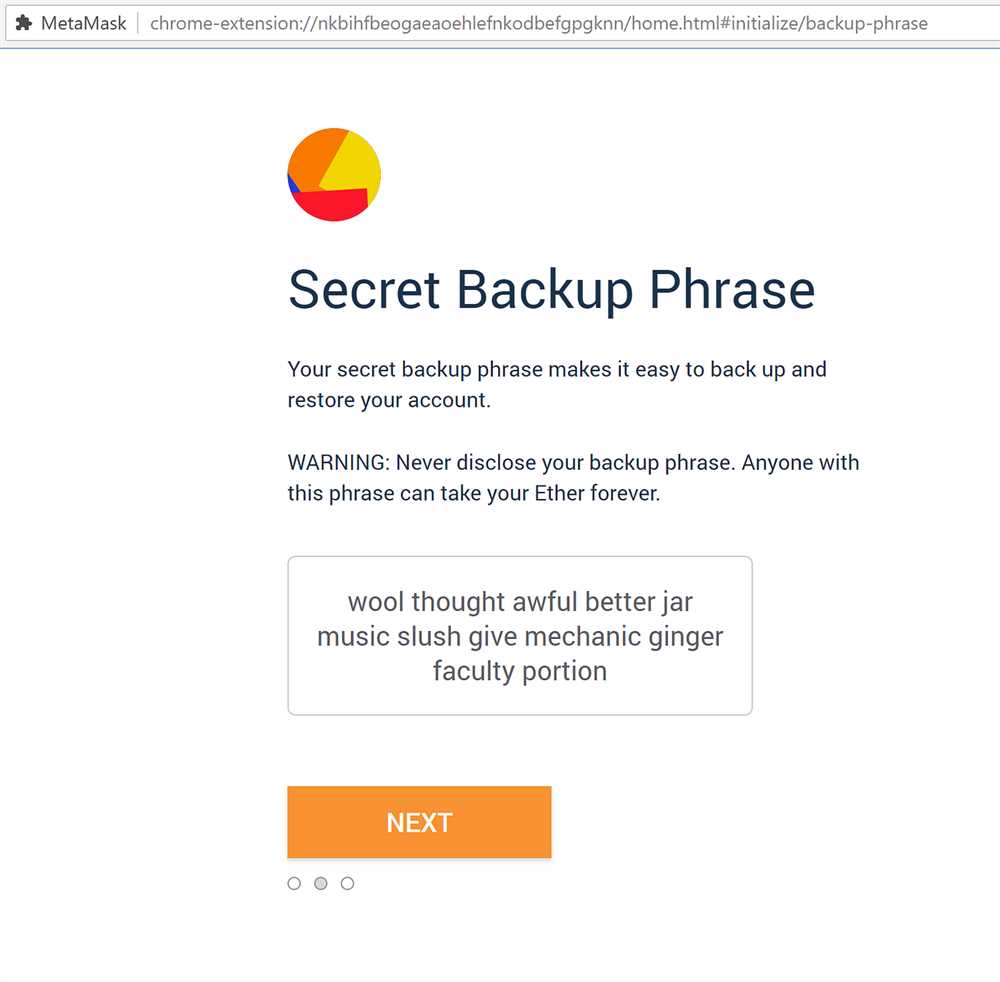
| Step 11: | You will be shown a secret backup phrase. Make sure to write it down and keep it in a safe place. This is your only way to recover your wallet if you forget your password. |
| Step 12: | Click on the “Next” button. |
| Step 13: | You will be asked to confirm your backup phrase. Enter the words from your backup phrase in the correct order and click on “Confirm”. |
| Step 14: | Your Metamask wallet will be successfully set up! |
Congratulations! You have successfully downloaded and installed Metamask on your iCloud device. You are now ready to start using Metamask for secure and convenient Ethereum transactions.
Set Up a Metamask Account
To set up a Metamask account on iCloud, follow these step-by-step instructions:
Step 1: Install the Metamask Extension
1. Open your internet browser and go to the extension store (Chrome Web Store for Google Chrome, Firefox Add-ons for Mozilla Firefox, etc.)
2. Search for “Metamask” and click on the “Add to Chrome” (or equivalent) button.
3. Wait for the installation process to complete, and then click on the Metamask icon that appears in your browser’s toolbar.
Step 2: Create a New Wallet
1. Click on the “Get Started” button on the Metamask popup window.
2. Click on the “Create New Wallet” button.
3. Read and accept the terms of use.
4. Set a strong password for your Metamask account.
5. Click on the “Create” button to proceed.
Step 3: Backup your Seed Phrase
1. Metamask will display a unique 12-word seed phrase. Write it down on a piece of paper or save it in a secure location.
2. Click on the words in the correct order to confirm that you have written them down correctly.
3. Click on the “Next” button.
Step 4: Connect to the Ethereum Network
1. Select the Ethereum network you want to connect to (e.g., mainnet, testnet).
2. Click on the “Connect” button.
Step 5: Import or Fund your Metamask Account
1. If you already have an existing Ethereum wallet, you can import it by clicking on the “Import Wallet” button and following the instructions.
2. If you don’t have an existing wallet, you can fund your Metamask account by purchasing Ethereum from a cryptocurrency exchange and sending it to your Metamask address.
| Troubleshooting Tip: |
|---|
| If you encounter any issues during the setup process, try clearing your browser’s cache and restarting your browser before attempting again. |
Using Metamask on iCloud
Metamask is an essential tool for anyone interested in blockchain technology and decentralized applications (DApps). If you’re an iCloud user, you can easily set up and use Metamask to securely interact with Ethereum and other compatible blockchains. Here’s a step-by-step guide on how to use Metamask on iCloud:
Step 1: Install Metamask on iCloud
The first step is to install the Metamask extension on your iCloud browser. Open your iCloud browser and navigate to the Metamask website (https://metamask.io). Click on the “Get Started” button and follow the instructions to add the extension to your browser. Once installed, you’ll see the Metamask icon in your browser’s toolbar.
Step 2: Create a Metamask Wallet
Click on the Metamask icon in your browser’s toolbar and select “Create a Wallet” to start the wallet creation process. Follow the instructions to set up a strong password and backup your seed phrase. Make sure to keep your seed phrase in a safe and secure place, as it can be used to restore your wallet if you ever lose access to it.
Step 3: Connect Metamask to iCloud
Once you’ve created your wallet, you’ll need to connect Metamask to the iCloud network. Click on the network dropdown (usually set to “Main Ethereum Network”) and select “Custom RPC”. In the “New RPC URL” field, enter the iCloud network endpoint provided by your blockchain service provider. Click “Save” to connect Metamask to the iCloud network.
Step 4: Add Ethereum to your Metamask Wallet
In order to use Metamask on iCloud, you’ll need to have some Ethereum in your wallet. To add Ethereum, click on the account dropdown (usually set to “Account 1”), select “Copy Address to Clipboard”, and send your wallet address to an exchange or another Ethereum address you control. Once you receive Ethereum, it will appear in your Metamask wallet.
Step 5: Interact with DApps on iCloud
With Metamask installed and connected to the iCloud network, you can now start using DApps. Simply navigate to a DApp of your choice, such as a decentralized exchange or a blockchain game, and follow the instructions provided by the DApp. Metamask will automatically detect the DApp and prompt you to authorize transactions.
Step 6: Manage and Secure Your Metamask Wallet
It’s crucial to take steps to manage and secure your Metamask wallet on iCloud. You can add additional accounts, import existing wallets, or export your seed phrase for backup purposes. It’s also recommended to enable two-factor authentication and use a hardware wallet for an extra layer of security.
By following these steps, you can easily set up and use Metamask on iCloud to securely interact with Ethereum and other compatible blockchains. Enjoy exploring the world of decentralized finance and DApps!
What is Metamask?
Metamask is a cryptocurrency wallet and browser extension that allows users to interact with decentralized applications (dApps) and access blockchain networks.
Can I use Metamask on multiple devices with the same iCloud account?
Yes, you can use the same Metamask account on multiple devices if you are logged in with the same iCloud account. All your wallet data and settings will be synchronized across devices.
Is Metamask on iCloud secure?
Metamask on iCloud provides a secure way to interact with blockchain networks. The wallet data is encrypted and stored locally on your device, and the iCloud synchronization ensures that your data is backed up and accessible across devices. However, it’s important to follow security best practices, such as setting a strong password and enabling two-factor authentication, to further enhance the security of your Metamask account.