
If you are new to the world of cryptocurrencies, you may have heard about Metamask, a popular browser extension that allows users to interact with decentralized applications (dApps) on the Ethereum blockchain. In this comprehensive guide, we will walk you through the process of setting up and using Metamask on Google Chrome, one of the most widely used web browsers.
Metamask serves as a digital wallet and a gateway to the decentralized web. It enables users to manage their Ethereum accounts, securely store their private keys, and seamlessly navigate through various dApps. Whether you are interested in trading digital assets, participating in token sales, or simply exploring the world of decentralized finance, Metamask is an essential tool that can enhance your blockchain experience.
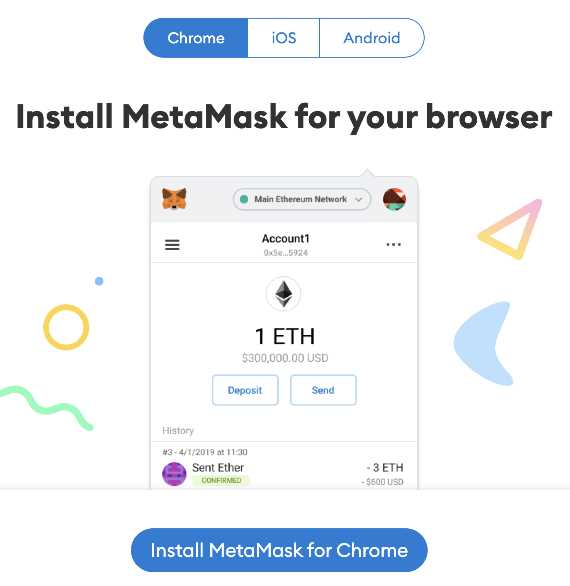
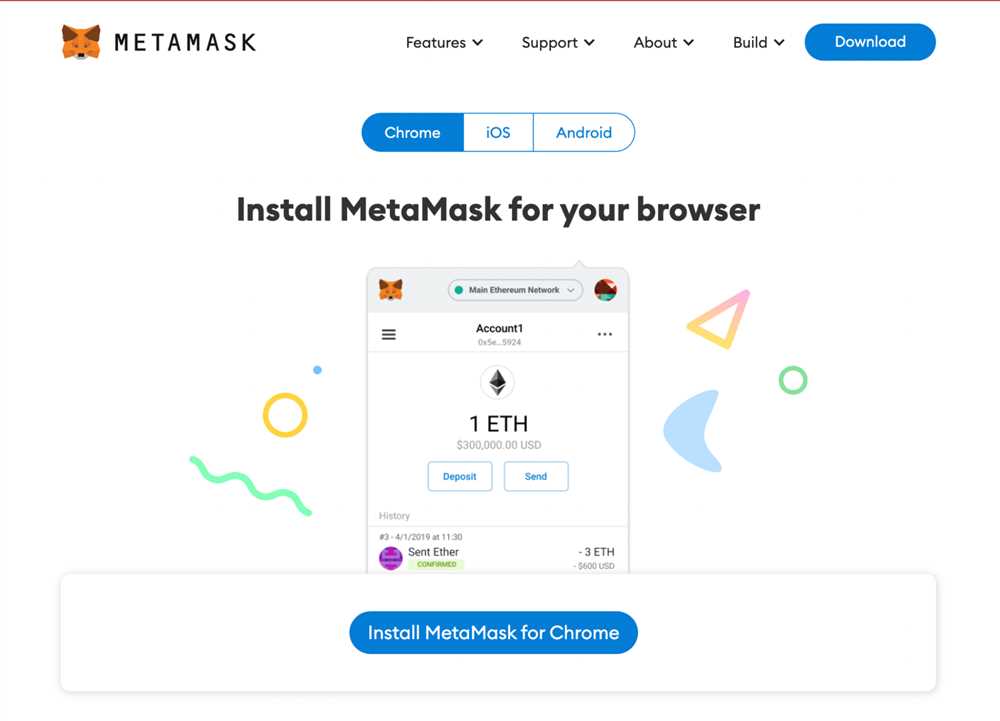
Setting up Metamask on Chrome is a straightforward process. First, you need to install the Metamask extension from the Chrome Web Store. Once installed, you will need to create a new wallet or import an existing one. Metamask generates a unique 12-word seed phrase during the wallet creation process, which serves as a backup if you ever lose access to your wallet.
After setting up your wallet, you can easily connect to various Ethereum networks, such as the mainnet, testnets, or custom networks. Metamask also allows you to add custom tokens to your wallet, providing you with the flexibility to manage a wide range of digital assets. When interacting with dApps, Metamask automatically prompts you to confirm transactions, ensuring that you have full control over your funds and data.
In this guide, we will cover every step of the process in detail, from installing the Metamask extension to navigating through the wallet interface and interacting with dApps. By the end, you will have a solid understanding of how to set up and use Metamask on Chrome, empowering you to fully participate in the decentralized revolution.
What is Chrome Metamask?
Chrome Metamask is a popular browser extension that allows users to interact with decentralized applications or DApps on the Ethereum blockchain. It serves as a digital wallet, enabling users to securely store, manage, and transact with Ethereum-based tokens and assets.
Metamask operates as a bridge between the user’s browser and the Ethereum blockchain. It provides a user-friendly interface, which makes it easy for non-technical users to access and utilize blockchain-based applications.
With Metamask, users can create multiple Ethereum accounts, import existing accounts, and manage their private keys. It also grants users the ability to interact with smart contracts and participate in Ethereum-based token sales or initial coin offerings (ICOs).
The extension also provides a convenient way to switch between different Ethereum networks, including the mainnet, testnets, and private networks. This flexibility allows developers to test and deploy DApps on different networks without the need to switch browsers or use separate wallets.
Metamask is compatible with most modern web browsers, including Google Chrome, Mozilla Firefox, and Brave. It is one of the most widely used Ethereum wallets and has a large community of developers and users constantly providing support and feedback.
In summary, Chrome Metamask is a versatile tool that brings the Ethereum blockchain to users’ browsers, enabling them to securely engage with decentralized applications and manage their Ethereum assets with ease.
Benefits of Using Chrome Metamask

Chrome Metamask is a powerful tool that offers several benefits to users who want to interact with decentralized applications (dApps) on the Ethereum network. Here are some of the key benefits of using Chrome Metamask:
1. User-friendly Interface:
Chrome Metamask provides a user-friendly interface that makes it easy for users to manage their Ethereum accounts and interact with dApps. The intuitive design ensures that even beginners can navigate the wallet with ease.
2. Secure and Private:

Chrome Metamask ensures the security and privacy of users by encrypting their private keys and storing them locally in the browser. This eliminates the need to share private keys with dApps, reducing the risk of unauthorized access to funds.
3. Seamless Integration:
Chrome Metamask seamlessly integrates with popular web browsers like Google Chrome, allowing users to access their Ethereum accounts and interact with dApps without having to switch between different applications. This streamlines the user experience and saves time.
4. Multiple Network Support:
Chrome Metamask supports multiple Ethereum networks, including the mainnet, test networks, and custom networks. This flexibility allows users to easily switch between different networks based on their needs, making it convenient for developers and testers.
5. Smart Contract Interaction:
Chrome Metamask enables users to interact with smart contracts on the Ethereum network. Users can send transactions, sign messages, and execute smart contract functions directly from the wallet, making it a powerful tool for developers and enthusiasts.
Overall, Chrome Metamask provides a convenient, secure, and versatile solution for interacting with dApps on the Ethereum network. Its user-friendly interface and seamless browser integration make it an excellent choice for both beginners and experienced users.
Setting up Chrome Metamask
To set up Chrome Metamask, follow these steps:
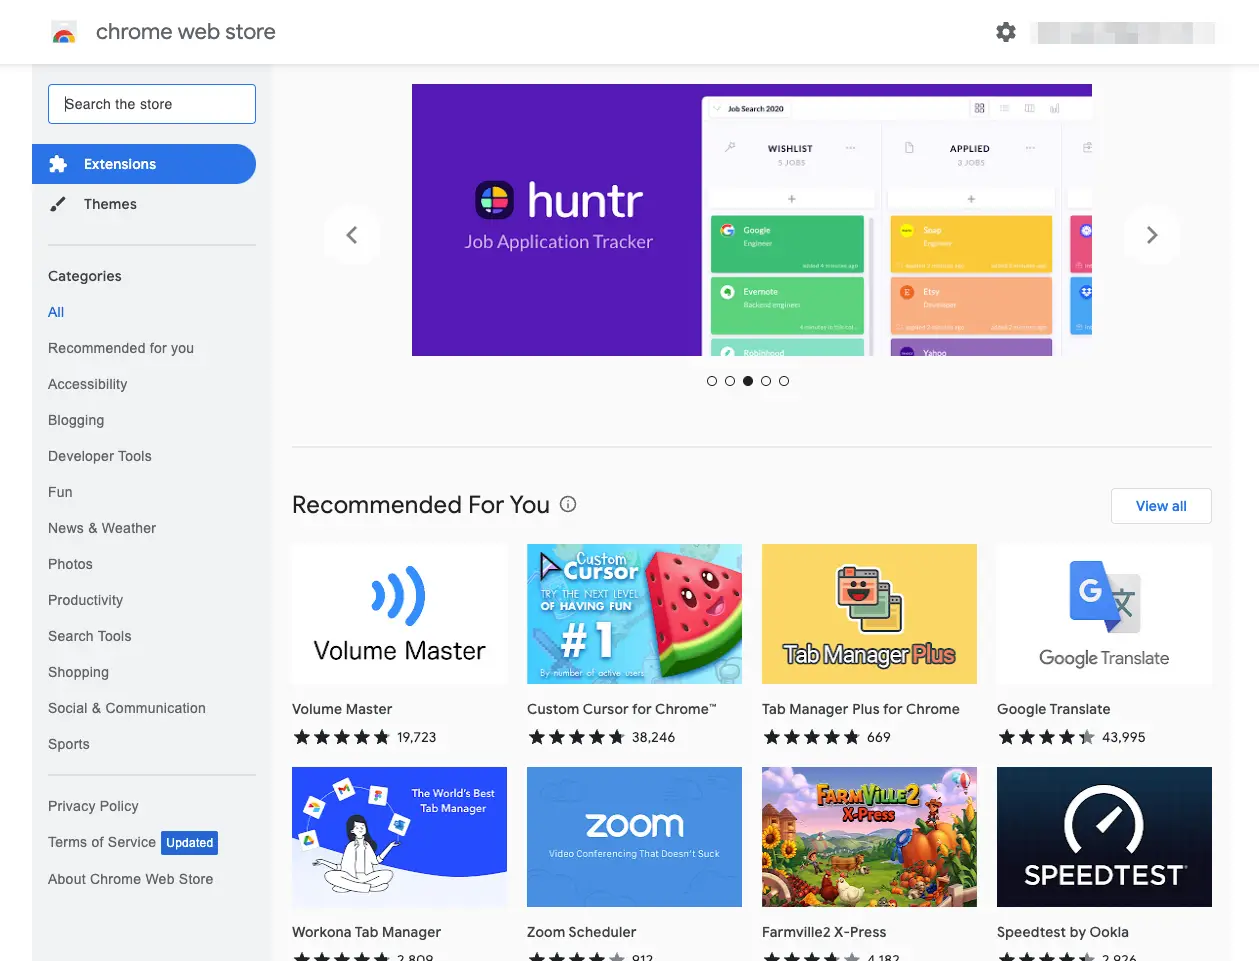
Step 1: Open your Chrome browser and go to the Chrome Web Store.
Step 2: Search for “Metamask” in the search bar.
Step 3: Click on the “Add to Chrome” button next to the Metamask extension.
Step 4: A pop-up window will appear, click on “Add extension” to confirm the installation.
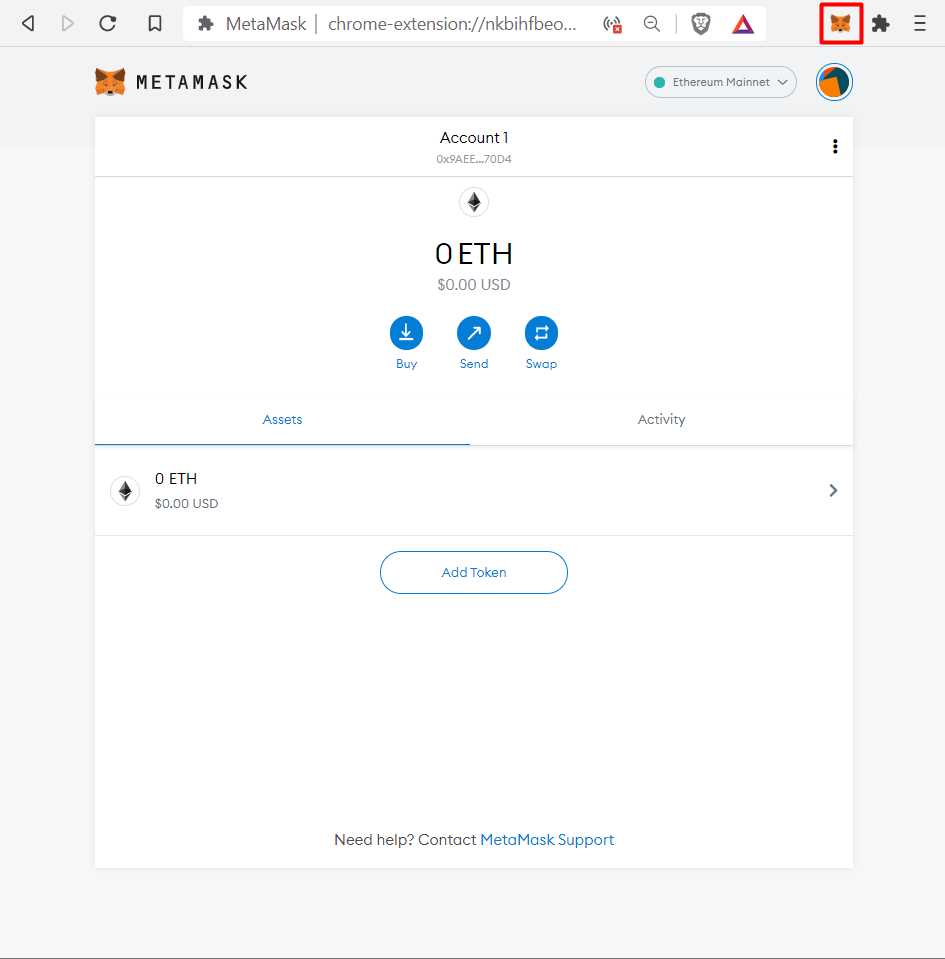
Step 5: After the installation is complete, you will see the Metamask icon added to your browser toolbar.
Step 6: Click on the Metamask icon to launch the extension.
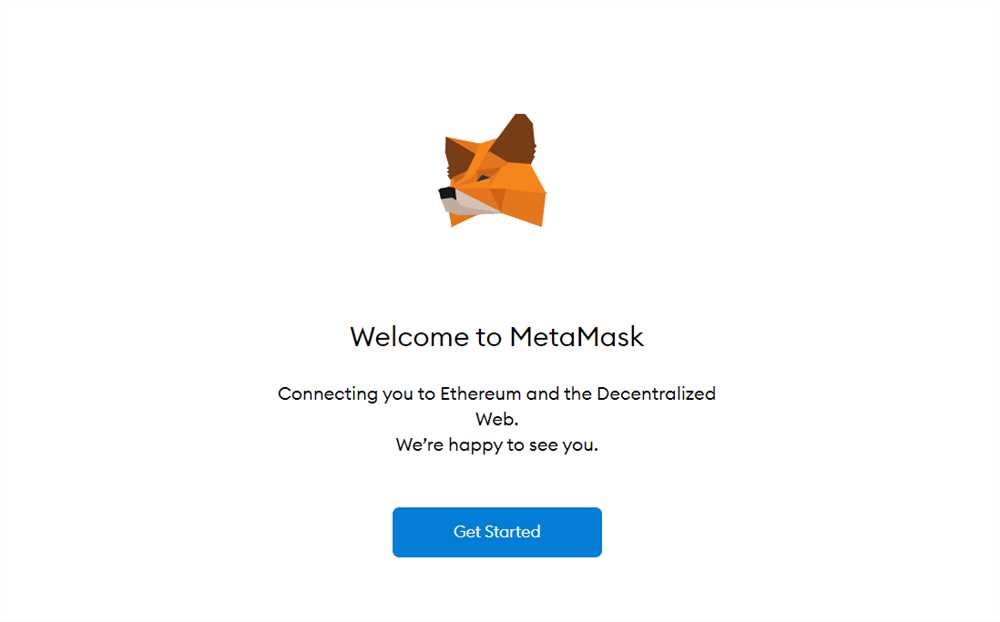
Step 7: In the welcome screen, click on “Get Started”.
Step 8: Read and accept the terms of use.
Step 9: Create a new wallet by setting up a password and clicking on “Create”.
Step 10: Follow the instructions to back up your wallet seed phrase. Make sure to store it in a safe and secure place.
Step 11: Congratulations! You have successfully set up and installed Chrome Metamask on your browser.
Note: It is important to keep your wallet password and seed phrase secure and private. Anyone with access to them can potentially access your funds.
Installation and Setup
The first step to start using Chrome Metamask is to install it on your Google Chrome web browser. Follow the instructions below to set up Chrome Metamask:
Step 1: Install Chrome Extension
1. Open your Google Chrome web browser.
2. Go to the Chrome Web Store.
3. Search for “Metamask” using the search bar at the top.
4. Click on the “Add to Chrome” button next to the Metamask extension.
5. A pop-up window will appear. Click on the “Add extension” button to confirm the installation.
Step 2: Create a New Metamask Wallet
1. After the installation, a new tab will open with the Metamask logo.
2. Click on the “Get Started” button to begin setting up your Metamask wallet.
3. A new window will appear with the Terms of Service. Read them carefully and click on the “Accept” button to proceed.
4. Next, you will be prompted to create a new wallet. Enter a strong password and click on the “Create” button.
5. Metamask will generate a unique secret phrase for you. Make sure to write it down and store it in a secure place. Click on the “Next” button.
Step 3: Restore Wallet (Optional)
If you already have a Metamask wallet and want to restore it, follow these steps:
1. Click on the “Import wallet” option.
2. Enter your secret phrase in the provided field.
3. Set your password and continue the setup process.
Step 4: Connect to a Network
1. After setting up your wallet, click on the account icon in the upper-right corner of the Metamask window.
2. Click on the “Settings” option.
3. In the Networks tab, select the desired network (e.g., Ethereum Mainnet, Rinkeby Test Network).
4. You can also add custom networks by clicking on the “Add Network” button.
Now, you have successfully installed and set up Metamask on your Google Chrome browser. You are ready to start using Metamask for interacting with decentralized applications and managing your cryptocurrencies.
Creating a Wallet
Before you can start using MetaMask on Chrome, you need to create a wallet. Follow these steps to get started:
- Launch your Chrome browser and navigate to the Chrome Web Store.
- Search for “MetaMask” in the search bar at the top of the page.
- Click on the “Add to Chrome” button next to the MetaMask extension. A pop-up window will appear.
- Review the permissions requested by MetaMask and click “Add extension” to proceed with the installation.
- Once the installation is complete, you will see the MetaMask icon added to your browser’s toolbar.
- Click on the MetaMask icon to launch the extension. A welcome screen will appear.
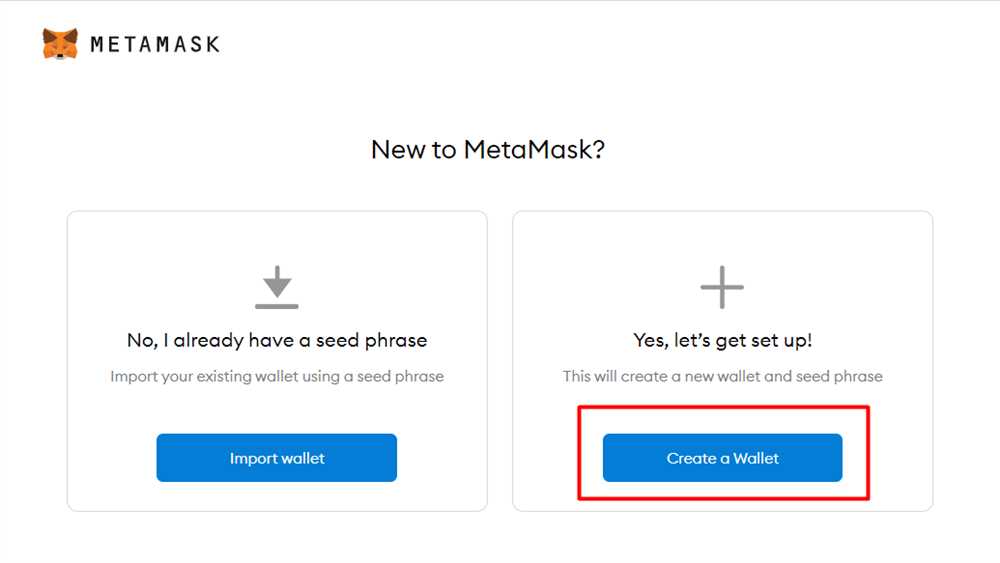
- Click on the “Get Started” button on the welcome screen.
- You will be presented with the option to import an existing wallet or create a new one. Since we are creating a wallet, select the “Create a Wallet” option.
- Enter a strong password for your wallet. Make sure to choose a password that is unique and not used for any other accounts.
- Click on the “Create” button to proceed.
- You will then be shown a secret backup phrase. This phrase is used to recover your wallet in case you forget your password.
- Write down the backup phrase and store it in a safe place. It is vital to keep this phrase secure and not share it with anyone.
- Click on the “Next” button once you have safely stored the backup phrase.
- You will then be asked to verify your backup phrase by selecting the words in the correct order.
- Click on the words in the correct order to verify your backup phrase.
- Once you have successfully verified your backup phrase, your MetaMask wallet will be created.
Congratulations! You have now successfully created a MetaMask wallet on Chrome. Next, let’s learn how to use it.
Using Chrome Metamask
Chrome Metamask is a powerful browser extension that allows users to interact with Ethereum-based dApps and tokens directly from their Chrome browser. Here, we will guide you through the process of using Chrome Metamask for accessing, managing, and interacting with your Ethereum assets.
Installing Chrome Metamask
Before using Chrome Metamask, you need to install it in your Chrome browser. Follow these steps:
- Open your Chrome browser.
- Go to the Chrome Web Store.
- Search for “Metamask”.
- Click on the Metamask extension.
- Click on the Install button and wait for the installation process to complete.
Creating a Metamask Wallet
Once you have installed Metamask, you need to create a wallet to start using it. Here’s how:
- Click on the Metamask extension icon in the top right corner of your Chrome browser.
- Click on the “Get Started” button.
- Click on the “Create a Wallet” option.
- Set a strong password for your wallet. It is highly recommended to use a unique password that you haven’t used elsewhere.
- Click on the “Create” button and read and accept the terms and conditions.
- Save the secret backup phrase displayed on the screen in a safe place. This phrase can be used to restore your wallet if you forget your password or lose access to your device.
- Confirm your backup phrase by selecting the words in the correct order.
Importing an Existing Wallet
If you already have an Ethereum wallet, you can import it into Metamask. Here’s how:
- Click on the Metamask extension icon in the top right corner of your Chrome browser.
- Click on the “Import Wallet” option.
- Enter your secret backup phrase or select the “Import using account seed phrase” option if you have an account-specific seed phrase.
- Set a strong password for your imported wallet.
- Click on the “Import” button and read and accept the terms and conditions.
Connecting to Ethereum Networks
Metamask allows you to connect to different Ethereum networks, such as the mainnet, testnets, and custom networks. Follow these steps to connect to a network:
- Click on the Metamask extension icon in the top right corner of your Chrome browser.
- Click on the network name at the top of the Metamask window, next to the network icon.
- Select the desired network from the available options, or click on “Custom RPC” to add a custom network.
Interacting with Ethereum dApps

With Metamask, you can easily interact with Ethereum dApps. Here’s how:
- Make sure you are connected to the desired network in Metamask.
- Visit the dApp website or platform you want to use.
- If the dApp requires access to your Metamask wallet, you will see a pop-up requesting permission.
- Review the permissions requested by the dApp and click on the “Connect” or “Approve” button to grant access.
Sending and Receiving Ethereum Assets
Metamask allows you to send and receive Ethereum assets easily. Follow these steps:
- Click on the Metamask extension icon in the top right corner of your Chrome browser.
- Click on the “Send” button for sending assets or the “Receive” button for receiving assets.
- Specify the recipient address, the amount to send, and any additional details.
- Click on the “Next” button to review the transaction details.
- Review the transaction details and click on the “Confirm” button to send or receive the assets.
Using Chrome Metamask enhances your ability to interact with the Ethereum blockchain and provides a secure and convenient way to manage your Ethereum assets. Make sure to keep your wallet and backup phrase safe and never share them with anyone.
What is Metamask?
Metamask is a cryptocurrency wallet and browser extension that allows users to interact with decentralized applications (DApps) on the Ethereum blockchain. It serves as a bridge between web browsers and the Ethereum network, making it easier for users to manage their digital assets and engage with Ethereum-based applications.
Can I use Metamask on other web browsers?
Yes, in addition to Chrome, Metamask is also available as a browser extension for Firefox, Brave, and Microsoft Edge. You can follow a similar process to install and set up Metamask on these browsers. However, the user interface may differ slightly between different browsers.