
Metamask and Coinbase are two popular platforms in the cryptocurrency world, and being able to connect them seamlessly can greatly enhance your trading experience. Metamask is a browser extension that allows you to interact with Ethereum decentralized applications (dapps), while Coinbase is a well-known cryptocurrency exchange and wallet service.
If you’re new to the world of cryptocurrencies or just getting started with Metamask and Coinbase, you may be wondering how to connect the two platforms. Fortunately, the process is straightforward and can be completed in just a few simple steps, making it easier for you to manage your crypto assets.
In this step-by-step guide, we will walk you through the process of connecting Metamask to Coinbase.
Step 1: Installing Metamask Extension
Before you can connect Metamask to Coinbase, you need to install the Metamask extension in your web browser. Follow these steps to install Metamask:
- Open your web browser and go to the Metamask website.
- Click on the “Get Chrome Extension” button if you are using Google Chrome, or “Get Firefox Extension” if you are using Mozilla Firefox.
- Click on the “Add to Chrome” button or “Add to Firefox” button to start the installation process.
- A pop-up window will appear asking for confirmation to add the extension. Click on “Add extension” to proceed.
- The extension will start downloading and installing. Once it’s done, a Metamask logo will appear in the top right corner of your browser.
- Click on the Metamask logo to open the extension.
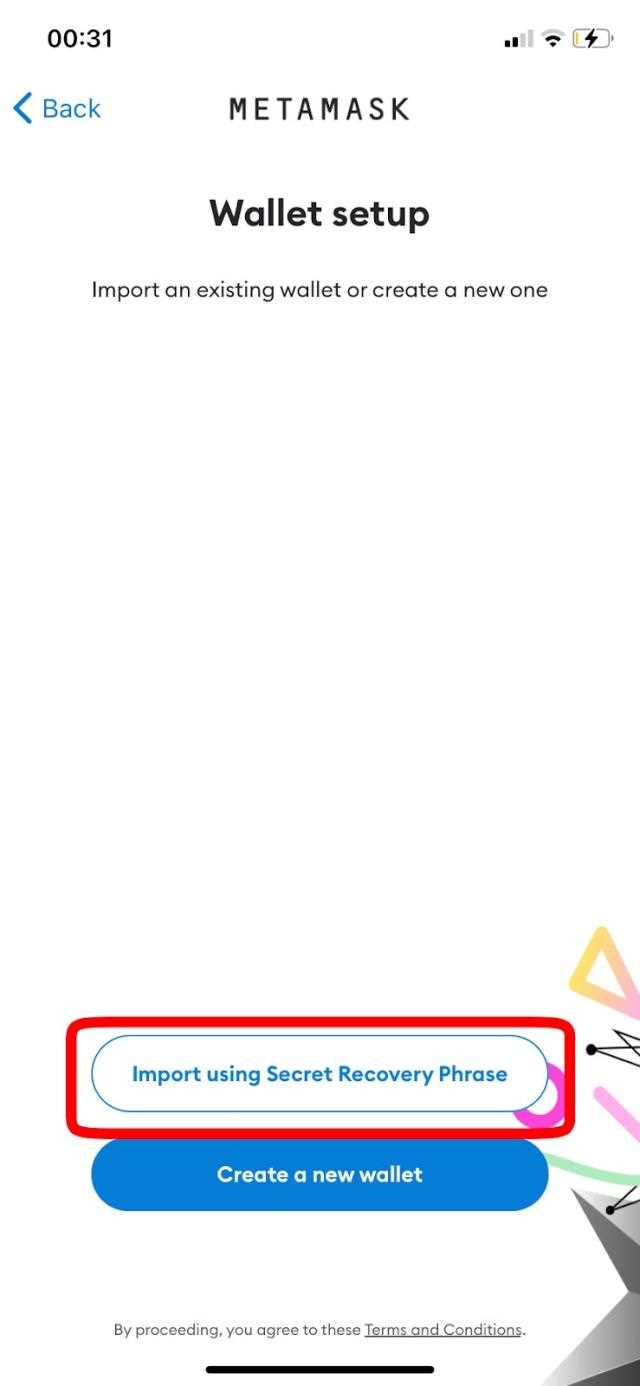
- A welcome screen will appear asking you to create a new wallet or import an existing one. Choose the option that suits you and follow the instructions that appear on the screen.
- Once you have set up your wallet, you are ready to connect Metamask to Coinbase.
By following these steps, you have successfully installed the Metamask extension and are ready to proceed with the connection process.
Step 2: Creating a Metamask Wallet
Now that you have installed the Metamask extension in your browser, it’s time to create a wallet. Follow the steps below to get started:
1. Launching Metamask
Click on the Metamask icon in your browser toolbar to launch the extension.
2. Accepting Terms of Service
After launching Metamask, you will be prompted to accept the terms of service. Read through the terms carefully and click on the “Accept” button to proceed.
3. Creating a New Wallet
Click on the “Create a Wallet” button to begin the wallet creation process.
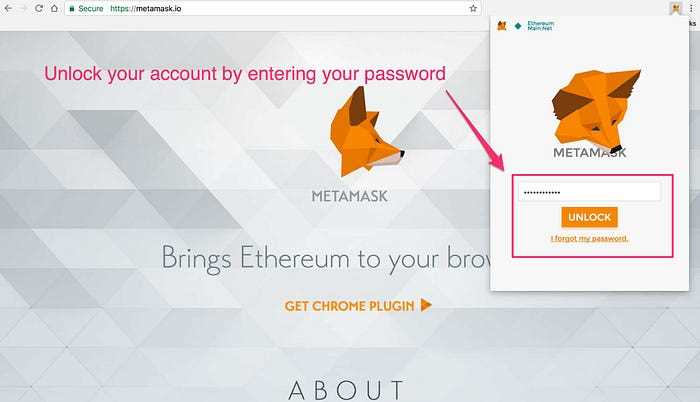
4. Setting up a Password
Enter a strong password for your wallet. Make sure it is unique and that you can remember it easily. Confirm the password by re-entering it in the second field.
5. Saving the Secret Phrase
Metamask will now generate a secret phrase consisting of 12 random words. It is crucial to back up this secret phrase as it is the only way to recover your wallet if you forget your password or lose access to your device. Click on the “Next” button to view the secret phrase.
6. Writing Down the Secret Phrase
Write down the secret phrase in the exact order it is displayed. Store it in a safe and secure location, such as a physical notebook or a password manager. Do not store it digitally as it increases the risk of being hacked.
7. Confirming Secret Phrase
After writing down the secret phrase, Metamask will ask you to confirm it. You will need to select the words in the correct order from a dropdown list. This step ensures you have saved the secret phrase correctly. Select the words one by one and click on the “Confirm” button.
8. Wallet Created!
Congratulations! You have successfully created a Metamask wallet. Click on the “All Done” button to finish the setup process.
Now that your wallet is created, you can proceed to the next step, which is connecting your Metamask wallet to Coinbase.
Step 3: Logging into Coinbase Account
After successfully installing and setting up Metamask, the next step is to log into your Coinbase account. Follow the steps below to securely connect your Metamask wallet to Coinbase:
- Open the Coinbase website in your preferred web browser.
- Click on the “Sign In” button located at the top right-hand corner of the page.
- Enter your Coinbase email address and password, and then click the “Sign In” button.
- If you have enabled two-factor authentication, you will need to enter the verification code sent to your registered mobile device.
- Once successfully logged in, navigate to the settings section of your Coinbase account.
- Look for the option to connect or add an Ethereum wallet.
- Click on the button to connect your wallet.
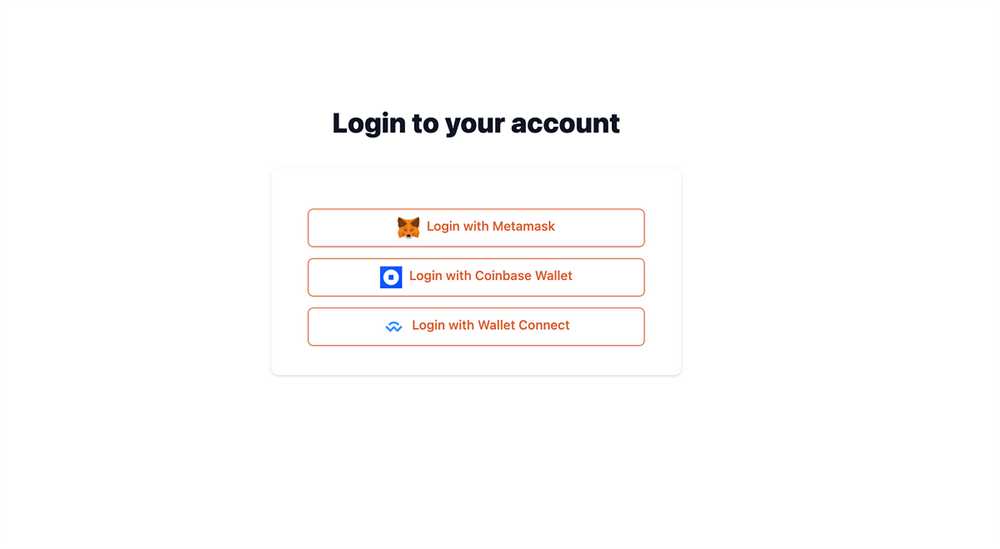
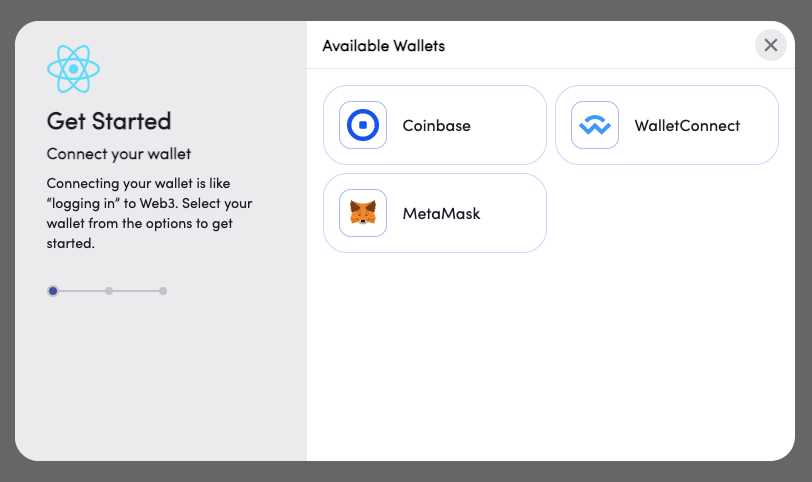
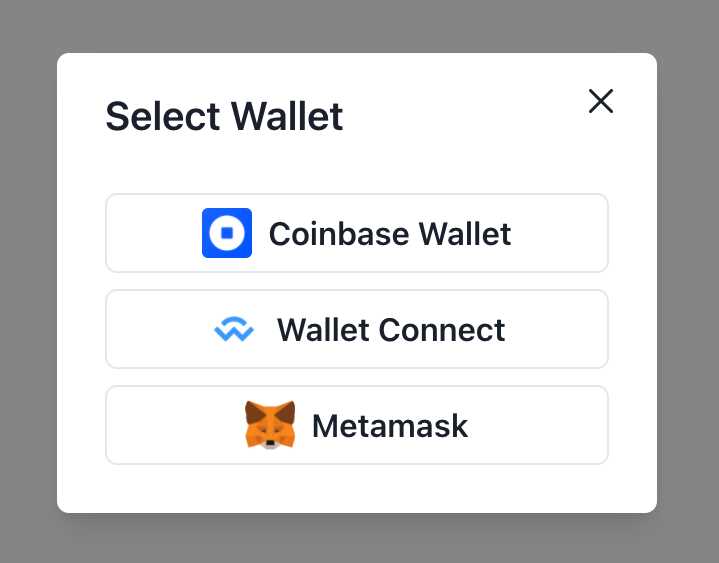
- A pop-up window will appear prompting you to select a wallet provider. Choose Metamask.
- Metamask will ask for your permission to connect with Coinbase. Review the information and click on the “Connect” button.
Once the connection is established, you will see a confirmation message on both the Coinbase and Metamask platforms. You are now ready to use your connected Metamask wallet to interact with supported decentralized applications and perform Ethereum transactions through Coinbase.
Step 4: Connecting Metamask to Coinbase
Once you have both Metamask and Coinbase set up, you can connect them together to leverage the benefits of both platforms. Here’s a step-by-step guide on how to do it:
1. Open Metamask
Open your Metamask extension or app, and make sure you are logged in to your Metamask wallet.
2. Open Coinbase
Open your Coinbase account in a separate tab or window. Make sure you are logged in to your Coinbase account.
3. Connect Metamask to Coinbase
In your Coinbase account, go to the “Settings” or “Accounts” section and look for the option to connect external wallets or add accounts. Click on this option.
A pop-up or new page will appear with a list of supported wallets. Look for the option to connect Metamask and click on it.
Metamask will ask for your permission to connect with Coinbase. Click on “Connect” to proceed.
4. Confirm the Connection
After clicking “Connect,” Metamask will redirect you back to Coinbase with a confirmation message. Review the details and click “Confirm” to finalize the connection.
5. Authorize the Connection
Metamask may prompt you to authorize the connection and grant Coinbase access to your Metamask wallet. Review the permissions requested and click on “Authorize” to proceed.
6. Connection Successful
Once you have authorized the connection, you should see a success message confirming that Metamask and Coinbase are now connected. You can now enjoy the benefits of using Metamask with your Coinbase account.
Note: The steps may vary slightly depending on the versions and interfaces of Metamask and Coinbase, but the general process remains the same.
Step 5: Confirming the Connection
Once you have successfully connected your Metamask wallet to Coinbase, it is important to confirm that the connection is working properly. This step will ensure that your transactions can be executed smoothly.
To confirm the connection, follow these steps:
- Open your Metamask wallet and go to the “Settings” tab.
- Click on the “Networks” option on the left-hand side menu.
- Scroll down and find the network titled “Coinbase” in the list of connected networks.
- Click on the “Coinbase” network to select it.
- Verify that the network details match those provided by Coinbase. The network name should be “Coinbase”, the URL should be “https://www.coinbase.com”, and the chain ID should be the same as the one provided by Coinbase.
Important Note:

If any of the network details do not match, or if you cannot find the “Coinbase” network in your Metamask wallet, it means that the connection was not successfully established. In this case, you will need to repeat the previous steps and ensure that you have followed the instructions correctly.
Table: Summary of Steps
| Step | Description |
|---|---|
| Step 1 | Open Metamask wallet and go to “Settings” tab. |
| Step 2 | Click on “Networks” option in left-hand side menu. |
| Step 3 | Find “Coinbase” network in the list of connected networks. |
| Step 4 | Select “Coinbase” network. |
| Step 5 | Verify network details (name, URL, chain ID). |
By confirming the connection, you can ensure that your Metamask wallet is securely linked to your Coinbase account, allowing you to execute transactions seamlessly.
Can I connect Metamask to Coinbase?
Yes, you can connect Metamask to Coinbase by following the step-by-step guide mentioned in the article.
What is Metamask?
Metamask is a cryptocurrency wallet that allows users to manage their Ethereum-based assets and interact with decentralized applications (dapps) on the Ethereum network.
Why would I want to connect Metamask to Coinbase?
Connecting Metamask to Coinbase allows you to easily transfer funds between your Coinbase account and your Metamask wallet, giving you more flexibility and control over your cryptocurrency assets.