
If you’ve been hearing a lot about Non-Fungible Tokens (NFTs) and want to jump on the bandwagon, you’re in the right place. Adding NFTs to your MetaMask wallet is a great way to get started in the world of digital collectibles and unique assets.
MetaMask is a popular Ethereum wallet that allows users to manage their cryptocurrency funds and interact with decentralized applications (DApps). By adding NFTs to your MetaMask wallet, you’ll have a secure and convenient way to buy, sell, and trade these one-of-a-kind digital assets.
In this step-by-step guide, we’ll walk you through the process of adding NFTs to your MetaMask wallet so that you can start exploring the exciting world of digital art, virtual real estate, and other unique digital assets.
Step 1: Install and Set Up MetaMask
The first step is to install the MetaMask extension on your preferred web browser. Once installed, create a new wallet or import your existing wallet using the seed phrase. Set a strong password and make sure to keep your seed phrase safe.
Step 2: Connect Your MetaMask Wallet to an NFT marketplace
To add NFTs to your MetaMask wallet, you’ll need to connect it to an NFT marketplace. Some popular NFT marketplaces include OpenSea, Rarible, and SuperRare. Visit the marketplace of your choice and sign in or create an account.
Step 3: Add NFTs to Your MetaMask Wallet
Once you’re logged into the NFT marketplace, browse through the available NFTs and find the ones you’re interested in. Click on the NFT you want to purchase or add to your wallet, and you’ll see an option to connect your MetaMask wallet. Select MetaMask and authorize the connection.
Step 4: Finalize the Transfer
After connecting your MetaMask wallet, you’ll see a prompt to confirm the transaction. Review the details, including the price and gas fees, and click on the “Confirm” button to finalize the transfer. Once the transaction is confirmed on the blockchain, the NFT will be added to your MetaMask wallet.
Now that you’ve successfully added NFTs to your MetaMask wallet, you can start exploring the unique world of digital collectibles and assets. Buy, sell, and trade NFTs to build your own digital collection and be a part of the growing NFT community.
What is MetaMask and How Does it Work?
MetaMask is a cryptocurrency wallet and browser extension that allows users to interact with decentralized applications (dApps) on the Ethereum blockchain. It functions as both a wallet and a gateway to the Ethereum network, enabling users to manage their digital assets and execute transactions.
To use MetaMask, users first need to install the extension on their web browser. Once installed, MetaMask creates a unique Ethereum address for the user, which serves as their digital identity on the network. This address can be used to send, receive, and store Ethereum and other ERC-20 tokens.
MetaMask also acts as a bridge between users and dApps. When a user interacts with a dApp that requires a transaction, MetaMask prompts the user to review and confirm the details of the transaction. This ensures that the user has full control over their digital assets and can verify the actions performed on their behalf.
Key Features of MetaMask
MetaMask offers several key features that make it a popular choice among Ethereum users:
- Integration with Web3: MetaMask integrates with Web3, a collection of JavaScript libraries that enable developers to build decentralized applications. This allows users to seamlessly connect to dApps and interact with the Ethereum network.
- Secure Wallet: MetaMask provides users with a secure, non-custodial wallet where they can securely store their private keys. The private keys are stored locally on the user’s device and never leave it, giving users full control over their funds.
- Easy Token Management: MetaMask makes it easy to manage Ethereum and other ERC-20 tokens. Users can easily add and remove tokens from their wallet, view their balances, and execute token transfers.
- Customizable Network Settings: MetaMask allows users to connect to different Ethereum networks, including the Ethereum mainnet, testnets like Ropsten and Rinkeby, and custom networks. This flexibility enables users to interact with various dApps and test their applications in different environments.
In summary, MetaMask is a powerful tool that simplifies the process of interacting with Ethereum and dApps. It provides users with a secure and convenient wallet, while also enabling them to connect with the broader Ethereum ecosystem.
Step 1: Downloading and Installing MetaMask
In order to add NFTs to MetaMask, you first need to download and install the MetaMask extension on your preferred web browser. MetaMask is a digital wallet that allows you to interact with the Ethereum blockchain and store your NFTs securely.
1.1 Choose Your Web Browser
MetaMask is available for download on popular web browsers such as Google Chrome, Firefox, and Brave. Choose the browser you prefer and follow the steps below to install MetaMask.
1.2 Download MetaMask
- Open your web browser and go to the official MetaMask website.
- Click on the “Get Chrome Extension” or “Get Firefox Add-On” button, depending on the browser you’re using.
- Follow the on-screen prompts to download the MetaMask extension. This may involve confirming the installation and granting necessary permissions.
- Once the extension is downloaded, you’ll see the MetaMask icon added to your browser’s toolbar.
Congratulations! You have successfully downloaded and installed MetaMask on your web browser. Now, it’s time to set up your MetaMask wallet, which will allow you to start adding NFTs to your digital collection.
Step 2: Setting Up MetaMask for NFTs
Once you have installed the MetaMask extension in your browser, you will need to set it up to work with NFTs. Follow the steps below to get started:
1. Launch MetaMask
Open your browser and find the MetaMask extension icon in the toolbar. Click on it to launch MetaMask.
2. Create or Import a Wallet
If you already have a MetaMask wallet, you can skip this step. Otherwise, click on the “Get Started” button on the welcome screen to create a new wallet. Follow the prompts to set up a password and write down your secret backup phrase. Alternatively, if you already have a wallet, click on “Import Wallet” and enter your seed phrase or private key.
3. Connect to the Ethereum Mainnet
After setting up your wallet, make sure you are connected to the Ethereum Mainnet. To do this, click on the network dropdown at the top of the MetaMask window and select “Ethereum Mainnet” from the list. If you are already connected to the correct network, you can skip this step.
4. Add Custom Token
To add NFTs to MetaMask, you will need to manually add the token contract address. Visit the platform or marketplace where you acquired your NFT, and find the token’s contract address. Copy the address. In MetaMask, click on the “Add Token” button, paste the token contract address into the input field, and click “Next”. Verify that the token details are correct, and click “Add Tokens” to add the NFT to your wallet.
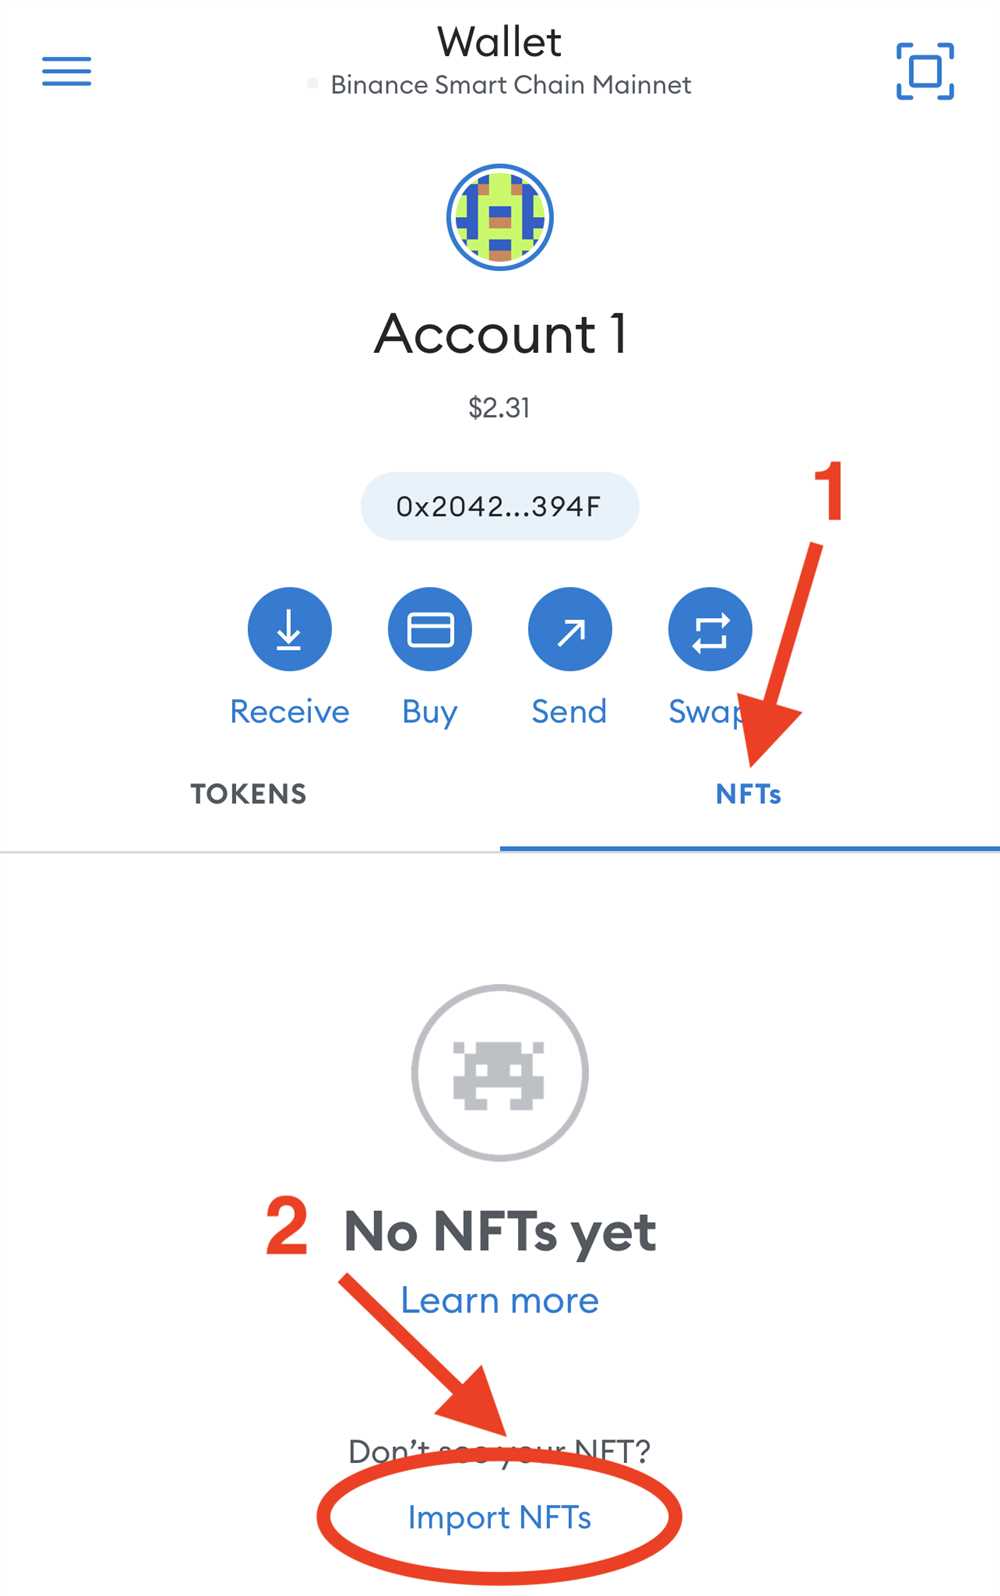
5. View and Manage Your NFTs
Now that MetaMask is set up for NFTs, you can view and manage your NFT collection. Click on the “Assets” tab in MetaMask to see the list of your NFTs. From here, you can transfer, sell, or showcase your NFTs.
6. Stay Safe!
When dealing with NFTs, it is important to stay safe and be cautious. Make sure to only connect your MetaMask wallet to trusted platforms and be wary of scams. Keep your secret backup phrase secure and never share it with anyone. By following these precautions, you can securely enjoy the world of NFTs.
| Pros | Cons |
|---|---|
| Easy setup process. | Requires careful attention to avoid scams. |
| Ability to view and manage NFTs within MetaMask. | Manually adding token contract addresses can be time-consuming. |
| Secure storage for NFTs. | May require additional research on reputable platforms and marketplaces. |
Step 3: Adding NFTs to MetaMask
Once you have set up your MetaMask wallet and connected it to the Ethereum network, you can start adding NFTs to it. Here’s how:
Step 3.1: Find NFT Marketplaces
First, you need to find NFT marketplaces where you can browse and select the NFTs you want to add to your MetaMask wallet. Some popular NFT marketplaces include OpenSea, Rarible, and SuperRare. These platforms allow artists and creators to mint and sell their NFTs.
Step 3.2: Connect MetaMask to the Marketplace
Once you have chosen a marketplace, you need to connect your MetaMask wallet to it. Usually, there will be a “Connect Wallet” or “Sign In” button on the marketplace’s website. Click on it and select MetaMask as your wallet provider. You will then be prompted to authorize the connection between MetaMask and the marketplace.
Make sure that the wallet address shown on the marketplace matches the one in your MetaMask wallet to ensure that you are connecting to the correct wallet.
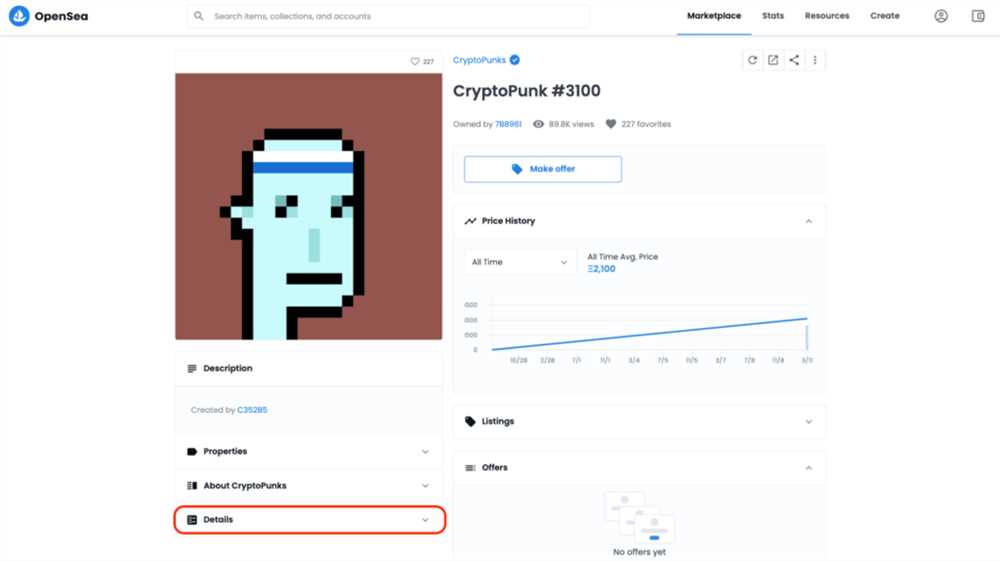
Step 3.3: Browse and Select NFTs
After connecting MetaMask to the marketplace, you can start browsing through the available NFTs. Most marketplaces have various categories or search filters to help you find NFTs that match your interests. Once you find an NFT you want to purchase or add to your MetaMask wallet, click on it to view more details.
Verify the authenticity and details of the NFT, such as the creator, edition, and price. You can also view the NFT’s digital assets, such as images, videos, or other media files. If you decide to proceed, click on the “Buy” or “Add to Wallet” button.
Step 3.4: Confirm the Transaction
When you click on the “Buy” or “Add to Wallet” button, a transaction confirmation window will appear. Review the details of the transaction, including the gas fees, and make sure everything is correct. Then, click “Confirm” to proceed with the transaction.
MetaMask will open a new window or prompt within the extension, asking you to review and confirm the transaction. Check the details once again, especially the recipient address, gas fees, and network, and click “Confirm” to finalize the transaction.
Once the transaction is successfully confirmed, the NFT will be added to your MetaMask wallet. You can view and manage your NFT collection by clicking on the “Assets” tab in the MetaMask extension.
Congratulations! You have successfully added an NFT to your MetaMask wallet.
Step 4: Managing and Interacting with NFTs in MetaMask
Now that you have successfully added NFTs to your MetaMask wallet, it’s time to learn how to manage and interact with them. MetaMask provides a user-friendly interface to make it easy for you to view, transfer, and showcase your NFTs.
When you open MetaMask, you will see a dedicated tab for NFTs. Click on this tab to access all your NFTs in one place. Here, you can see a list of your NFTs along with detailed information such as the name, description, and current owner.
If you want to transfer or sell your NFT, simply click on the desired NFT and select the “Send” or “Sell” option. You will be prompted to enter the recipient’s wallet address and any additional details required for the transaction. Confirm the details and click on the “Send” or “Sell” button to complete the transfer.
MetaMask also allows you to interact with your NFTs in various ways. You can showcase your NFTs by connecting your wallet to NFT marketplaces and galleries. This enables you to display your NFTs to a wider audience and potentially attract potential buyers.
Additionally, some NFTs come with special features or functionalities. For example, certain NFTs may have built-in games or interactive elements. To access these features, simply click on the respective NFT and follow the instructions provided by the NFT creator.
Remember to always double-check the details of any transaction before confirming. Ensure that you are sending your NFT to the correct address and that you understand any terms and conditions associated with transferring or interacting with your NFTs.
By following these simple steps, you can effectively manage and interact with your NFTs in MetaMask. Explore the possibilities and enjoy the world of NFTs!
What is MetaMask?
MetaMask is a cryptocurrency wallet and browser extension that allows users to interact with decentralized applications (dApps) on the Ethereum blockchain.
What is a contract address?
A contract address is a unique identifier that represents a smart contract on the Ethereum blockchain. It is used to interact with the contract and its associated assets, such as NFTs.