
Welcome to the world of Polygon, a layer 2 scaling solution built on the Ethereum blockchain that aims to address the network’s scalability issues. If you’re new to Polygon and want to explore its potential, you’ve come to the right place. In this beginner’s tutorial, we’ll walk you through the process of setting up and using Metamask with Polygon, so you can access all the exciting opportunities this ecosystem has to offer.
Metamask is a popular Ethereum wallet and browser extension that allows you to interact with decentralized applications (dApps) and manage your digital assets securely. By connecting Metamask to Polygon, you can enjoy fast and low-cost transactions while still leveraging the Ethereum network’s security and ecosystem. This opens up a world of possibilities, whether you’re trading cryptocurrencies, participating in decentralized finance (DeFi), or playing blockchain-based games.
In this tutorial, we’ll guide you through the steps of installing Metamask, creating a new wallet, and connecting it to the Polygon network. We’ll also show you how to add the Matic Mainnet to your network list, transfer assets between Ethereum and Polygon, and interact with dApps on Polygon. By the end, you’ll have a solid understanding of how to unlock the full potential of Polygon with Metamask and begin your journey into the exciting world of layer 2 scaling.
Why Choose Polygon?
Polygon is a layer-2 scaling solution for Ethereum that aims to provide high-speed and low-cost transactions, making it an attractive choice for developers and users alike.
Here are some key reasons why you should consider choosing Polygon:
- Scalability: Polygon offers a scalable infrastructure that can handle a large number of transactions per second. With its sidechain architecture, it offloads the burden from the Ethereum mainnet, resulting in faster and more efficient transactions.
- Low fees: Transactions on Polygon are significantly cheaper compared to those on the Ethereum mainnet. This makes it an ideal choice for developers who want to build decentralized applications without worrying about high gas fees.
- Interoperability: Polygon is compatible with Ethereum, meaning you can seamlessly transfer assets and interact with dApps on both networks. This makes it easy to leverage the existing Ethereum ecosystem while enjoying the benefits of Polygon’s scalability.
- Developer-friendly: Polygon provides a familiar development environment for Ethereum developers. It supports the same tools and frameworks, making it easy to port existing dApps to Polygon or build new ones from scratch.
- Community support: Polygon has a vibrant and active community of developers, users, and projects. This means you can easily find resources, tutorials, and support to guide you in your journey of building on Polygon.
Overall, Polygon offers an efficient and cost-effective solution for scaling Ethereum, empowering developers to build decentralized applications with improved performance and user experience.
Disclaimer: This article is for informational purposes only and should not be considered financial or investment advice. Always do your own research and consult with a professional before making any investment decisions. Cryptocurrency investments are subject to market risk.
Fast and Scalable
Polygon is a layer 2 scaling solution for Ethereum that aims to address the network’s scalability issues. By leveraging sidechains and a decentralized network of validators, Polygon is able to significantly increase transaction throughput and reduce transaction fees.
The architecture of Polygon allows for fast and efficient transactions. With multiple sidechains, each capable of processing its own transactions, the network can handle a high volume of transactions in parallel. This enables users to experience faster transaction confirmations and eliminates the problem of network congestion that often plagues Ethereum.
In addition to being fast, Polygon is also highly scalable. As the number of users and transactions on the network increases, new sidechains can be added to accommodate the growing demand. This means that the network can scale seamlessly without any significant impact on its performance or user experience.
Benefits of Fast and Scalable Transactions
- Improved user experience: With faster transaction confirmations, users can enjoy a smoother and more efficient interaction with decentralized applications and smart contracts.
- Reduced transaction fees: The scalability of Polygon allows for lower fees compared to the Ethereum mainnet, making it more cost-effective for users.
- Support for high-volume applications: The fast and scalable nature of Polygon makes it an ideal platform for applications that require a high number of transactions, such as decentralized exchanges or gaming platforms.
Conclusion

Polygon’s fast and scalable nature makes it a promising solution for overcoming the limitations of the Ethereum network. By unlocking the potential of Polygon with Metamask, users can benefit from faster and more efficient transactions, as well as lower fees. As the network continues to evolve and attract more developers and users, it has the potential to become a leading platform for decentralized applications and blockchain-based solutions.
Low Transaction Fees
One of the major advantages of using Polygon with Metamask is the low transaction fees. Polygon is built on a layer 2 solution that aims to scale Ethereum and reduce gas fees. Gas fees on the Ethereum network can be quite high during times of high demand, making transactions costly for users.
However, when using Polygon with Metamask, users can benefit from lower transaction fees. This is because transactions are processed on the Polygon network, which has its own set of validators and consensus mechanism. As a result, transactions on Polygon are faster and cheaper compared to the Ethereum network.
In addition, Polygon also supports the use of various scaling solutions such as zk-rollups and optimistic rollups. These solutions further enhance the scalability of the network and help keep transaction costs low.
By leveraging the low transaction fees offered by Polygon, users can make the most of their transactions and maximize the value of their interactions with decentralized applications (dApps) and other blockchain-based services. Whether it’s swapping tokens, interacting with smart contracts, or participating in decentralized finance (DeFi) protocols, Polygon allows users to do so with minimal transaction costs.
- Save money on transaction fees
- Enjoy faster transaction processing times
- Access various scaling solutions for enhanced scalability
- Participate in DeFi and other blockchain-based services without breaking the bank
In conclusion, the low transaction fees offered by Polygon make it an attractive choice for users looking to utilize blockchain technology without incurring high costs. By using Metamask on Polygon, users can enjoy the benefits of a scalable and cost-efficient network.
Getting Started with Metamask
If you want to unlock the potential of Polygon, one of the first things you’ll need is a wallet that supports it. Metamask is a popular choice for many users as it provides a user-friendly interface and seamless integration with various decentralized applications.
To get started with Metamask, follow these simple steps:
- Install Metamask: Visit the Metamask website and download the extension for your preferred browser. Once installed, create a new account by following the on-screen instructions.
- Create a Password: Set a strong password for your Metamask account. Make sure to use a combination of uppercase and lowercase letters, numbers, and special characters. Remember to keep your password secure and never share it with anyone.
- Save your Secret Backup Phrase: Metamask will provide you with a secret backup phrase consisting of 12 words. It is crucial to write down and store this phrase in a safe place. This backup phrase acts as the key to your wallet and can be used to restore your account if you ever lose access.
- Import or Create a New Account: If you already have an Ethereum account, you can import it into Metamask by selecting the “Import Account” option. Otherwise, you can create a new account by selecting the “Create Account” option.
- Connect to Polygon: Once your Metamask account is set up, you need to connect it to the Polygon network. Click on the network dropdown in the Metamask interface and select “Custom RPC.” Enter the Polygon details, including the RPC URL and chain ID, as specified by the Polygon documentation.
- Add Funds to Your Wallet: To start using Polygon, you’ll need some MATIC tokens in your wallet. You can acquire MATIC tokens by purchasing them from a cryptocurrency exchange and then transferring them to your Metamask wallet.
Now you’re ready to start exploring the potential of Polygon! With Metamask and the Polygon network, you can access various decentralized applications, participate in yield farming, and engage in other exciting activities in the decentralized finance ecosystem.
Note: It’s important to exercise caution and do your own research when interacting with decentralized applications and investing in cryptocurrencies. Always double-check contract addresses and be mindful of potential scams.
Install Metamask
To get started with Polygon and interact with decentralized applications (DApps), you will need to install the Metamask browser extension.
Metamask is a cryptocurrency wallet that allows you to securely store your digital assets and interact with the blockchain. It is available as a browser extension for Chrome, Firefox, and Brave.
Here is a step-by-step guide on how to install Metamask:
Step 1: Download the Extension
Open your preferred browser and search for “Metamask” in the extension marketplace or go to the official Metamask website at https://metamask.io/.
Click on the “Download” button and follow the instructions provided by your browser to install the extension.
Step 2: Create a Wallet
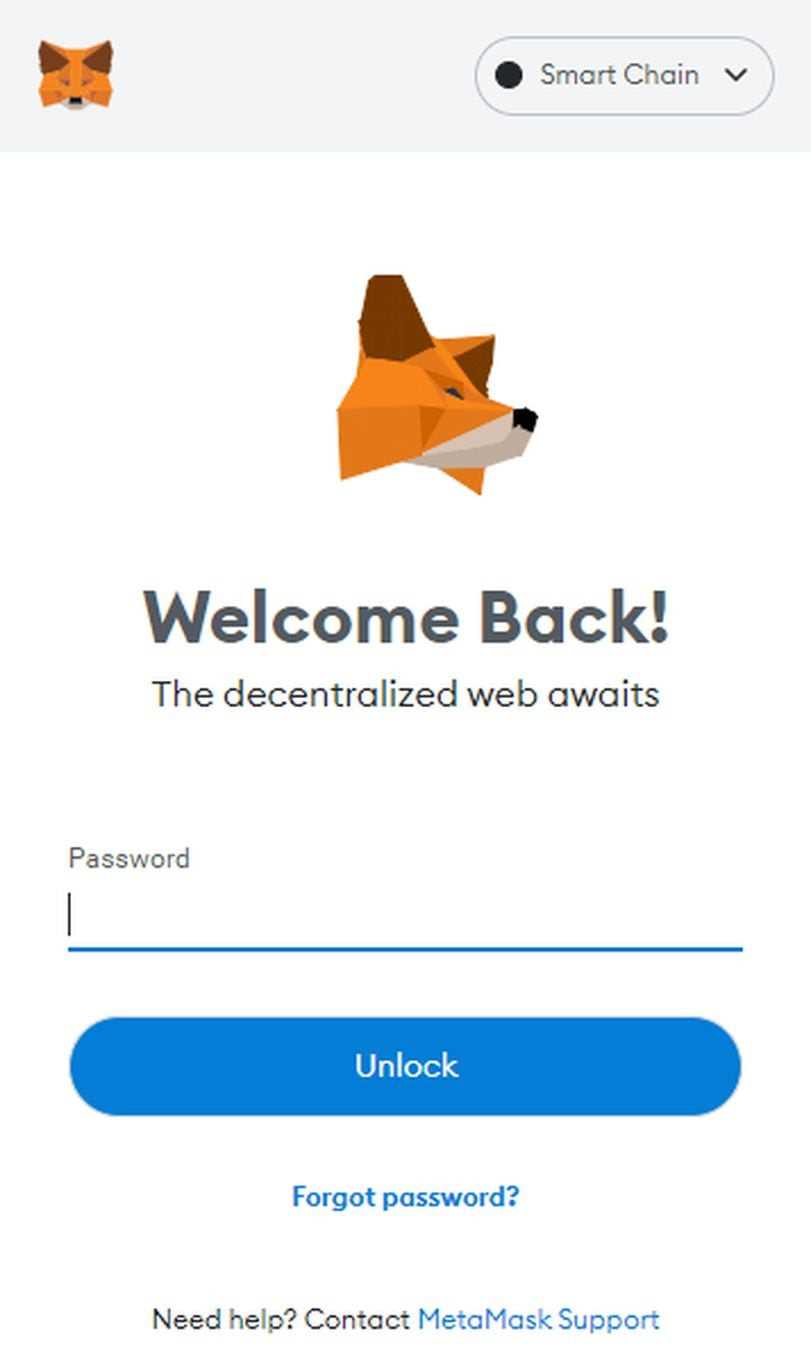
Once the extension is installed, click on the Metamask icon in your browser’s toolbar to open the interface.
Click on the “Create a Wallet” button and follow the prompts to set up a new wallet. Make sure to carefully write down and store your seed phrase in a safe place. This seed phrase is crucial for recovering your wallet if you ever lose access to it.
Remember: Never share your seed phrase with anyone and keep it secure at all times.
Set a strong password for your wallet and complete the remaining steps to finalize the wallet creation process.
Step 3: Connect to Polygon
Once your wallet is created, you will need to connect it to the Polygon network to start using it.
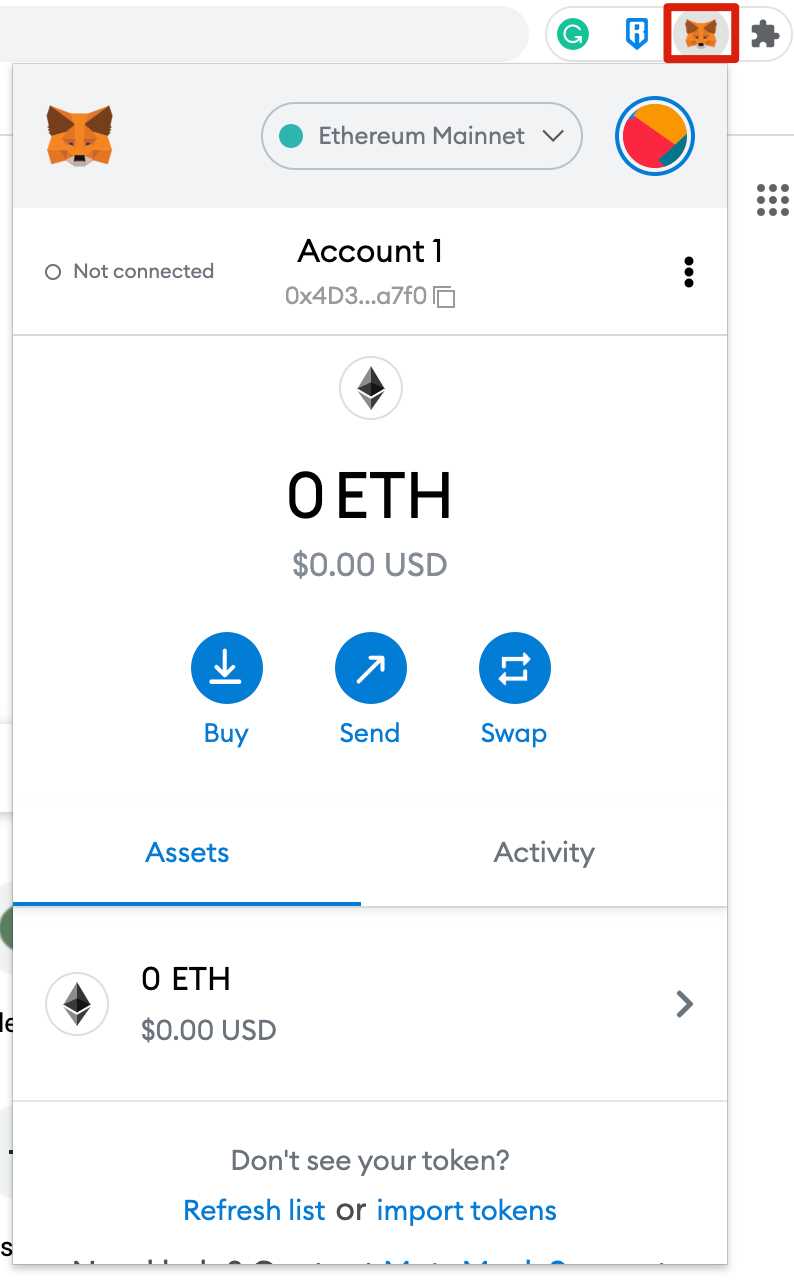
In the Metamask interface, click on the network selection dropdown (usually set to Ethereum Mainnet by default) and select “Custom RPC”.
Enter the following details to connect to the Polygon network:
Network Name: Polygon
New RPC URL: https://rpc-mainnet.maticvigil.com
Chain ID: 137
Click on the “Save” button to apply the changes. You should now be connected to the Polygon network and ready to explore the world of decentralized finance (DeFi) and other DApps on Polygon.
Conclusion
Installing Metamask is a crucial step in getting started with Polygon and accessing the full potential of decentralized applications. By following the steps outlined in this tutorial, you are now ready to dive into the exciting world of Polygon and leverage the power of blockchain technology.
Remember to always exercise caution when interacting with cryptocurrencies and decentralized applications, and only invest what you can afford to lose.
Create a Wallet
In order to use Polygon with Metamask, you’ll need to create a wallet and set up the necessary connections. Here’s a step-by-step guide to help you get started:
Step 1: Install Metamask
If you haven’t already, the first thing you need to do is install the Metamask browser extension. You can find it in the Chrome Web Store or the Firefox Add-ons Marketplace. Once installed, you’ll see the Metamask icon in your browser toolbar.
Step 2: Set Up Your Wallet
Click on the Metamask icon to open the extension. If you already have a wallet set up, you can either import it or create a new one. If you’re new to Metamask, click “Get Started” and follow the on-screen instructions to create a new wallet.
Step 3: Connect to Polygon
Once your wallet is set up, you’ll need to connect it to the Polygon network. Click on the Metamask icon again and select “Polygon” from the network options. If you don’t see Polygon in the list, click “Custom RPC” and enter the following details:
| Network Name | RPC URL | Chain ID |
|---|---|---|
| Polygon Mainnet | https://rpc-mainnet.maticvigil.com/ | 137 |
| Polygon Testnet (Mumbai) | https://rpc-mumbai.maticvigil.com/ | 80001 |
After entering the details, click “Save” and your wallet will be connected to the Polygon network.
That’s it! You’ve successfully created a wallet and connected it to Polygon using Metamask. Now you’re ready to start exploring the potential of the Polygon ecosystem.
What is Polygon?
Polygon is a layer 2 scaling solution for Ethereum, which aims to solve scalability issues and high transaction fees on the Ethereum network. It achieves this by utilizing a sidechain infrastructure, allowing for faster and cheaper transactions.
What is Metamask?
Metamask is a cryptocurrency wallet and browser extension that allows users to interact with the Ethereum network. It provides a user-friendly interface for managing Ethereum accounts, storing and transferring tokens, and accessing decentralized applications (dApps).