
Welcome to our step-by-step guide on how to add Flare Network to the popular cryptocurrency wallet, Metamask. Flare Network is a decentralized platform that aims to bring smart contract functionality to the XRP ecosystem, enabling new possibilities for developers and users alike. Integrating Flare Network into your Metamask wallet allows you to access this exciting network and explore the applications and services it offers.
Adding Flare Network to Metamask is a relatively simple process that can be completed in just a few easy steps. In this guide, we will walk you through each step, ensuring that you can seamlessly connect your wallet to the Flare Network and start taking advantage of all that it has to offer.
Before we get started, please note that you will need to have the Metamask wallet installed and set up on your device. If you haven’t done so already, head over to the Metamask website and follow their instructions to create a new wallet or import an existing one.
Step 1: Install Metamask Extension
In order to add Flare Network to Metamask, the first step is to have the Metamask extension installed in your web browser. Metamask is available for popular browsers like Chrome, Firefox, and Brave. Here’s how you can install it:
For Chrome:
- Open the Chrome Web Store.
- Search for “Metamask” in the search bar.
- Click on the “Add to Chrome” button next to the Metamask extension.
- A pop-up will appear, click on “Add Extension” to install.
- Once installed, you will see a new Metamask icon next to the address bar.
For Firefox:
- Open the Firefox Add-ons website.
- Search for “Metamask” in the search bar.
- Click on the “Add to Firefox” button next to the Metamask extension.
- A pop-up will appear, click on “Add” to install.
- Once installed, you will see a new Metamask icon next to the address bar.
For Brave:
- Open the Brave browser.
- Click on the menu icon (three horizontal lines) on the top-right corner.
- Select “More Tools” and then “Extensions”.
- Search for “Metamask” in the search bar.
- Click on the “Add to Brave” button next to the Metamask extension.
- A pop-up will appear, click on “Add extension” to install.
- Once installed, you will see a new Metamask icon next to the address bar.
After successfully installing the Metamask extension, you can proceed to the next step to connect it to the Flare Network.
Step 2: Create a New Wallet

Once you have installed Metamask and added the extension to your browser, the next step is to create a new wallet. Follow these steps:
- Click on the Metamask extension icon in your browser toolbar.
- A pop-up window will appear with the Metamask logo and a “Get Started” button. Click on the button to begin.
- You will then be redirected to the Metamask welcome page. Click on the “Create a Wallet” button.
- Create a strong and unique password for your wallet. Make sure to remember it or store it in a secure location.
- Read and accept the Terms of Use and Privacy Notice by checking the corresponding boxes.
- Click on the “Create” button to proceed.
- A secret backup phrase will be displayed on the screen. This is your wallet’s recovery phrase, which can be used to recover your wallet in case you forget your password.
- Write down the backup phrase and keep it in a safe place. It is important not to share this phrase with anyone, as it can be used to access your wallet.
- Click on the “Next” button to proceed.
- You will then be asked to confirm your backup phrase by selecting the words in the correct order. This is an additional security measure to ensure that you have correctly recorded your backup phrase.
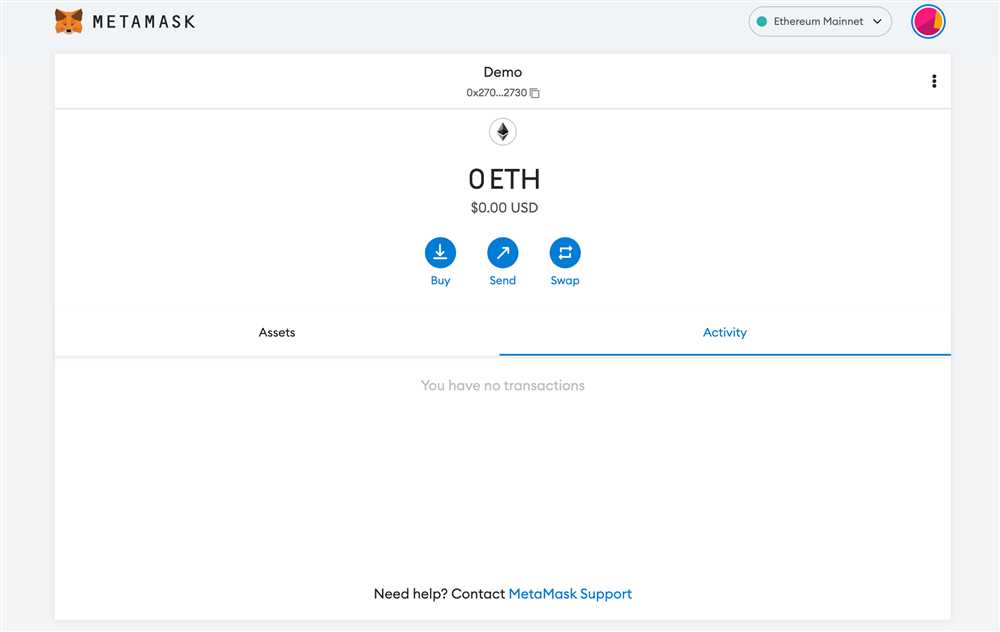
- Once you have successfully confirmed your backup phrase, your wallet is created and you will be redirected to the Metamask dashboard.
Congratulations! You have successfully created a new wallet in Metamask. Make sure to keep your wallet password and backup phrase secure at all times.
Step 3: Connect to the Flare Network
Once you have added the Flare Network to your Metamask wallet, the next step is to connect to the network. Here’s how you can do it:
1. Open Metamask: First, open your Metamask wallet by clicking on the extension icon in your browser toolbar.
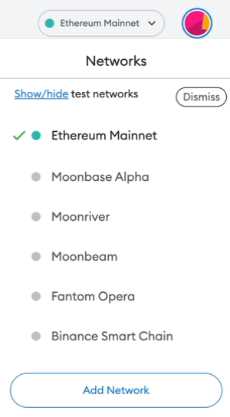
2. Click on the Network Selection Dropdown: In the Metamask wallet, click on the current network selection dropdown. It is usually displayed at the top center of the wallet interface, next to the account name.
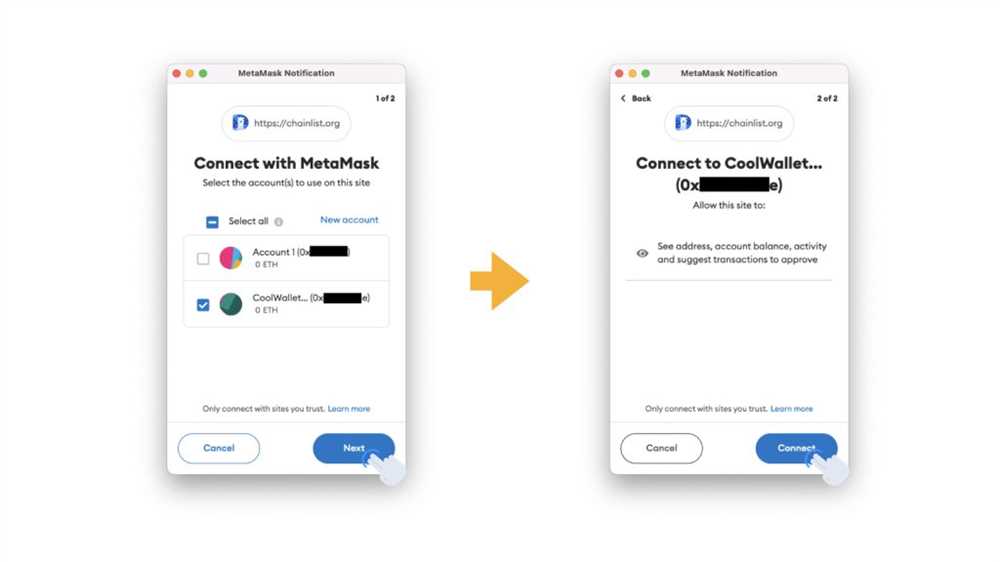
3. Choose the Flare Network: From the dropdown menu, select the “Flare Network” option. This will connect your wallet to the Flare Network.
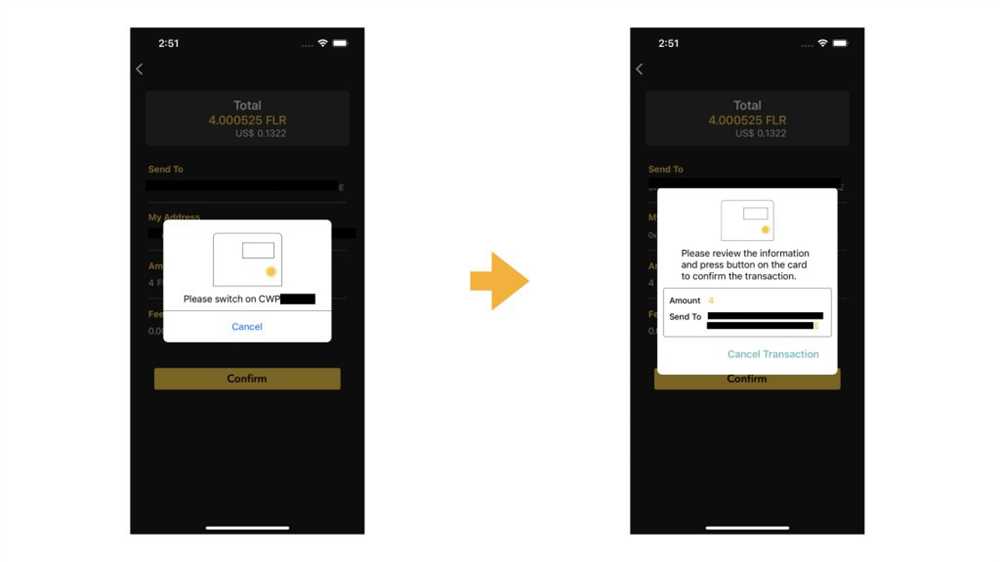
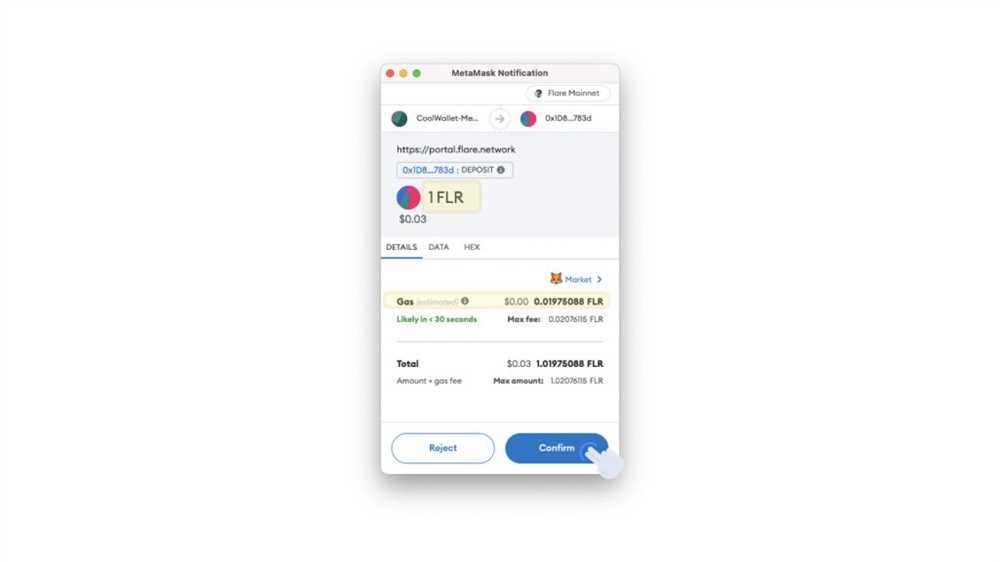
4. Confirm Connection: Once you have selected the Flare Network, Metamask will display a confirmation prompt. Review the details and click “Connect” to confirm the connection.
5. Connected to the Flare Network: After confirming the connection, your Metamask wallet will be connected to the Flare Network. You will now be able to interact with the Flare Network and use its features.
Note: Make sure you are connected to the correct network before performing any transactions or interactions on the Flare Network. The network selection dropdown will display the currently connected network.
Step 4: Add FLR Tokens to Metamask
Once you have successfully connected your Metamask wallet to the Flare Network, the next step is to add the FLR tokens to your Metamask wallet. FLR tokens are the native tokens of the Flare Network, similar to how Ether is the native token of the Ethereum network.
Step 4.1: Obtain the FLR Token Contract Address
To add FLR tokens to your Metamask wallet, you will need to obtain the FLR token contract address. This address is unique and allows Metamask to recognize and interact with the FLR tokens on the Flare Network.
To obtain the FLR token contract address, you can visit the Flare Network’s official website or refer to the project’s documentation. Look for the section that provides the contract address for the FLR tokens.
Step 4.2: Add the FLR Token to Metamask
- Open your Metamask wallet extension in your web browser or on your mobile app.
- Click on the menu icon in the top-left corner of the wallet interface and select “Add Token” from the dropdown menu.
- In the “Token Contract Address” field, paste the FLR token contract address that you obtained in step 4.1.
- Metamask will automatically retrieve the token symbol (FLR) and decimal places from the contract address.
- Click on the “Next” button.
- On the confirmation screen, review the details of the FLR token and click on the “Add Tokens” button. This will add the FLR tokens to your Metamask wallet.
Once the FLR tokens are added to your Metamask wallet, you will be able to view your token balance and perform transactions using the FLR tokens on the Flare Network.
Remember to always double-check the contract address to ensure that you are adding the correct FLR tokens to your wallet. Adding the wrong tokens may result in a loss of funds.
Now that you have successfully added the FLR tokens to your Metamask wallet, you are ready to participate in the Flare Network and take advantage of the network’s features and functionalities.
What is Flare Network?
Flare Network is a new blockchain platform that aims to bring smart contract functionality to various blockchain networks, including XRP Ledger.
Why would I want to add Flare Network to Metamask?
By adding Flare Network to Metamask, you can easily interact with Flare Network and use its smart contract functionality directly from your Metamask wallet.
How can I add Flare Network to Metamask?
To add Flare Network to Metamask, you need to follow a few steps. First, open your Metamask wallet and click on the network selection dropdown. Then, click on “Custom RPC” and enter the following details: Network Name: Flare Network, New RPC URL: https://api.flr.gate.io, Chain ID: 16, Currency Symbol: FLR. Finally, click on “Save” to add Flare Network to Metamask.
Can I use Flare Network on Metamask with my existing XRP address?
No, you cannot directly use your existing XRP address on Flare Network. Flare Network uses a different address format and requires you to generate a new address specifically for Flare Network.
Is it safe to add Flare Network to Metamask?
Adding Flare Network to Metamask is generally safe, but it’s always important to be cautious when interacting with new networks. Make sure you are using the correct RPC URL and verify the authenticity of any contracts or dApps you interact with on Flare Network.