
MetaMask and Coinbase Wallet are both popular cryptocurrency wallets that allow users to securely store and manage their digital assets. Connecting your Coinbase Wallet to MetaMask can provide additional functionality, such as the ability to interact with decentralized applications (dapps) on the Ethereum blockchain. If you’re new to cryptocurrency or unfamiliar with these wallets, don’t worry – this step-by-step guide will walk you through the process of connecting your Coinbase Wallet to MetaMask.
Step 1: Install MetaMask Extension
The first step is to install the MetaMask extension in your preferred web browser. MetaMask is compatible with Chrome, Firefox, Brave, and Edge. Simply search for “MetaMask” in the browser’s extension marketplace and follow the instructions to install it.
Tip: Make sure to download the extension from the official MetaMask website or the approved extension marketplaces to avoid downloading any malicious software.
Step 2: Open MetaMask and Create an Account
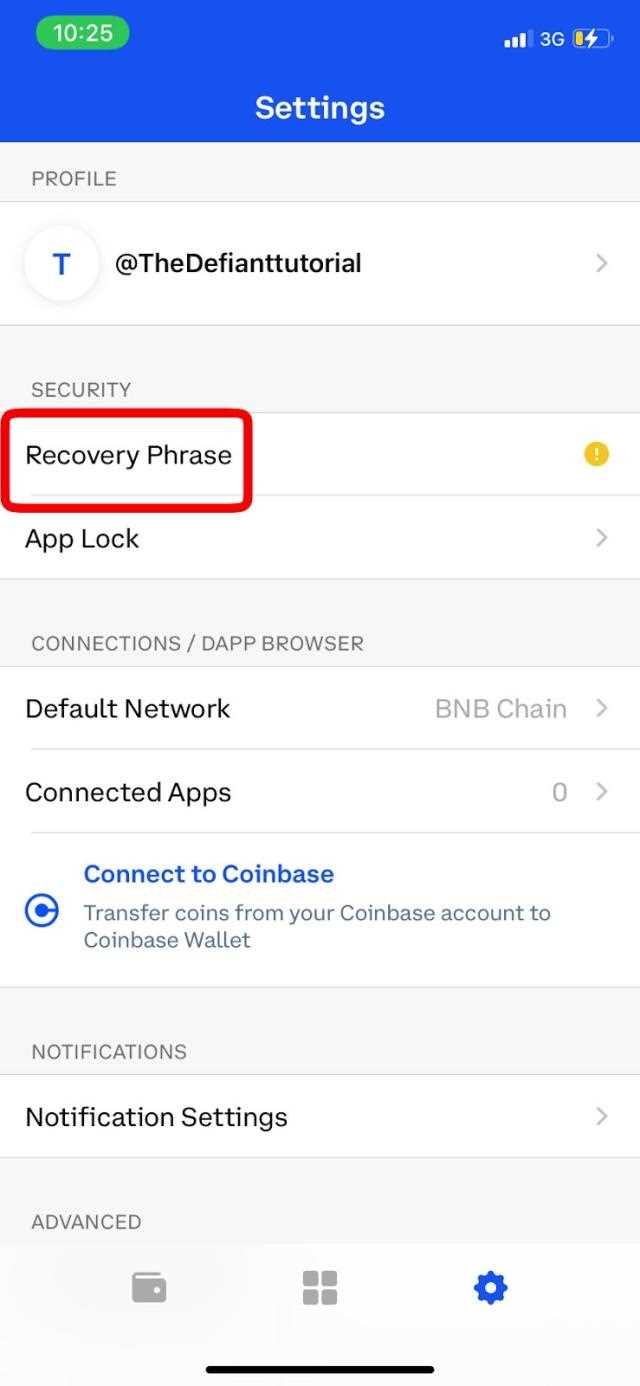
Once MetaMask is installed, you can open it by clicking on the extension icon in your browser’s toolbar. Follow the instructions to create a new account and set a strong password. Make sure to write down your recovery phrase and store it in a safe place – this is the only way to recover your account if you forget your password.
Note: MetaMask will provide you with a unique recovery phrase consisting of 12 or 24 words. It’s important to keep this phrase private and secure.
Step 3: Connect Coinbase Wallet to MetaMask
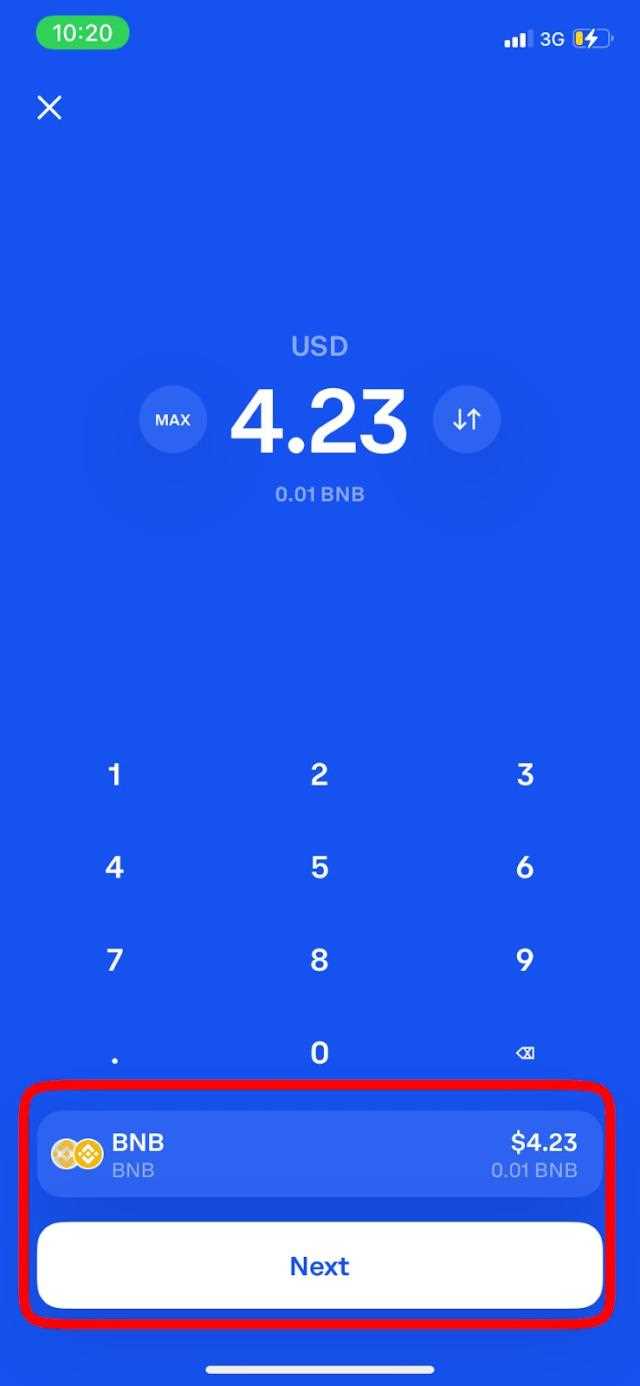
Now that you have both MetaMask and Coinbase Wallet installed, it’s time to connect them. Open Coinbase Wallet on your mobile device and navigate to the “Settings” menu. Look for the option to connect to a browser and select MetaMask.
Tip: Make sure that you are signed in to the same Coinbase account on both your mobile device and your browser.
Step 4: Confirm the Connection
Once you’ve selected MetaMask as the browser to connect, Coinbase Wallet will prompt you to confirm the connection on your MetaMask extension. Review the details and click “Approve” to complete the connection. You may be prompted to enter your MetaMask password or use biometric authentication, depending on your settings.
Note: This connection allows Coinbase Wallet to interact with your MetaMask wallet and vice versa, but it does not share any private keys or recovery phrases between the two wallets.
Congratulations! You have successfully connected your Coinbase Wallet to MetaMask. You can now enjoy the benefits of both wallets and explore the world of decentralized finance (DeFi) and dapps on the Ethereum blockchain.
How to Connect Coinbase Wallet to MetaMask
If you are using Coinbase Wallet and want to connect it to MetaMask, follow these step-by-step instructions:
Step 1: Install MetaMask
If you haven’t already, install the MetaMask extension in your browser. Visit the MetaMask website and follow the instructions to add it to your browser’s extensions.
Step 2: Open MetaMask
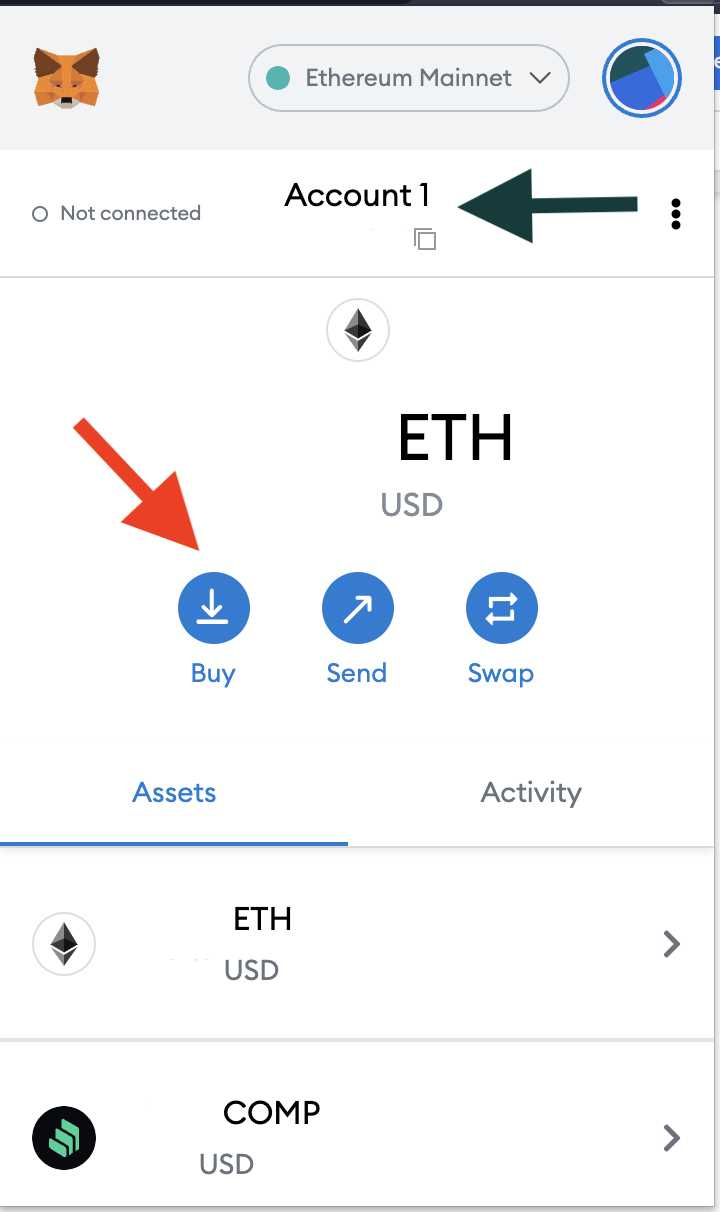
Once MetaMask is installed, click on the MetaMask icon in your browser’s toolbar to open it.
Step 3: Create a New Wallet or Import an Existing Wallet
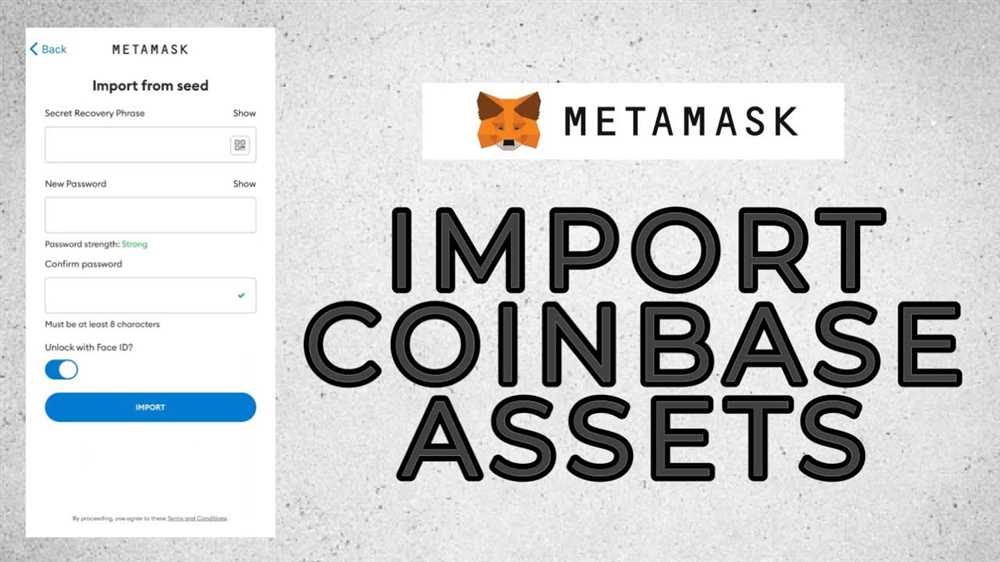
If you don’t have a MetaMask wallet yet, you can create a new one by clicking on “Create a Wallet”. Follow the instructions to set a password and save your recovery phrase. If you already have a MetaMask wallet, click on “Import Wallet” and enter your recovery phrase or private key.
Step 4: Connect Coinbase Wallet
In the MetaMask wallet, click on the account icon in the top right corner and select “Connect Hardware Wallet”. On the next screen, choose “Coinbase Wallet” from the list of options.
Next, open your Coinbase Wallet on your mobile device and go to the “Accounts” tab. Tap on the Ethereum account you want to connect and then tap on the three dots in the top right corner. Select “Export Private Key” and confirm with your phone’s security measures.
Back in MetaMask, choose “Connect with Wallet Connect” and scan the QR code displayed on your Coinbase Wallet. Allow the connection on both MetaMask and Coinbase Wallet when prompted.
Step 5: Verify Connection
Once the connection is established, you should see your Coinbase Wallet account displayed as one of your connected accounts in MetaMask. You can now use MetaMask to interact with decentralized applications and manage your Ethereum assets.
Note: Connecting Coinbase Wallet to MetaMask allows you to access decentralized applications and use them with your Coinbase Wallet funds. It does not transfer your funds from Coinbase Wallet to MetaMask. Make sure to always double-check your transactions and be cautious when interacting with dApps.
Step 1: Install the MetaMask Extension
To connect your Coinbase Wallet to MetaMask, you will first need to install the MetaMask extension in your web browser. Follow the steps below to install MetaMask on your desired web browser:
- Open your web browser and go to the MetaMask website. You can find it by searching “MetaMask” in your preferred search engine.
- Click on the “Download” or “Get Started” button on the MetaMask homepage.
- Choose your preferred web browser from the options provided (e.g., Chrome, Firefox, Opera, or Brave) and click on the corresponding download link.
- Follow the prompts to download and install the MetaMask extension on your web browser.
- Once the installation is complete, a new MetaMask icon will appear in your browser’s toolbar.
Congratulations! You have successfully installed the MetaMask extension. In the next step, we will guide you on how to set up your MetaMask wallet and connect it to your Coinbase Wallet.
Step 2: Create or Import a MetaMask Wallet
Before you can connect your Coinbase wallet to MetaMask, you need to create or import a MetaMask wallet. Follow the steps below to set up your MetaMask wallet:
| Step 1 | Visit the MetaMask website |
| Step 2 | Click on the “Get Chrome Extension” button if you are using Chrome browser. If you are using a different browser, select the appropriate option. |
| Step 3 | Click on the “Add to Chrome” button and then “Add Extension” to install MetaMask. |
| Step 4 | Once MetaMask is installed, click on the puzzle piece icon in the top-right corner of your browser to open the extensions menu. |
| Step 5 | Click on the MetaMask icon in the extensions menu to open MetaMask. |
| Step 6 | If you already have a MetaMask wallet, click on the “Import Wallet” button and enter your wallet seed phrase. If you don’t have a wallet yet, click on the “Create a Wallet” button and follow the prompts to generate a new wallet. |
Once you have created or imported your MetaMask wallet, you are ready to move on to the next step and connect your Coinbase wallet to MetaMask.
Step 3: Connect Coinbase Wallet to MetaMask
Now that you have both the Coinbase Wallet and MetaMask extensions installed and set up, it’s time to connect them to enable a seamless transfer of cryptocurrencies between the two platforms. Follow the steps below:
Step 1: Open MetaMask
Open the MetaMask extension on your web browser by clicking on the MetaMask icon in your browser toolbar. A popup window with the MetaMask interface will appear.
Step 2: Click on the Account Icon
In the MetaMask interface, locate the account icon in the top right corner of the window. It looks like a circle with a person’s silhouette. Click on this icon to open the account menu.
Step 3: Select “Connect Wallet”
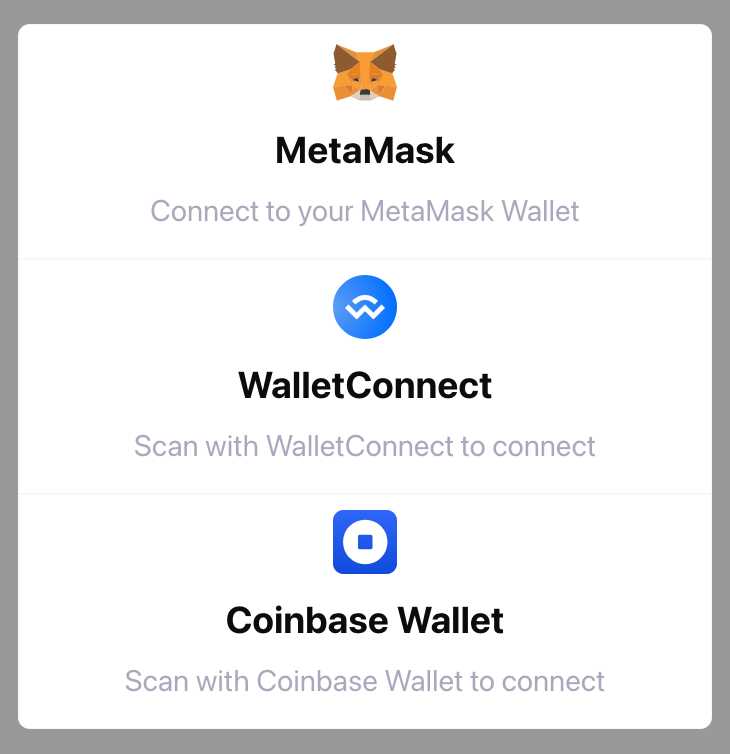
In the account menu, you will see various options. Select the “Connect Wallet” option to open the wallet connection settings.
Step 4: Choose Coinbase Wallet
A list of supported wallet options will be displayed. Scroll down and locate the “Coinbase Wallet” option. Click on it to select it as your preferred wallet connection.
Step 5: Authorize Connection

After selecting “Coinbase Wallet” as your preferred wallet connection, a new window will appear prompting you to authorize the connection. Click on the “Connect” button to proceed.
Step 6: Confirm Connection

Once you click the “Connect” button, a confirmation message will appear on the MetaMask interface, indicating that you have successfully connected your Coinbase Wallet to MetaMask.
Congratulations! You have now connected your Coinbase Wallet to MetaMask. You can now enjoy the benefits of seamless cryptocurrency transfers between these two platforms.
Step 4: Confirm the Connection on Coinbase
Once you have set up the connection on MetaMask, you will need to confirm the connection on Coinbase. This step ensures that you have authorized MetaMask to connect to your Coinbase Wallet.
To confirm the connection on Coinbase, follow the steps below:
| 1. | Open the Coinbase app or website and log in to your account. |
| 2. | Navigate to the “Settings” or “Connect Wallet” section of your account. |
| 3. | Find and select the option to connect a wallet. |
| 4. | Choose MetaMask as the wallet you want to connect. |
| 5. | Authorize the connection by clicking on the “Connect” or “Confirm” button. |
Once you have confirmed the connection on Coinbase, your Coinbase Wallet should be successfully linked to your MetaMask account. You can now easily transfer funds between the two wallets and utilize the features and functionalities offered by both platforms.
How do I connect my Coinbase Wallet to MetaMask?
1. Open your MetaMask extension in your browser.
Can I connect multiple Coinbase Wallets to MetaMask?
Yes, you can connect multiple Coinbase Wallets to MetaMask.
What if I don’t have a Coinbase Wallet?
If you don’t have a Coinbase Wallet, you can create one by following these steps:
Is it safe to connect Coinbase Wallet to MetaMask?
Yes, it is safe to connect Coinbase Wallet to MetaMask.
Can I use Coinbase Wallet with other wallet providers?
No, Coinbase Wallet is specifically designed to work with the Coinbase ecosystem.