
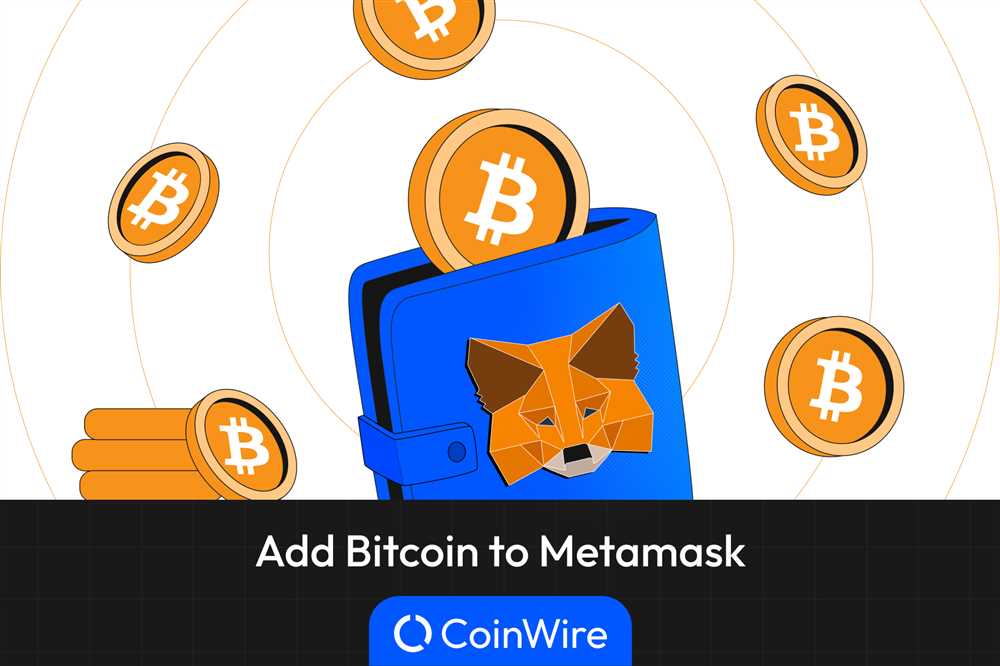
In the fast-paced world of cryptocurrencies, Metamask has emerged as one of the most popular digital wallets for managing various cryptocurrencies, including Bitcoin. This user-friendly wallet offers a seamless experience for sending, receiving, and storing Bitcoin securely. If you are new to the world of crypto and want to learn how to send Bitcoin to your Metamask wallet, this guide will walk you through the simple steps to get started.
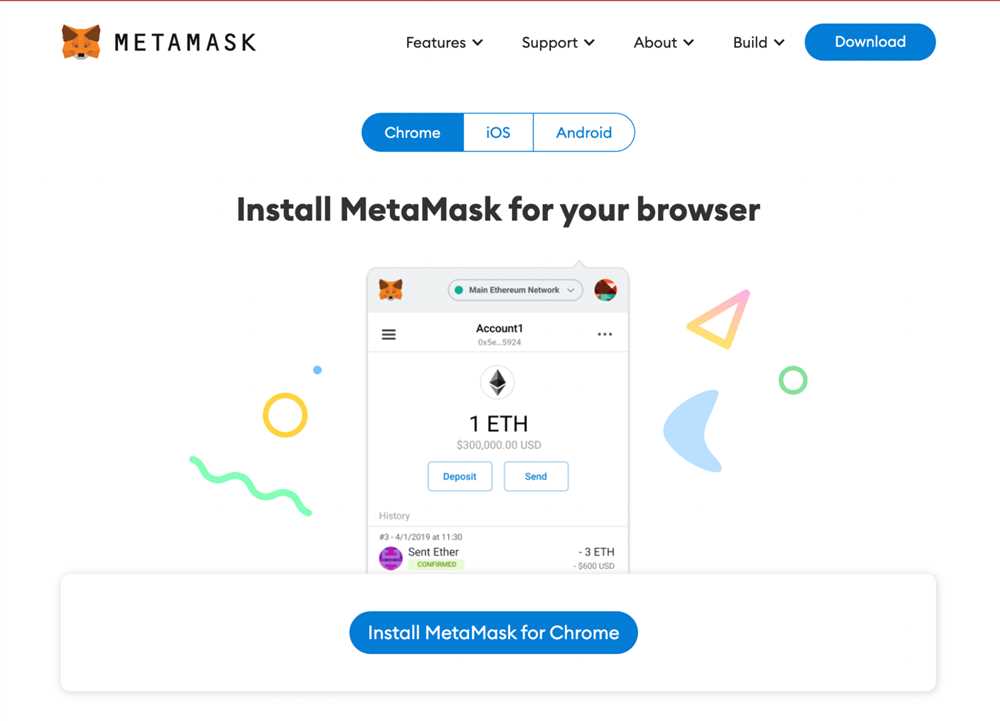
Before you begin, make sure you have downloaded and installed the Metamask wallet on your preferred browser. Once you have your wallet set up, follow these steps to send Bitcoin:
- Step 1: Obtain the recipient’s wallet address: Before you can send Bitcoin, you will need the recipient’s wallet address. This is a unique identifier, similar to an email address, which enables the transfer of Bitcoin from one wallet to another. The recipient should provide you with their wallet address, which usually starts with a “0x”.
- Step 2: Open your Metamask wallet: Launch your preferred browser and open your Metamask wallet. Enter your password or use your biometric authentication to unlock your wallet if prompted. Your wallet should display your account balance and recent transactions.
- Step 3: Click on “Send” button: In your Metamask wallet, locate and click on the “Send” button. This will open a new page or pop-up window where you can initiate the Bitcoin transfer.
- Step 4: Enter the recipient’s wallet address: In the designated field on the “Send” page, paste or type the recipient’s wallet address that you obtained in Step 1. Double-check the address to ensure accuracy, as any mistakes can result in the irreversible loss of your Bitcoin.
- Step 5: Specify the amount of Bitcoin to send: In the corresponding field, enter the amount of Bitcoin you want to send to the recipient. Make sure you have sufficient funds in your wallet to cover the transaction, including any applicable fees.
- Step 6: Confirm the transaction: Before finalizing the transaction, review the details, including the recipient’s address and the amount of Bitcoin to be sent. Once you are certain everything is correct, click on the “Confirm” or “Send” button to initiate the transaction.
- Step 7: Wait for confirmation: After confirming the transaction, you will need to wait for the transaction to be confirmed on the Bitcoin network. This process may take some time, depending on network congestion and other factors. Once the transaction is confirmed, the Bitcoin will be sent to the recipient’s wallet.
By following these simple steps, you can send Bitcoin to your desired recipient using your Metamask wallet. Remember to always double-check the recipient’s wallet address and review the transaction details before confirming the transfer to ensure a smooth and successful transaction.
Disclaimer: Cryptocurrency transactions involve risks, and it is essential to exercise caution when sending Bitcoin or any other digital assets. Always verify the recipient’s wallet address and ensure you are sending funds to the correct destination. This guide is for informational purposes only and should not be considered financial or investment advice.
Step 1: Set up your Metamask Wallet
Before you can send Bitcoin to your Metamask wallet, you need to set it up and make sure it’s properly configured. Follow these simple steps to set up your Metamask wallet:
1. Install the Metamask browser extension
The first step is to install the Metamask browser extension. You can find the extension on the official website of Metamask or in the extension store of your preferred browser. Once installed, you will see the Metamask icon in your browser’s toolbar.
2. Create a new wallet or import an existing one
After installing Metamask, click on the icon in your browser’s toolbar to open the extension. You will be prompted to create a new wallet or import an existing one. Choose the option that suits your needs.
3. Set up a strong password
When creating a new wallet, you will need to set up a strong password to secure your funds. Make sure to choose a password that is unique and not easily guessable. Write down your password and keep it in a safe place, as it cannot be recovered if lost.
4. Save the recovery seed phrase
Metamask will provide you with a 12- or 24-word recovery seed phrase. This phrase is crucial for recovering your wallet in case you forget your password or lose access to your device. Write down the seed phrase on a piece of paper and store it in a secure location, preferably offline.
5. Confirm the seed phrase
After saving the seed phrase, Metamask will ask you to confirm it by selecting the words in the correct order. This step ensures that you have properly saved the seed phrase and can access your wallet if needed.
6. Add the Bitcoin network
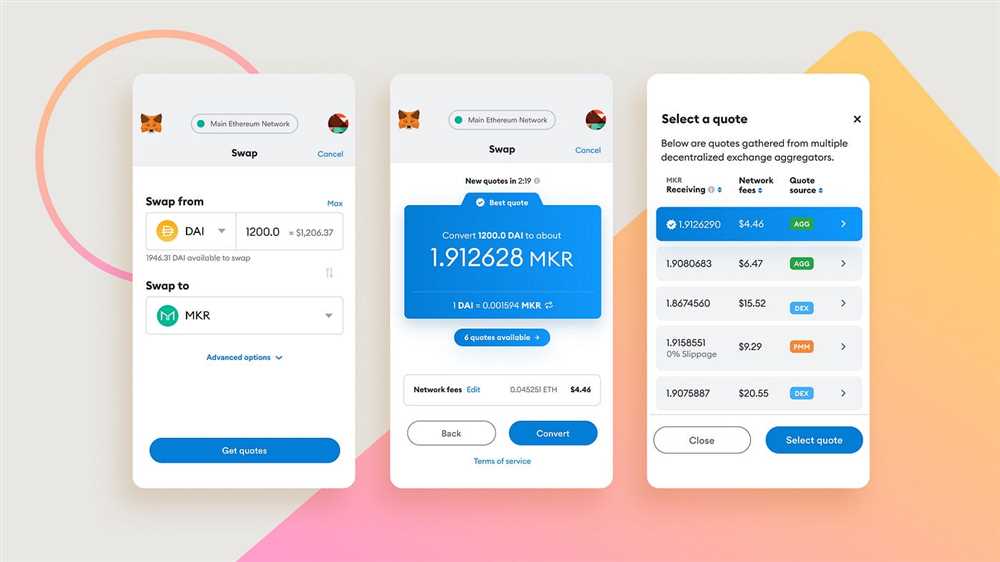
By default, Metamask is set to the Ethereum network. To send Bitcoin to your Metamask wallet, you need to add the Bitcoin network. Click on the network dropdown menu in the Metamask extension, select “Custom RPC,” and enter the details of the Bitcoin network.
Once your Metamask wallet is set up and configured correctly, you are ready to send Bitcoin to it and start using it for your crypto transactions.
Step 2: Generate a Bitcoin Wallet Address
Once you have created a Metamask account and installed the extension on your browser, you need to generate a Bitcoin wallet address. This address will serve as your unique identifier in the Bitcoin network and allow you to receive, store, and send Bitcoin.
To generate a Bitcoin wallet address in Metamask, follow these steps:
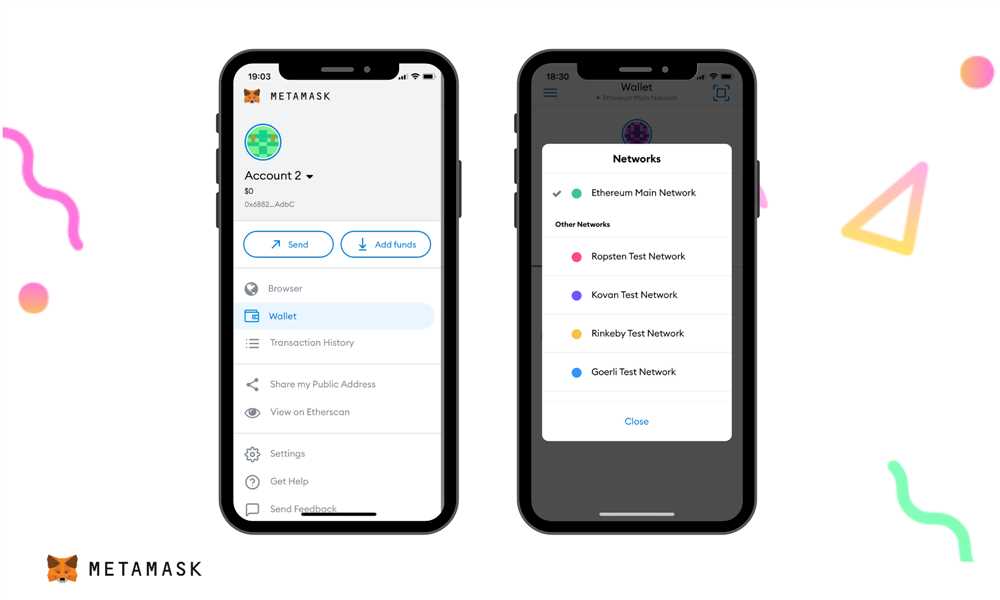
1. Open the Metamask Extension
Click on the Metamask extension icon in your browser’s toolbar to open the wallet interface.
2. Access the Wallet
In the Metamask wallet interface, click on the account avatar or the account name to access your wallet.
3. Select the “Bitcoin” Network
Next, make sure that you have selected the “Bitcoin” network in your Metamask wallet. You can do this by clicking on the network dropdown and choosing “Bitcoin” from the available options.
4. Click on “Receive”
In your wallet interface, you will see various tabs. Click on the “Receive” tab to generate a Bitcoin wallet address.
5. Copy the Address
Once you click on the “Receive” tab, Metamask will generate a Bitcoin wallet address for you. You can copy this address by clicking on the “Copy” button.
That’s it! You have successfully generated a Bitcoin wallet address in Metamask. Make sure to keep this address secure and only share it with trusted parties when you want to receive or send Bitcoin.
Step 3: Copy your Bitcoin Wallet Address

Once you have signed into your Bitcoin wallet, you will need to locate your Bitcoin wallet address. This address is a unique alphanumeric code that is used to identify your wallet.
To copy your Bitcoin wallet address, you can usually find a “Copy” or “Copy Address” button next to your wallet address. Click on this button to copy the address to your clipboard.
Using a Mobile Wallet
If you are using a mobile wallet, you can typically find your Bitcoin wallet address by navigating to the “Receive” or “Receive Bitcoin” section of your wallet. Here, you should see your wallet address with a button to copy it to your clipboard.
Using a Desktop Wallet

If you are using a desktop wallet, you can usually find your Bitcoin wallet address by clicking on the “Receive” or “Receive Bitcoin” tab. Your wallet address will be displayed along with a button to copy it to your clipboard.
It is important to double-check that you have copied the entire Bitcoin wallet address correctly. Any mistakes could result in the loss of your funds.
Step 4: Log in to your Bitcoin Wallet
Once you have your Bitcoin wallet address copied, it’s time to log in to your Bitcoin wallet. Here are the simple steps to follow:
|
Make sure you double-check the website URL or app name to avoid any phishing attempts. It is always recommended to access your Bitcoin wallet from the official website or app provided by the wallet provider.
Once you successfully log in to your Bitcoin wallet, proceed to the next step to complete the process of sending Bitcoin to your Metamask wallet.
Step 5: Send Bitcoin to your Metamask Wallet
Once you have set up your Metamask wallet and acquired some bitcoins, it’s time to send them over to your wallet. Follow these simple steps to complete the process:
Step 1: Copy your Metamask wallet address
To send bitcoins to your Metamask wallet, you need to know the wallet address. Open your Metamask extension and click on the account you want to receive the bitcoins in. Then, click on the “…” button and select “Copy Address” to copy your wallet address to the clipboard.
Step 2: Navigate to your Bitcoin wallet
Open your Bitcoin wallet where you currently hold the bitcoins you want to send to your Metamask wallet. This could be a hardware wallet, a mobile wallet, or any other type of Bitcoin wallet.
Step 3: Initiate the sending process
In your Bitcoin wallet, navigate to the “Send” or “Send Bitcoin” section. This is where you can initiate a transaction to send bitcoins to another address.
Step 4: Enter the recipient address
In the recipient address field, paste the Metamask wallet address that you copied in step 1. Ensure that you have entered the address correctly to avoid any mistakes.
Step 5: Specify the amount
Specify the amount of bitcoins you want to send to your Metamask wallet. Double-check the amount to ensure accuracy.
Step 6: Confirm the transaction
Review the transaction details and confirm that everything is correct. Once you are satisfied, hit the “Send” or “Confirm” button to initiate the transaction.
Congratulations! You have successfully sent bitcoins to your Metamask wallet. The transaction may take some time to be confirmed on the Bitcoin network, so be patient. Once confirmed, you will see the bitcoins in your Metamask wallet balance.
What is Metamask?
Metamask is a cryptocurrency wallet that allows users to store, manage, and interact with Ethereum-based tokens and decentralized applications (dapps) directly from their web browsers.
How can I send Bitcoin to Metamask?
To send Bitcoin to Metamask, you will need to convert your Bitcoin into Wrapped Bitcoin (WBTC) or any other Bitcoin token on the Ethereum network. Once you have the Bitcoin token, you can simply send it to your Metamask wallet address.
Can I send Bitcoin directly to Metamask without converting to an Ethereum-based token?
No, you cannot send Bitcoin directly to Metamask without converting it to an Ethereum-based token first. Bitcoin operates on a separate blockchain, while Metamask is an Ethereum wallet. Therefore, you need to convert Bitcoin into an Ethereum-based token compatible with Metamask before sending it.
Are there any fees associated with sending Bitcoin to Metamask?
Yes, there are fees associated with sending Bitcoin to Metamask. These fees vary depending on the network congestion and the platform you use to convert your Bitcoin into an Ethereum-based token. Additionally, Ethereum network fees may apply when sending the token to your Metamask wallet address.