
Looking to transfer your Ethereum from Metamask to Coinbase? This step-by-step guide will walk you through the process and ensure a smooth and secure transaction.
Step 1: Log in to Your Metamask Wallet
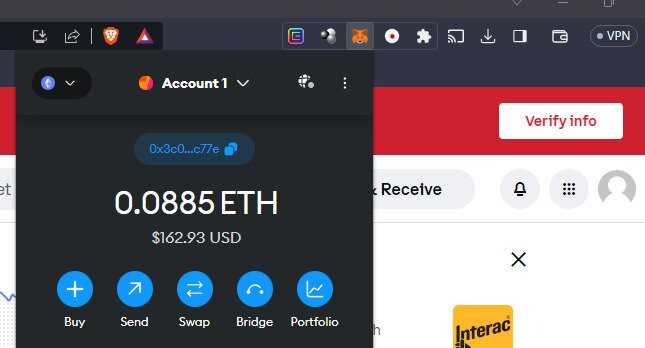
First, make sure you have your Metamask wallet open and log in using your password or preferred authentication method. Once logged in, ensure that you have selected the Ethereum network as your active network.
Step 2: Open Coinbase and Generate Deposit Address
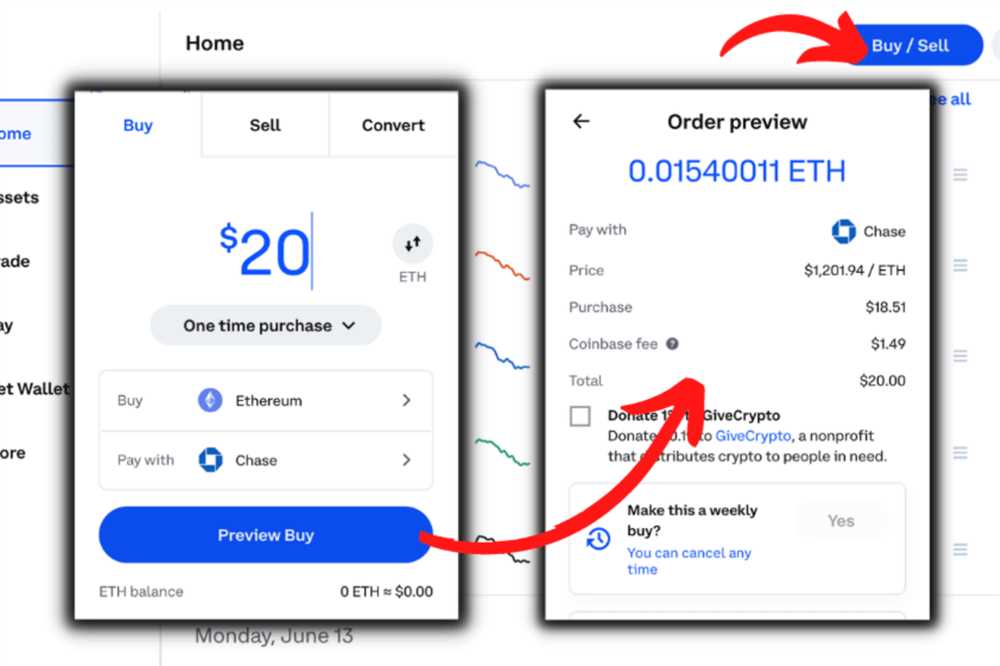
Next, open Coinbase and log in to your account. Once you’re signed in, navigate to the Ethereum wallet section and click on the “Receive” button. This will generate a unique deposit address for your Ethereum.
Step 3: Copy the Deposit Address
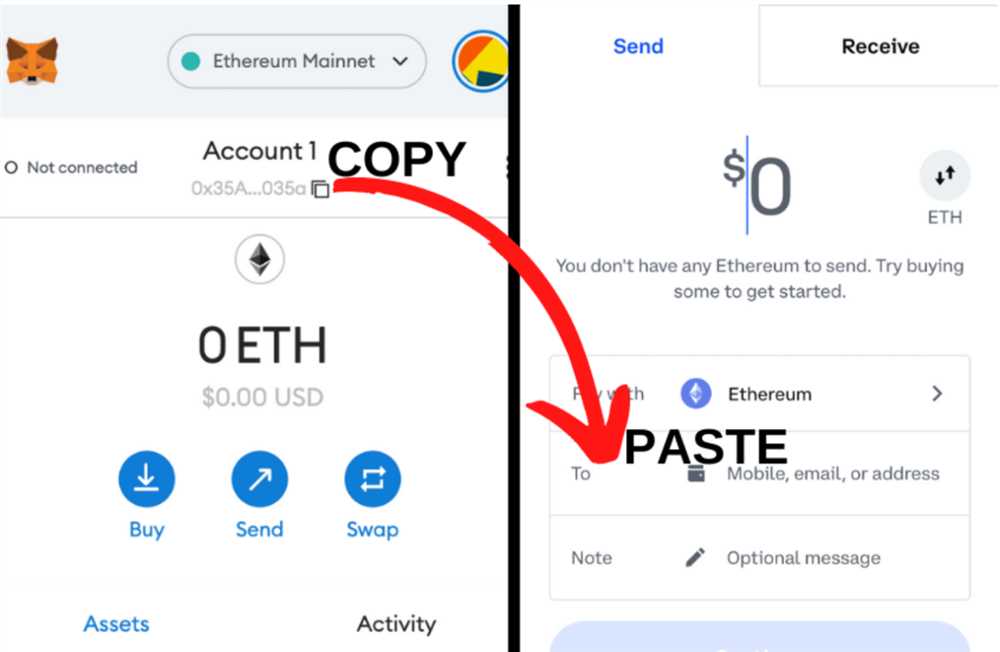
After generating the deposit address on Coinbase, copy it to your clipboard. Make sure you double-check the address to ensure accuracy.
Step 4: Send Ethereum from Metamask to Coinbase
Now, go back to your Metamask wallet and click on the “Send” button. In the recipient address field, paste the deposit address that you copied from Coinbase. Enter the amount of Ethereum you wish to transfer and review the transaction details.
Step 5: Confirm and Complete the Transaction
Once you have reviewed the transaction details and confirmed everything is correct, click on the “Confirm” or “Send” button in your Metamask wallet. This will initiate the transfer and send your Ethereum to the Coinbase deposit address.
Step 6: Verify the Transaction on Coinbase
After completing the transaction, you can go back to your Coinbase account and navigate to the Ethereum wallet section. Here, you should see the incoming transaction reflected in your account balance. It may take some time for the transaction to be confirmed on the Ethereum network, so be patient.
That’s it! You have successfully transferred your Ethereum from Metamask to Coinbase. Remember to double-check all addresses and transaction details to ensure a secure transfer. Happy trading!
Understanding the Process
Transferring Ethereum from Metamask to Coinbase can seem intimidating at first, but the process is relatively straightforward. By following a few simple steps, you can securely move your Ethereum to your Coinbase account. Here’s an overview of how it works:
1. Open Metamask: Make sure you have the Metamask browser extension installed on your computer. Open the extension and log in to your Metamask wallet.
2. Connect Coinbase: In your Metamask wallet, click on the network selection dropdown and select “Custom RPC.” Enter the following details:
Network Name: Coinbase
New RPC URL: https://rpc-mainnet.coinbase.com
3. Create an Account on Coinbase: If you don’t already have a Coinbase account, sign up for one. Coinbase is a popular cryptocurrency exchange that allows you to buy, sell, and store Ethereum.
4. Generate a Wallet Address: In your Coinbase account, navigate to the Ethereum wallet and click on “Receive.” Coinbase will generate a unique wallet address for you.
5. Send Ethereum from Metamask to Coinbase: Back in your Metamask wallet, click on the “Send” button. Paste the Coinbase wallet address generated in the previous step into the recipient field. Enter the amount of Ethereum you want to transfer and review the transaction details.
6. Confirm the Transaction: Once you have reviewed the transaction details, click on “Confirm” to initiate the transfer. Metamask may prompt you to confirm the transaction through a pop-up window. Follow the prompts to complete the transfer.
7. Wait for Confirmation: It may take some time for the Ethereum transfer to be confirmed on the blockchain. You can track the progress of the transaction using the transaction hash provided by Metamask.
8. Check Your Coinbase Account: Once the transfer is confirmed, check your Coinbase account to ensure that the Ethereum has been successfully deposited.
By understanding and following these steps, you can safely transfer Ethereum from Metamask to Coinbase. Remember to double-check the wallet address and transaction details before confirming the transfer to avoid any mishaps.
Setting Up Metamask and Coinbase Accounts
Before you can transfer Ethereum from Metamask to Coinbase, you need to set up accounts with both platforms.
Setting Up a Metamask Account
1. Open your web browser and go to https://metamask.io/.
2. Click on the “Get Chrome Extension” button if you are using Google Chrome, or select the appropriate option for your web browser.
3. Follow the prompts to install the Metamask Chrome extension.
4. Once the extension is installed, click on the Metamask icon in your browser toolbar.
5. Click on the “Create a Wallet” button.
6. Enter a strong password and click “Create”. Make sure to remember this password as it is used to access your wallet.
7. Read and accept the terms of use and privacy policy.
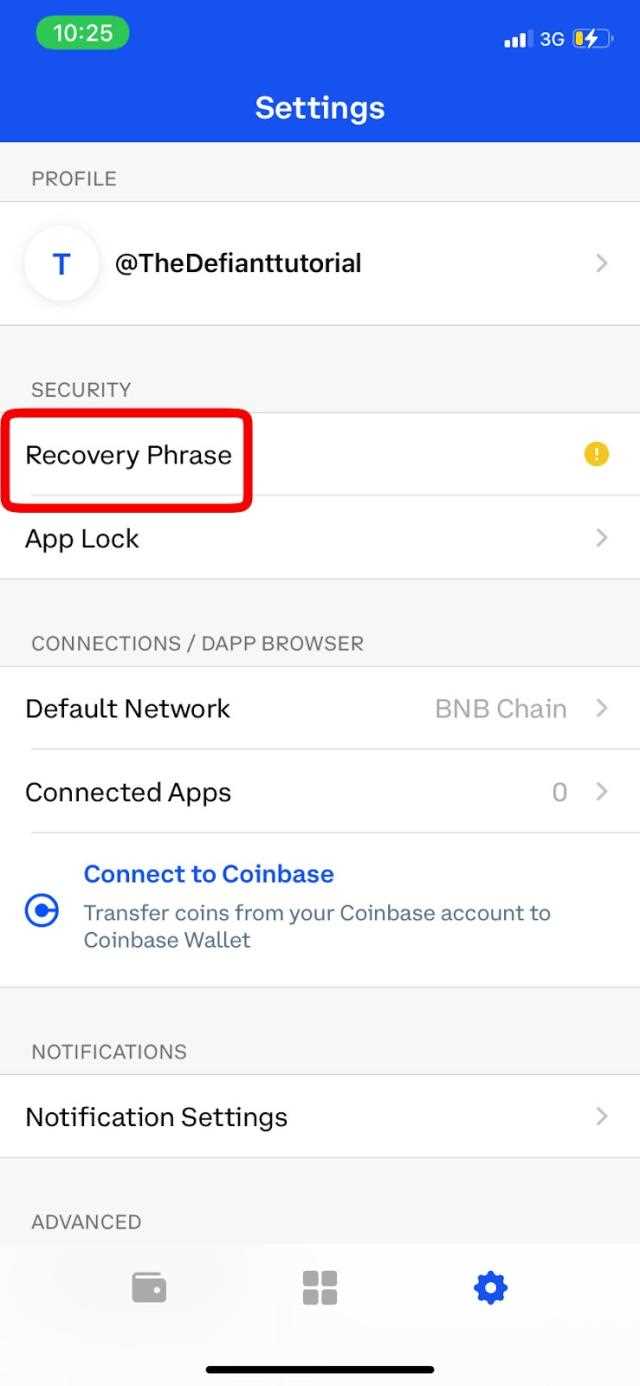
8. On the next page, you will be provided with a unique 12-word recovery phrase. Write this down and keep it in a safe place. This phrase can be used to restore your wallet if you ever lose access to it.
9. Click “Next” and confirm your recovery phrase by entering the words in the correct order.
10. Your Metamask wallet is now set up, and you can see your Ethereum address on the main page.
Setting Up a Coinbase Account
1. Open your web browser and go to https://www.coinbase.com/.
2. Click on the “Get started” button.
3. Fill out the required information, including your name, email address, and password.
4. Click on the “Create account” button.
5. You will receive a verification email. Open the email and click on the verification link.
6. Follow the prompts to set up your account security measures, such as two-factor authentication.
7. Once your account is set up, you can access your Coinbase dashboard and view your Ethereum wallet address.
Now that you have both your Metamask and Coinbase accounts set up, you are ready to transfer Ethereum between the two platforms.
Creating a Wallet in Metamask
Metamask is a browser extension that allows you to manage your Ethereum wallet and interact with decentralized applications (dapps) on the Ethereum blockchain. To create a wallet in Metamask, follow the steps below:
Step 1: Download and Install Metamask
First, you need to download the Metamask extension for your preferred web browser. Metamask is available for Chrome, Firefox, Brave, and Edge. Visit the official Metamask website or search for “Metamask” in your browser’s extension library to find and install the extension.
Step 2: Set Up Metamask
Once Metamask is installed, click on the extension icon in your web browser’s toolbar. A new tab will open with the Metamask welcome screen. Click on the “Get Started” button to begin.
Follow the prompts to create a new wallet. You will be asked to set a password for your wallet. Make sure to choose a strong and unique password to protect your funds.
After setting up your password, you will be shown a secret backup phrase. This phrase is crucial for recovering your wallet in case you forget your password or lose access to your device. Write down the backup phrase on a piece of paper and store it in a safe place. Do not share this backup phrase with anyone.
Once you have recorded your backup phrase, you will be asked to confirm it by selecting the correct words in the given order. This step ensures that you have properly saved your backup phrase.
After confirming the backup phrase, your Metamask wallet will be created, and you will be redirected to the main wallet screen.
Step 3: Connect Metamask to a Network
By default, Metamask is connected to the Ethereum mainnet. However, you can also connect it to other networks such as testnets or private networks. To change the network, click on the network name at the top of the Metamask window and select the desired network from the dropdown menu.
Congratulations! You have successfully created a wallet in Metamask. Now you can use Metamask to securely manage your Ethereum and interact with dapps on the Ethereum blockchain.
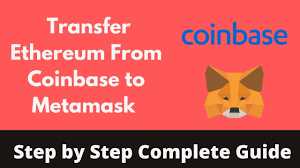
Transferring Ethereum from Metamask to Coinbase

If you’re a cryptocurrency enthusiast and want to move your Ethereum from Metamask to Coinbase, you’re in the right place! This guide will walk you through the step-by-step process of transferring your Ethereum securely and efficiently.
Step 1: Open your Metamask Wallet
First, ensure that you have your Metamask wallet open on your device. If you don’t have the Metamask extension installed, you can download it from the official Metamask website and set up a new wallet.
Step 2: Connect to Coinbase
Next, open a new tab and navigate to the Coinbase website. Log in to your Coinbase account or create a new one if you haven’t done so already. Once you’re logged in, navigate to the “Accounts” section.
Step 3: Copy your Coinbase Wallet Address
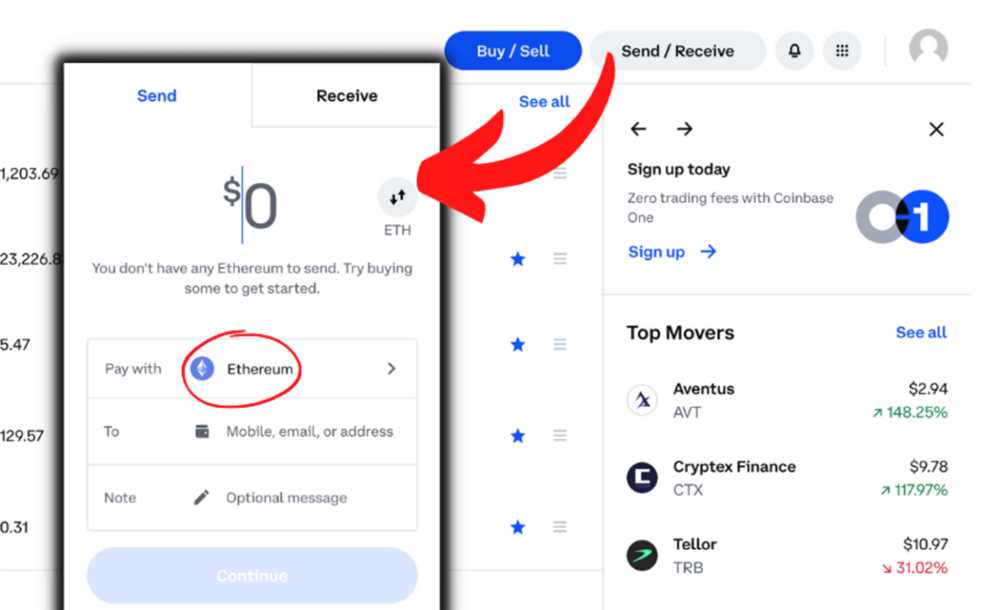
In Coinbase, locate your Ethereum wallet and click on the “Receive” button. This will display your Ethereum wallet address. Copy this address to your clipboard.
Step 4: Send Ethereum from Metamask to Coinbase
Return to your Metamask wallet tab and click on the “Send” button. In the recipient field, paste the Coinbase wallet address that you copied in the previous step. Enter the amount of Ethereum you wish to transfer, ensuring that you have enough ETH for the transaction fee. Double-check that the recipient address is correct before proceeding.
Step 5: Set the Gas Fee
Before confirming the transaction, you have the option to select the gas fee. Gas fees determine the speed at which your transaction is processed. Keep in mind that higher gas fees will result in faster confirmation times. Once you’ve set the gas fee, click on the “Next” button to proceed.
Step 6: Confirm the Transaction
Review the details of your transaction, including the recipient address, amount, and gas fee. Ensure that everything is accurate before clicking on the “Confirm” button. Metamask may prompt you to input your password or verify the transaction using biometrics, depending on your device’s settings.
Step 7: Wait for Confirmation
After confirming the transaction, you’ll need to wait for the Ethereum network to process and confirm the transfer. This may take a few minutes to several hours, depending on the network congestion and gas fee you selected.
Once the transaction is confirmed, you’ll be able to see the transferred Ethereum in your Coinbase wallet. You can then use or trade your Ethereum as desired within the Coinbase platform.
That’s it! You’ve successfully transferred Ethereum from Metamask to Coinbase. Remember to keep track of any transaction fees and stay updated with the latest security practices to ensure the safety of your cryptocurrencies.
Is there a fee for transferring Ethereum from Metamask to Coinbase?
Yes, there is a fee for transferring Ethereum from Metamask to Coinbase. The fee amount depends on the current network congestion and gas prices. When you initiate the transaction on Metamask, you will see the estimated gas fee that will be deducted from your Ethereum balance. This fee goes to the miners who validate and process the transaction on the Ethereum network.
How long does it take to transfer Ethereum from Metamask to Coinbase?
The time it takes to transfer Ethereum from Metamask to Coinbase can vary depending on the current network congestion. In general, Ethereum transactions are processed relatively quickly, but during times of high congestion, it may take longer for the transaction to be confirmed and reflected in your Coinbase account. You can check the progress of your transaction on the Ethereum blockchain using the transaction ID provided by Metamask.
Can I transfer any amount of Ethereum from Metamask to Coinbase?
Yes, you can transfer any amount of Ethereum from Metamask to Coinbase, as long as you have that amount available in your Metamask wallet. However, it’s important to note that there may be minimum and maximum transaction limits set by Coinbase or your Metamask wallet provider. These limits may vary depending on factors such as your account verification status and transaction history.