
If you’re interested in exploring the exciting possibilities of decentralized finance on the Solana blockchain, integrating your Metamask wallet with Solana is an essential first step. Metamask is a popular Ethereum wallet, but with a few simple steps, you can also use it to interact with Solana’s vibrant ecosystem of decentralized applications (dApps).
Step 1: Install Metamask
If you haven’t already done so, the first step is to install the Metamask extension in your web browser. Metamask is compatible with Chrome, Firefox, and Brave, and can be easily found and installed from the respective browser’s extension marketplace. Once installed, you’ll see the Metamask icon in your browser toolbar.
Step 2: Create a New Account or Import an Existing One
Next, open Metamask and create a new account or import an existing one. If you’re creating a new account, you’ll be prompted to create a secure password and back up your recovery phrase. Make sure to store your recovery phrase in a safe and secure location, as it can be used to restore access to your wallet in case of loss or theft.
Note: If you’re importing an existing account from another wallet or hardware wallet, you’ll need to use the appropriate recovery phrase or private key for that account.
Step 3: Connect Metamask to Solana
Now that you have Metamask set up, it’s time to connect it to Solana. Open your Metamask extension and click on the network dropdown at the top of the window. Select “Custom RPC” and enter the Solana network details:
Network Name: Solana Mainnet Beta
New RPC URL: https://api.mainnet-beta.solana.com
Chain ID: 101
Note: You can also connect to Solana’s testnet by using the respective network details.
Step 4: Add a Solana Token
To see and interact with Solana tokens in your Metamask wallet, you’ll need to add them manually. Open your Metamask extension, click on the token dropdown, and select “Add Token”. In the “Token Contract Address” field, enter the contract address of the Solana token you want to add. You can find the contract address on token listing websites or the project’s official documentation.
Note: Adding a token does not automatically make it tradable on decentralized exchanges. You may need to use a dedicated dApp or centralized exchange to trade the token.
Step 5: Start Exploring Solana
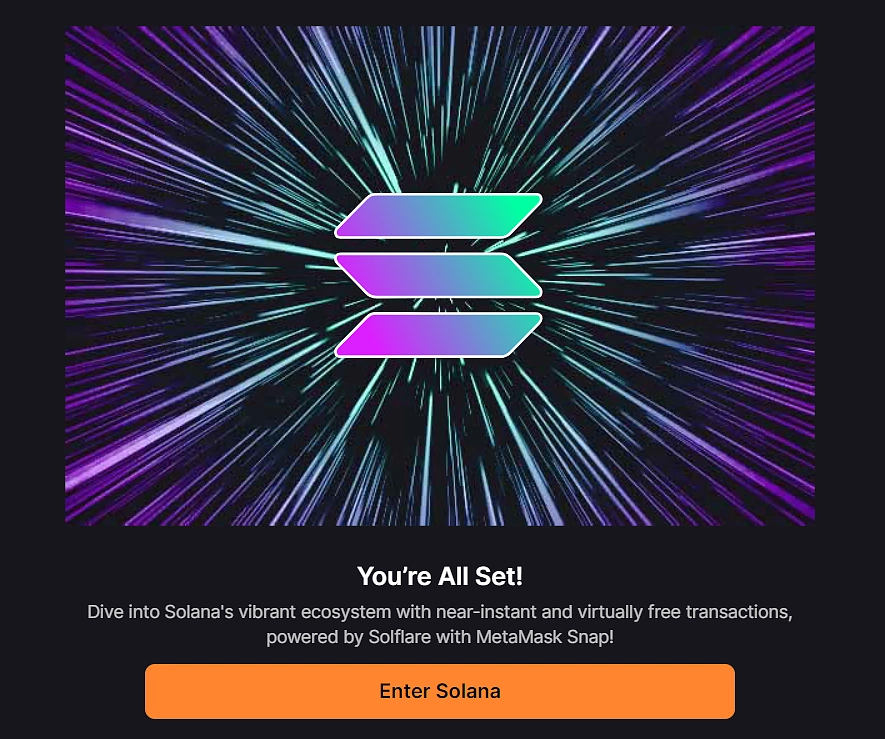
With your Metamask wallet now integrated with Solana, you’re ready to start exploring the world of decentralized finance on this high-performance blockchain. You can now use your Metamask wallet to interact with Solana dApps, send and receive SOL tokens, and participate in various decentralized finance activities such as lending, borrowing, trading, and staking.
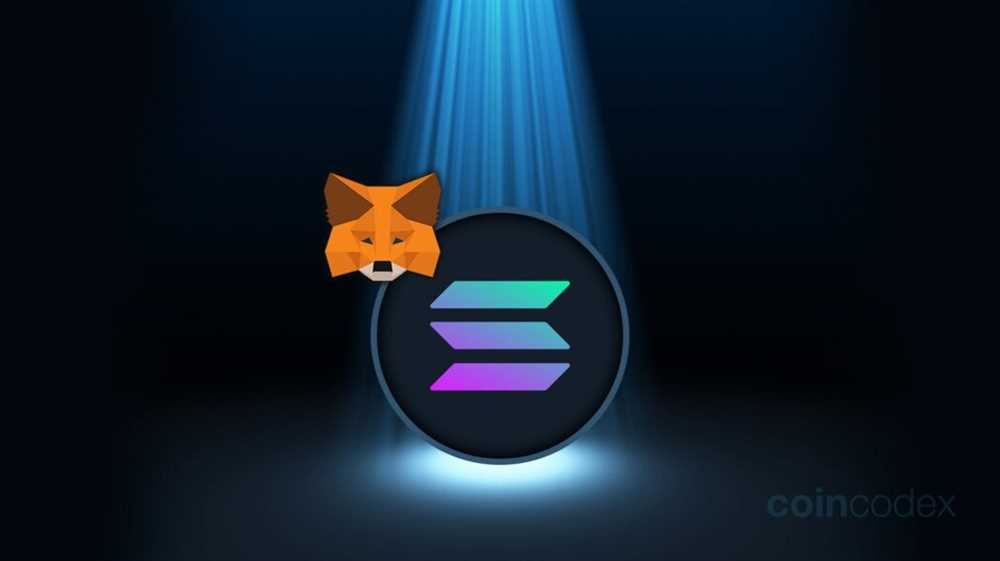
Integrating Metamask with Solana opens up a whole new realm of possibilities for Ethereum users, allowing them to leverage the power of Solana’s fast transactions and low fees. So, get started today and unlock the full potential of decentralized finance on Solana!
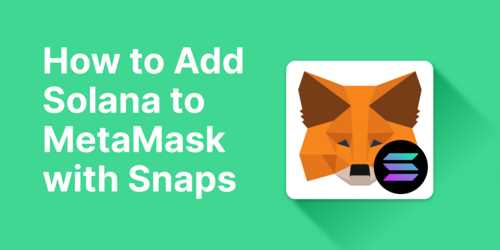
How to Integrate Metamask with Solana
In the world of decentralized finance (DeFi), integrating Metamask with Solana opens up a plethora of possibilities for users to interact with decentralized applications (dApps) built on the Solana blockchain. Metamask, a popular Ethereum wallet, enables users to securely manage their digital assets and interact with various blockchain networks.
Step 1: Install Metamask
The first step in integrating Metamask with Solana is to install the Metamask extension in your preferred web browser. Metamask is compatible with Chrome, Firefox, and Brave browsers. Simply search for “Metamask” in your browser’s extension store and click on the install button.
Step 2: Create or Import an Ethereum Account
Once Metamask is installed, you will need to create a new Ethereum account or import an existing one. Follow the instructions provided by Metamask to set up your account, including creating a strong password and securely storing your recovery phrase.
Step 3: Configure Metamask for Solana
In order to use Metamask with Solana, you will need to configure it to connect to the Solana network. To do this, click on the Metamask extension icon in your browser and select the “Settings” option. Scroll down to the “Networks” section and click on “Add Network” to add a custom network.
| Network Name | RPC URL | Chain ID |
|---|---|---|
| Solana Mainnet | https://api.mainnet-beta.solana.com | 101 |
| Solana Testnet | https://api.testnet.solana.com | 103 |
Once you have added the Solana network, make sure to select it from the dropdown menu in Metamask to connect to the Solana blockchain.
Step 4: Transfer SOL to Your Metamask Wallet
In order to interact with Solana dApps, you will need to have SOL tokens in your Metamask wallet. You can obtain SOL tokens by purchasing them from a cryptocurrency exchange or by transferring them from another Solana wallet. To transfer SOL tokens to your Metamask wallet, copy your Metamask address and use it as the receiving address when initiating the transfer.
Once your SOL tokens are in your Metamask wallet, you are ready to start using Metamask with Solana. You can explore various Solana dApps, interact with smart contracts, and manage your digital assets securely through Metamask.
Integrating Metamask with Solana offers users the benefits of both platforms, opening up a world of decentralized finance opportunities while maintaining the security and convenience provided by Metamask. Follow these steps and start exploring the exciting world of Metamask and Solana today!
A Simple Guide for Beginners
If you’re new to integrating Metamask with Solana, this step-by-step guide is here to help you get started.
1. Install Metamask: First, you’ll need to install the Metamask wallet extension. You can find it in the Chrome Web Store or the Firefox Add-ons marketplace. Once installed, create a new wallet or import an existing one.
2. Connect to the Solana Network: Open the Metamask extension and click on the network selector. Choose “Custom RPC” and enter the Solana network’s RPC URL: https://api.mainnet-beta.solana.com/. Save the configuration.
3. Obtain Solana Tokens: To interact with the Solana network, you’ll need to have SOL tokens. You can buy them on popular exchanges like Binance or FTX. Once you have SOL tokens, withdraw them to your Solana address in Metamask.
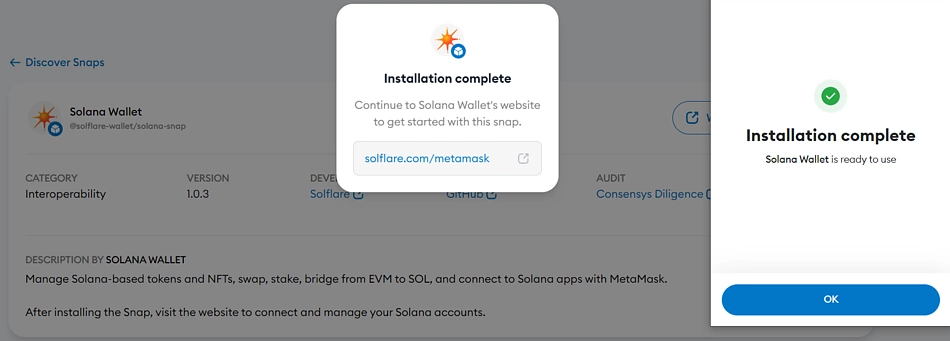
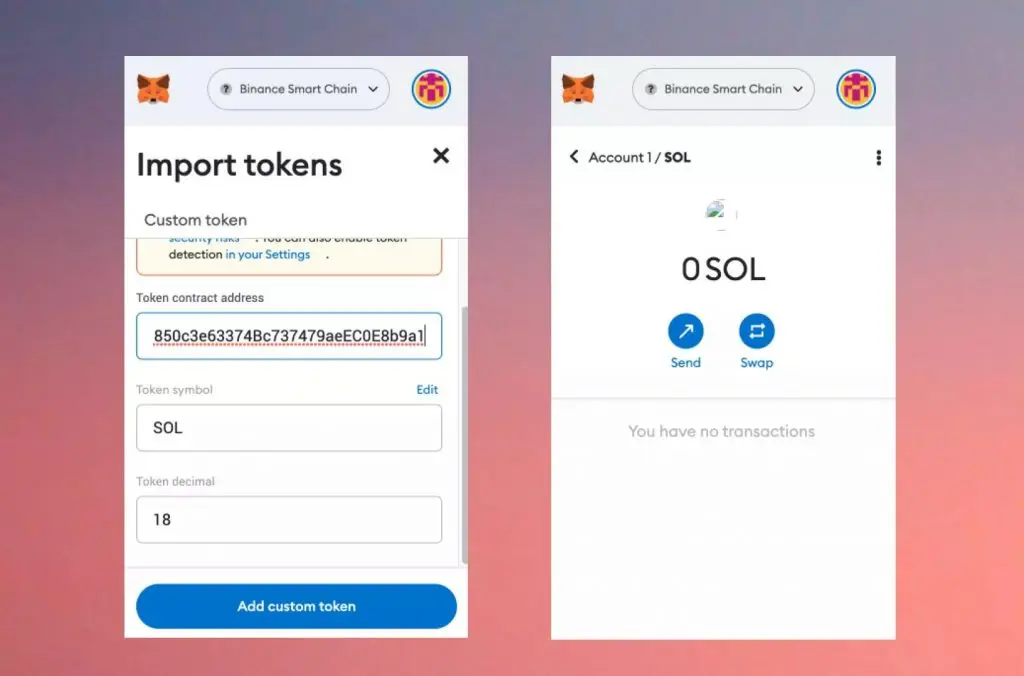
4. Add Solana Tokens to Metamask: In Metamask, click on “Add Token” and choose “Custom Token.” Enter the SOL token’s contract address: 9ktU3zsTqVuGCxaF1XTzNfXKxcW5ztP7EUbBRZJe7jpm. The token symbol and decimals should automatically populate. Click “Next” and then “Add Tokens.”
5. Use Solana DApps: Now that you’re connected to the Solana network and have SOL tokens in your wallet, you can start using Solana DApps. Visit a Solana DApp or DeFi platform and connect your Metamask wallet. You’ll be able to authorize transactions, swap tokens, provide liquidity, and more.
By following these simple steps, you can easily integrate Metamask with Solana and explore the thriving Solana ecosystem.
Step-by-Step Instructions
Integrating Metamask with Solana is a straightforward process that can be done in a few easy steps. Follow the instructions below to get started:
Step 1: Install Metamask Extension
If you haven’t installed Metamask already, you need to install the Metamask extension in your browser. Visit the Metamask website, choose your browser, and follow the installation instructions.
Step 2: Create or Import Metamask Account
Once the Metamask extension is installed, open it and either create a new account or import an existing account. If you are creating a new account, make sure to securely store your seed phrase.
Step 3: Add Solana Network
After setting up your Metamask account, click on the network selection dropdown and choose “Custom RPC”. In the “New RPC URL” field, enter the RPC URL for Solana: https://api.mainnet-beta.solana.com. Then, click “Save”.
Step 4: Connect Metamask to Solana
With the Solana network added, click on the network selection dropdown again and choose “Solana”. Metamask will now be connected to the Solana network.
Step 5: Fund Your Account
In order to perform transactions on the Solana network, you need to have SOL tokens in your account. You can acquire SOL tokens from exchanges and send them to your Metamask address.
Step 6: Use Metamask with Solana
Now that Metamask is integrated with Solana, you can use it to interact with decentralized applications (dApps) and perform transactions on the Solana network. Simply select the dApp you want to use, connect your Metamask wallet, and authorize transactions as needed.
By following these step-by-step instructions, you will be able to seamlessly integrate Metamask with Solana and take advantage of the Solana ecosystem’s features and capabilities.
What is Metamask?
Metamask is a cryptocurrency wallet and browser extension that allows users to interact with decentralized applications (DApps) on the Ethereum blockchain.
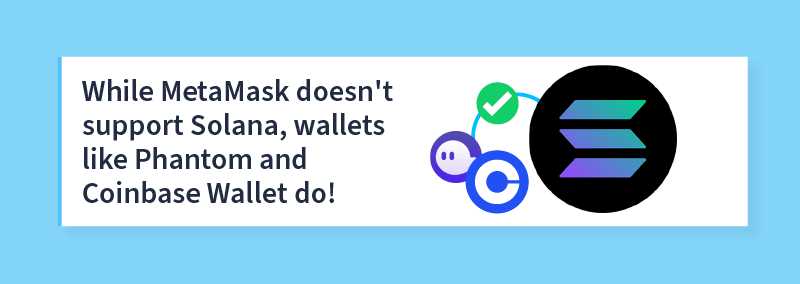
Can I integrate Metamask with Solana?
Yes, you can integrate Metamask with Solana by following a step-by-step guide that allows you to connect your Metamask wallet to the Solana network.