
With the rise of cryptocurrencies, Ethereum has emerged as one of the leading platforms for decentralized applications and smart contracts. As a result, it’s essential to have a secure and user-friendly way to interact with the Ethereum network. This is where Metamask comes in.
Metamask is a popular browser extension that serves as a secure and convenient Ethereum wallet. It allows users to manage their Ethereum accounts, interact with decentralized applications, and securely send and receive Ether and ERC-20 tokens. With its robust security features and user-friendly interface, Metamask has become an invaluable tool for Ethereum enthusiasts and developers.
One of the key advantages of using Metamask is its ability to interact with decentralized applications (DApps) seamlessly. By simply connecting their Metamask wallet to their browser, users can easily access and interact with a wide range of Ethereum-based DApps. Whether it’s trading on decentralized exchanges, participating in token sales, or playing blockchain games, Metamask simplifies the entire process and ensures the security of your transactions.
Ethereum Wallet and Browser Extension
Metamask is a popular Ethereum wallet and browser extension that allows users to securely manage their Ethereum accounts and interact with decentralized applications (DApps) directly from their web browsers. It serves as a bridge between users and the Ethereum blockchain, providing a user-friendly interface and making it easy for anyone to access the world of decentralized finance (DeFi).
As an Ethereum wallet, Metamask allows users to create and manage multiple Ethereum accounts, securely store their private keys, and view their account balances. It provides a simple way to send and receive Ethereum and other ERC-20 tokens, making it convenient for users to manage their digital assets without leaving their browser.
Browser Extension
Metamask is primarily used as a browser extension, available for popular web browsers such as Chrome, Firefox, and Brave. Once installed, it adds a small icon to the browser’s toolbar, indicating its presence. When clicked, the extension opens a pop-up window that serves as the user interface for managing Ethereum accounts and interacting with DApps.
By integrating directly into the browser, Metamask eliminates the need to rely on third-party websites or applications for accessing and interacting with the Ethereum blockchain. This increases security and reduces the risk of falling victim to phishing attacks or malicious websites.
Secure Transactions
One of the key features of Metamask is its ability to securely sign and broadcast transactions on the Ethereum network. When a user initiates a transaction, such as sending Ethereum or interacting with a DApp, Metamask prompts for confirmation and provides a detailed summary of the transaction. The user can review the transaction details, including the recipient address, amount, and gas fees, before approving and signing the transaction.
Metamask ensures the security of transactions by keeping the private keys securely on the user’s device and never exposing them to the websites or DApps it interacts with. It uses cryptographic techniques to sign transactions locally, ensuring that the transaction details are secure and tamper-proof.
Note: It is essential to set up Metamask correctly, including creating a strong password and backing up the seed phrase in a safe place. Losing access to the Metamask account or forgetting the password can result in permanent loss of funds.
In conclusion, Metamask serves as both an Ethereum wallet and a browser extension, providing users with a convenient and secure way to manage their Ethereum accounts and interact with the Ethereum blockchain. Its seamless integration with popular web browsers and focus on security make it an essential tool for anyone looking to dive into the world of Ethereum and decentralized finance.
Getting Started with Metamask
If you are new to using Metamask, this guide will walk you through the process of getting started and setting up your Metamask account.
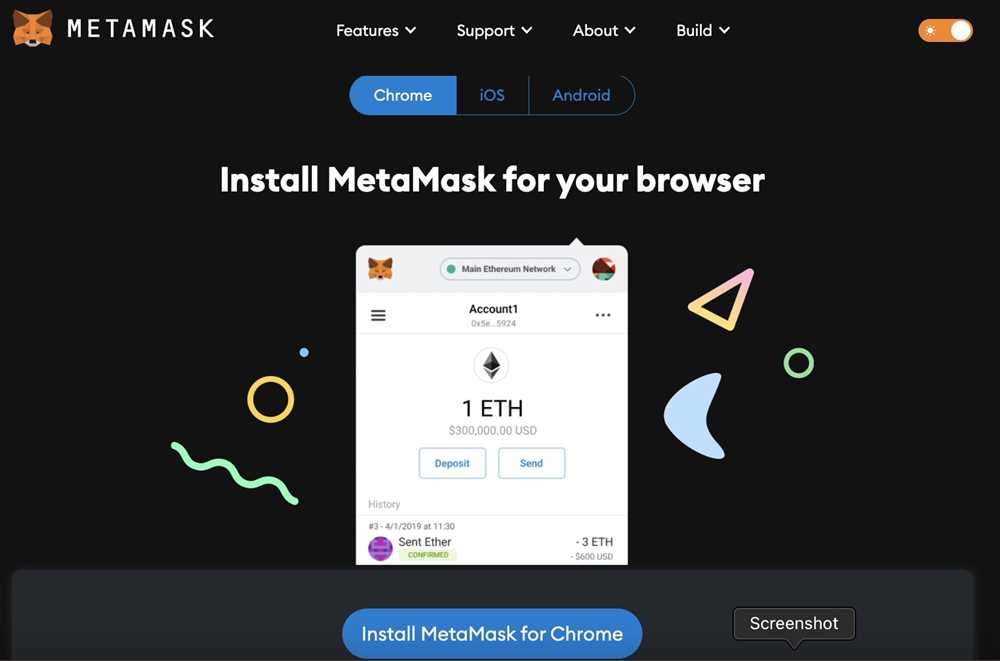
Step 1: Install the Metamask Plugin
To get started, you need to install the Metamask plugin on your web browser. Metamask is available for Google Chrome, Firefox, and Brave browsers. Simply go to your browser’s extension store and search for “Metamask”. Click on the “Install” button and follow the prompts to complete the installation.
Step 2: Create a Metamask Account
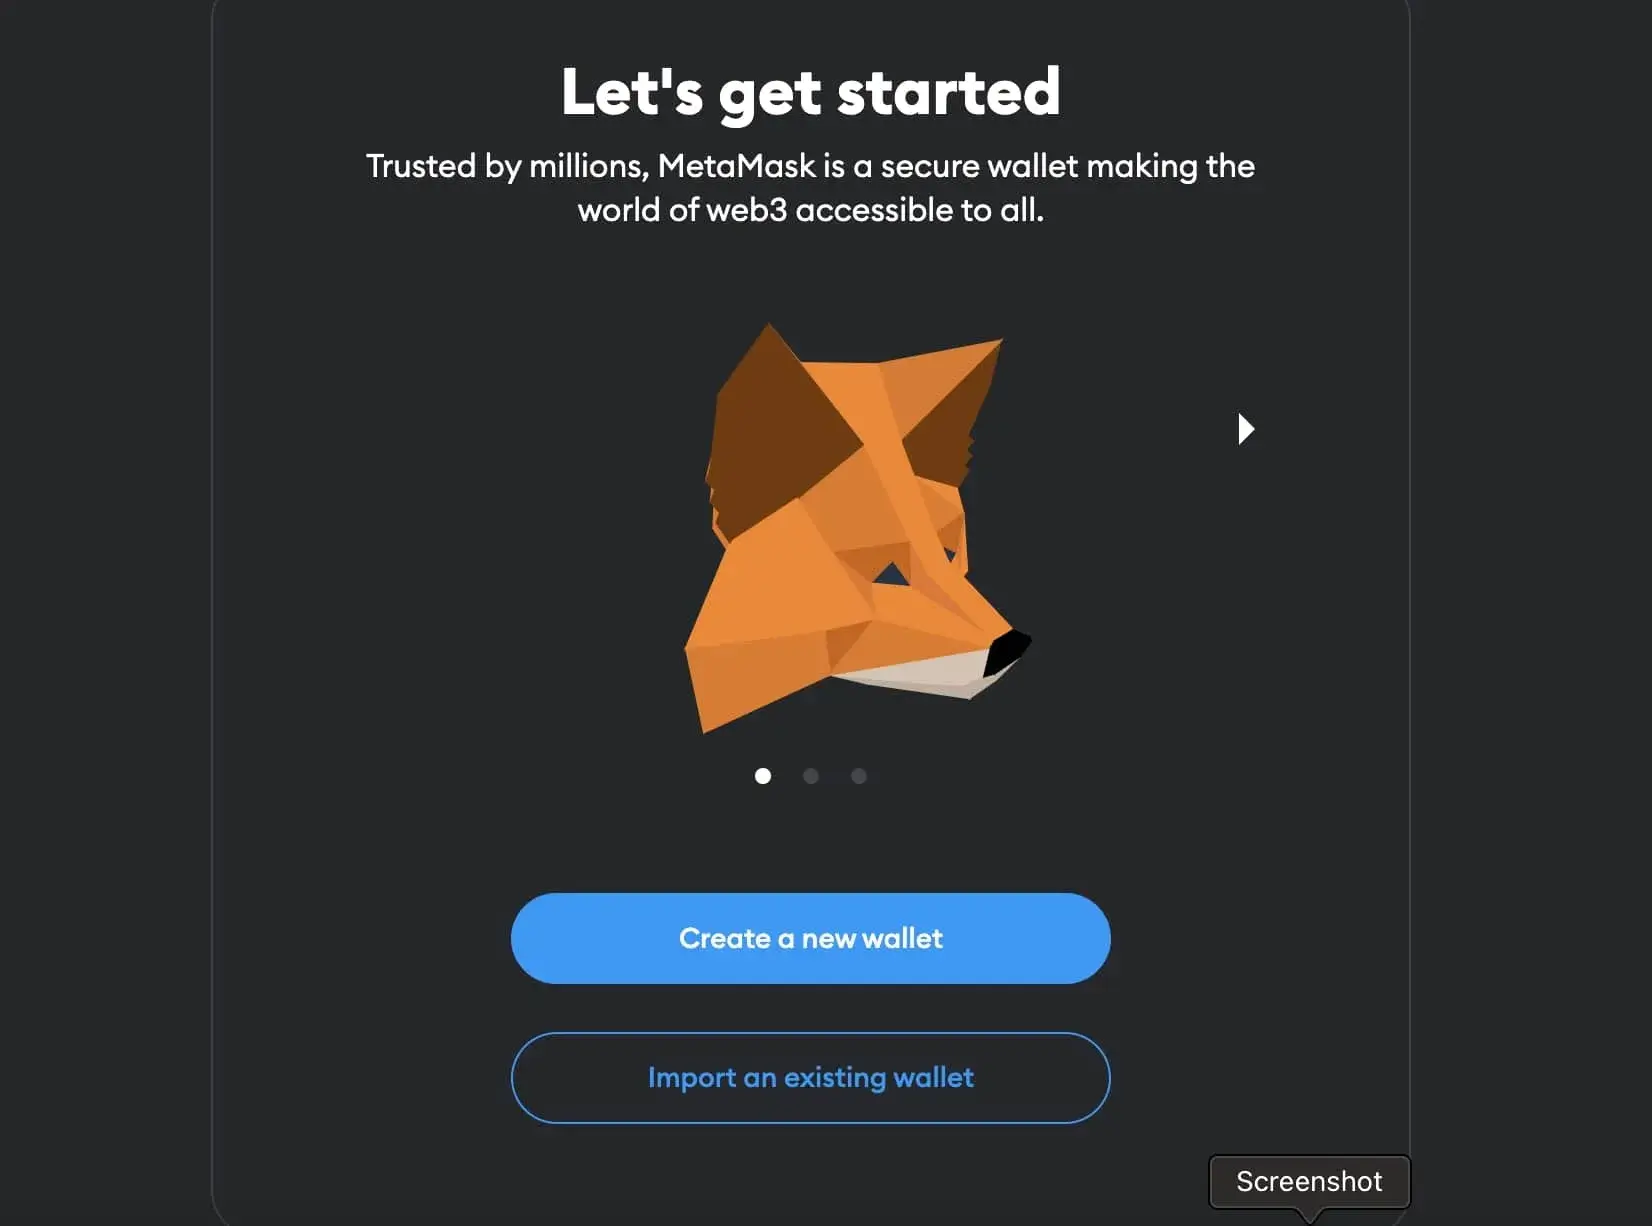
Once the installation is complete, click on the Metamask icon at the top right corner of your browser window. In the Metamask popup, click on the “Create a new wallet” button to start creating your account.
Note: Make sure you read and understand the terms of service and privacy policy before creating an account.
Enter a strong password for your account and click on “Create”. Metamask will generate a unique 12-word recovery phrase. It is crucial to write down and store this phrase in a safe place, as it can be used to recover your account in case you forget your password or lose access to your device.
Step 3: Backup Your Recovery Phrase
After generating the recovery phrase, Metamask will ask you to verify it by selecting the words in the correct order. This step ensures that you have accurately recorded your recovery phrase. Once verified, click on “Next” to proceed.
On the next screen, Metamask will display your recovery phrase again. It is important to write down and store this phrase securely. You can write it on paper or use a password manager to save it digitally. Never share your recovery phrase with anyone, as it grants access to your account.
Note: Keep your recovery phrase offline and away from prying eyes to ensure the security of your Metamask account.
Step 4: Connect to a Network
Now that you have created your account and backed up your recovery phrase, you need to connect Metamask to a network. By default, Metamask is set to the Ethereum Mainnet. However, you can select different networks by clicking on the network name at the top of the Metamask popup and choosing from the available options.
Step 5: Adding Funds to Your Metamask Account
To start utilizing Ethereum and interacting with decentralized applications (dApps), you will need to add funds to your Metamask account. You can do this by purchasing Ethereum from a crypto exchange and then sending it to your account address, or by receiving Ethereum from another wallet or account.
Once you have added funds to your account, you are ready to explore the world of decentralized finance (DeFi) and conduct secure Ethereum transactions using Metamask.
Installation and Setup
To start using the Metamask plugin for secure Ethereum transactions, you’ll need to install and set it up on your preferred browser. Follow the steps below to get started:
Step 1: Install the Metamask Plugin
First, open your browser and search for the official Metamask website or visit https://metamask.io. Once you’re on the website, look for the “Download” or “Get Metamask” button and click on it. This will redirect you to the plugin’s download page.
On the download page, you’ll see options for various browsers such as Chrome, Firefox, and Brave. Select the appropriate option for your browser and click on the “Install” button.
Step 2: Add the Metamask Extension to your Browser
After the plugin is successfully installed, a new Metamask icon will appear in your browser’s toolbar. Click on this icon to open the extension.
If you’re using Metamask for the first time, you’ll be prompted to create a new wallet. Click on the “Get Started” button and follow the on-screen instructions to set up your wallet. Make sure to write down and securely store your secret phrase, as it will be needed to recover your wallet in case of loss or device change.
Step 3: Connect to a Network
Once your wallet is set up, you’ll need to connect to a network. By default, Metamask uses the Ethereum Mainnet. However, you can also choose to connect to other networks such as the Ropsten Testnet or a local development network.
To connect to a different network, click on the network name next to the Metamask icon in your browser’s toolbar. A dropdown menu will appear, showing a list of available networks. Select the desired network from the list.
Note: It’s important to choose the correct network to avoid any transaction errors or loss of funds.
Step 4: Import an Existing Wallet (Optional)

If you already have an Ethereum wallet, you can import it into Metamask instead of creating a new one. To do this, click on the Metamask icon in your browser’s toolbar and select “Import Wallet” from the dropdown menu.
Follow the instructions to import your wallet using either a seed phrase or a private key. Once imported, you’ll have access to your wallet and can start using Metamask for secure transactions.
That’s it! You’ve now successfully installed and set up the Metamask plugin. You’re ready to unlock its power and start securely transacting on the Ethereum network.
Using Metamask for Secure Ethereum Transactions
Metamask is a powerful Ethereum wallet and browser extension that allows you to securely manage your Ethereum transactions. With Metamask, you can easily connect to decentralized applications (dApps) and interact with the Ethereum blockchain without the need to run a full Ethereum node.
When using Metamask for secure Ethereum transactions, it is important to follow some best practices to protect your funds:
- Use a Strong Password: Choose a unique and strong password for your Metamask wallet to prevent unauthorized access.
- Enable Two-Factor Authentication (2FA): Metamask supports 2FA through Google Authenticator or Authy. Enable this extra layer of security to protect your wallet.
- Verify Website URLs: Before entering any sensitive information or making transactions, always verify that you are on the correct website and not on a phishing site. Check for the secure lock icon and the URL starting with “https”.
- Keep Your Recovery Phrase Safe: Metamask provides you with a recovery phrase during the wallet setup. Write it down and store it securely offline. This recovery phrase is crucial for recovering your wallet if you lose access to your device or forget your password.
- Regularly Update Metamask: Always keep your Metamask extension up to date to benefit from the latest security enhancements and bug fixes.
- Beware of Suspicious Transactions: Double-check the details of any transactions before confirming them. Be cautious of unsolicited transactions and always verify the recipient’s address.
By following these security practices, you can use Metamask with confidence and enjoy secure Ethereum transactions.
Benefits of Using Metamask
Metamask offers several benefits to users who want to securely transact with Ethereum:
- Easy access to Ethereum: Metamask provides a user-friendly interface that allows users to seamlessly connect to the Ethereum blockchain. With just a few clicks, users can set up a wallet, import their existing wallet, or create new accounts.
- Enhanced security: Metamask acts as a secure bridge between web browsers and the Ethereum network. It provides a secure environment for users to interact with decentralized applications (DApps) without compromising the private keys and other sensitive information.
- Convenient transaction management: Metamask simplifies the process of sending and receiving Ethereum and ERC-20 tokens. It provides a convenient interface for users to view their transaction history, manage their wallet balance, and review transaction details.
- Multi-network support: Metamask supports multiple Ethereum networks, allowing users to seamlessly switch between mainnet, testnets, and custom networks. This flexibility is beneficial for developers and users who want to test their applications on different networks without using real Ether.
- Compatibility with web-based applications: Metamask integrates with various web-based applications and DApps, making it easier for users to access and interact with decentralized applications on the Ethereum network. It eliminates the need for users to manually copy and paste addresses and transaction details.
- Community and developer support: Metamask has a vibrant community and active developer support. Users can find helpful resources, tutorials, and troubleshooting guides to enhance their experience and resolve any issues they may encounter.
Overall, Metamask provides a user-friendly and secure way to access the Ethereum network, manage transactions, and interact with decentralized applications. Its features and functionalities make it an essential tool for users who want to unlock the full potential of Ethereum.
Tips and Best Practices with Metamask

Metamask is a powerful tool for interacting with the Ethereum blockchain, but it’s important to use it securely and effectively. Here are some tips and best practices to keep in mind when using Metamask:
1. Keep your seed phrase secure
Metamask generates a seed phrase that is used to back up and restore your wallet. It’s important to keep this seed phrase secure, as anyone with access to it can access your funds. Write down your seed phrase and store it in a safe place offline.
2. Use a hardware wallet for added security
If you’re dealing with large amounts of Ether or other cryptocurrencies, consider using a hardware wallet with Metamask for added security. Hardware wallets keep your private keys offline, protecting them from potential hacks and theft.
3. Verify contract addresses before interacting

Before interacting with any smart contract using Metamask, make sure to verify the contract address. Malicious actors can create fake contracts with similar names to trick you into sending funds. Double-check the contract address and ensure it matches the intended contract.
4. Keep your browser and Metamask updated
Security vulnerabilities can be patched in browser updates and Metamask updates. Make sure to regularly update your browser and the Metamask plugin to ensure you have the latest security improvements.
5. Be cautious of phishing attempts
Phishing attempts can trick you into providing your seed phrase or private keys. Always double-check the URL of the website you’re interacting with, and never enter your seed phrase or private keys on a suspicious or untrusted website. Metamask will only prompt you for sensitive information when necessary.
6. Double-check transaction details
Before confirming any transaction with Metamask, take a moment to double-check the transaction details. Make sure you’re sending the correct amount, to the correct address, and for the intended purpose. Once a transaction is confirmed, it cannot be reversed.
7. Test transactions with small amounts
If you’re unsure about a transaction or a new smart contract, it’s always a good idea to test it with small amounts first. This allows you to verify its functionality and ensure everything is working as expected before sending larger amounts.
| DO | DON’T |
|---|---|
| Do use strong and unique passwords for your Metamask account. | Don’t share your seed phrase or private keys with anyone. |
| Do regularly back up your wallet by writing down your seed phrase. | Don’t download Metamask from unofficial sources or click on suspicious links. |
| Do verify the security of smart contracts before interacting with them. | Don’t install suspicious browser extensions alongside Metamask. |
By following these tips and best practices, you can ensure that your interactions with the Ethereum blockchain using Metamask are secure and reliable. Happy transacting!
What is Metamask?
Metamask is a browser extension that allows users to interact with the Ethereum blockchain. It serves as a digital wallet for Ethereum and other ERC-20 tokens.
How do I install Metamask?
To install Metamask, go to the official website and download the extension for your preferred browser (Chrome, Firefox, or Brave). Once installed, you will be guided through the setup process, which includes creating a password and backing up your seed phrase.