
Welcome to the ultimate guide to Metamask Wallet on Chrome! If you are new to the world of cryptocurrencies or if you have been involved for a while but have yet to explore the wonders of Metamask, you have come to the right place. In this step-by-step tutorial, we will walk you through everything you need to know to get started with Metamask Wallet on Chrome.
Metamask is a popular browser extension that allows users to easily manage their Ethereum-based assets and interact with decentralized applications (dApps) on the Ethereum blockchain. It acts as a bridge between your web browser and the Ethereum network, making it super convenient to securely store, send, and receive Ethereum and other ERC-20 tokens.
Throughout this tutorial, we will cover a wide range of topics, such as how to install Metamask on Chrome, how to create a new wallet, how to import an existing wallet, how to add custom tokens, how to send and receive funds, and much more. By the end of this guide, you will be an expert in using Metamask Wallet on Chrome!
What is Metamask Wallet?
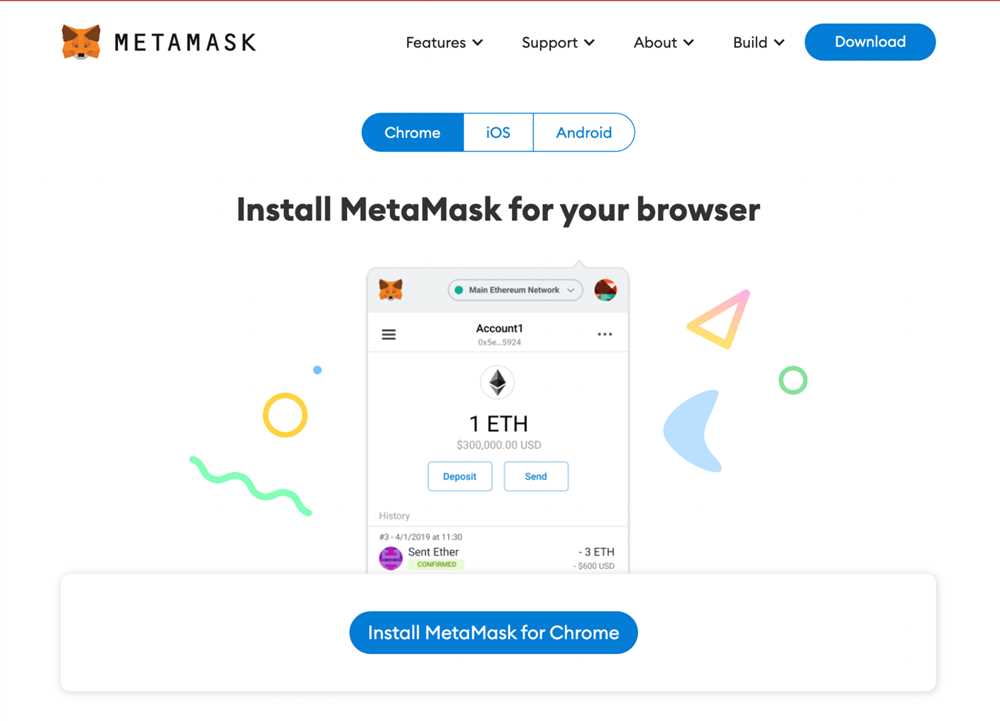
The Metamask Wallet is a browser extension wallet that allows users to interact with decentralized applications (dApps) on the Ethereum blockchain. It serves as a bridge between your web browser and the Ethereum network, enabling you to securely store, send, and receive Ether (ETH) and other ERC-20 tokens.
Metamask provides a user-friendly interface that simplifies the process of managing your Ethereum accounts. It also allows you to interact with dApps seamlessly, without the need to manually input your private keys or credentials.
One of the key advantages of Metamask is its compatibility with various web browsers, including Chrome, Firefox, and Brave. This cross-platform support makes it accessible to a wide range of users.
With Metamask, you can create multiple Ethereum accounts, import existing accounts, and easily switch between them. It also offers features like transaction history, customizable gas fees, and integration with hardware wallets for added security.
Overall, Metamask Wallet is an essential tool for anyone interested in using Ethereum-based dApps. It provides a convenient and secure way to manage your Ethereum assets and participate in the decentralized finance (DeFi) ecosystem.
Chapter 2: Setting up Metamask Wallet on Chrome
Before you can start using the Metamask wallet on Chrome, you’ll need to set it up. Follow these step-by-step instructions to get started:
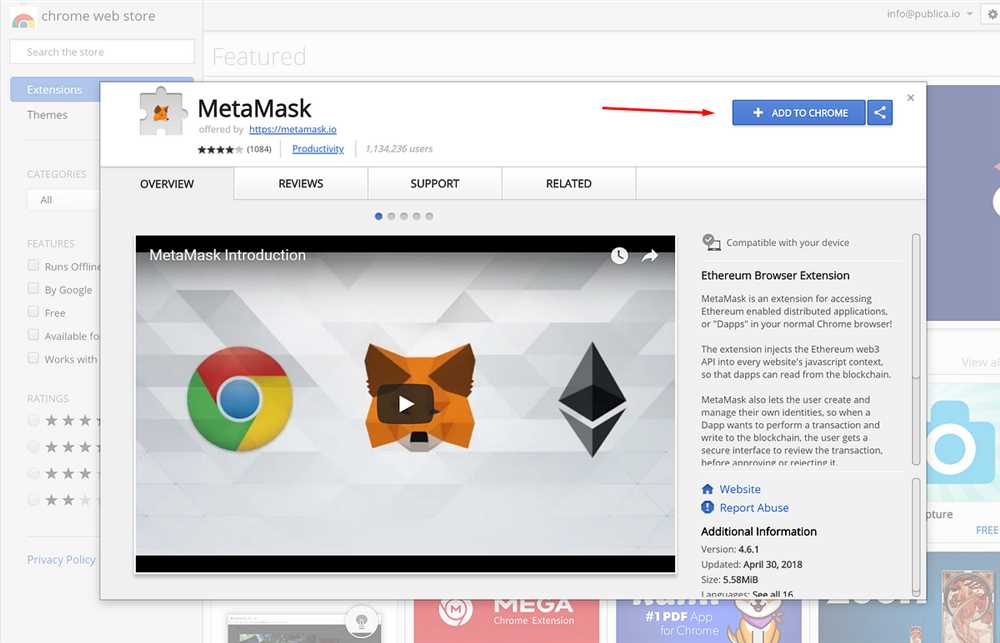
- Open your Chrome browser and go to the Chrome Web Store.
- Search for “Metamask” using the search bar at the top.
- Click on the Metamask wallet extension from the search results.
- Click on the “Add to Chrome” button to install the extension.
- Once the installation is complete, you will see the Metamask logo appear in your browser’s toolbar.
- Click on the Metamask logo to launch the wallet.
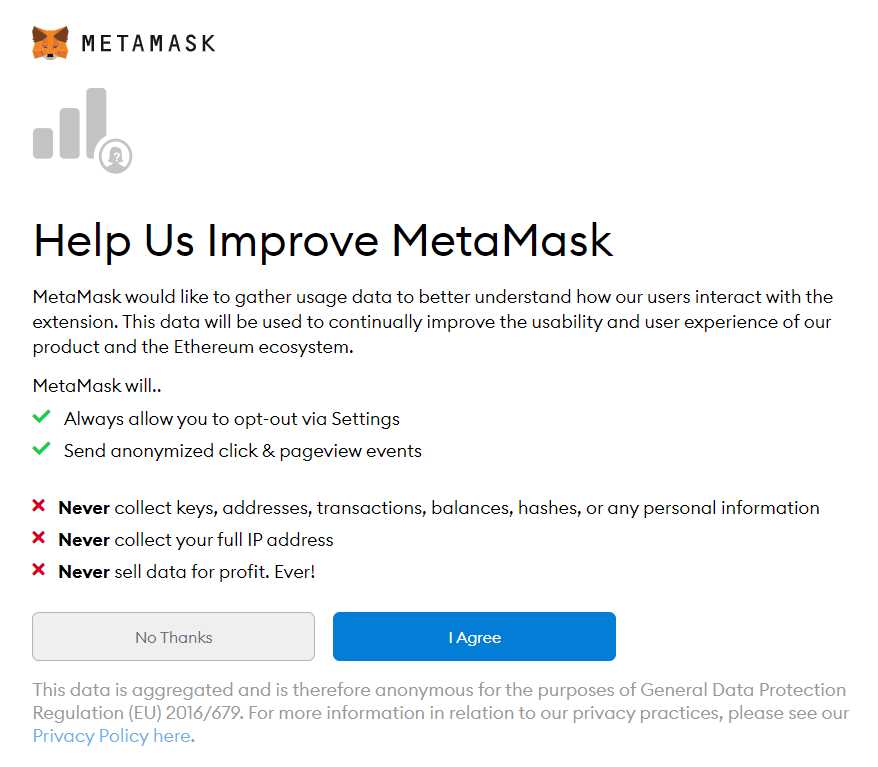
- A new tab will open with the Metamask welcome screen. Click on the “Get Started” button to proceed.
- You’ll be presented with an option to import an existing wallet or create a new one. Select the option that suits you best.
- If you choose to create a new wallet, you’ll be asked to set a password. Make sure to choose a strong password and remember it.
- After setting your password, you’ll be provided with a secret backup phrase. This phrase is extremely important as it can be used to restore your wallet if you forget your password or lose access to your device. Write down the backup phrase and keep it in a safe place.
- Confirm your backup phrase by entering it in the correct order and click on the “Confirm” button.
- Once your backup phrase is confirmed, your wallet will be created, and you’ll be ready to start using Metamask.
Now that you have successfully set up your Metamask wallet on Chrome, you can proceed to explore its features and start interacting with blockchain applications.
Step 1: Install the Metamask Extension
To begin using Metamask, you need to install the Metamask extension on your Google Chrome browser. Here is a step-by-step guide on how to install it:
- Open your Google Chrome browser and go to the Chrome Web Store.
- In the search bar, type “Metamask” and hit enter.
- Click on the “Add to Chrome” button next to the Metamask icon.
- A pop-up will appear with the permissions and data that Metamask needs to access. Review them and click on the “Add extension” button.
- The Metamask icon will now appear in the top right corner of your browser, next to the address bar.
- Click on the Metamask icon to open the extension.
- A welcome screen will appear. Read the information provided and click on the “Get Started” button.
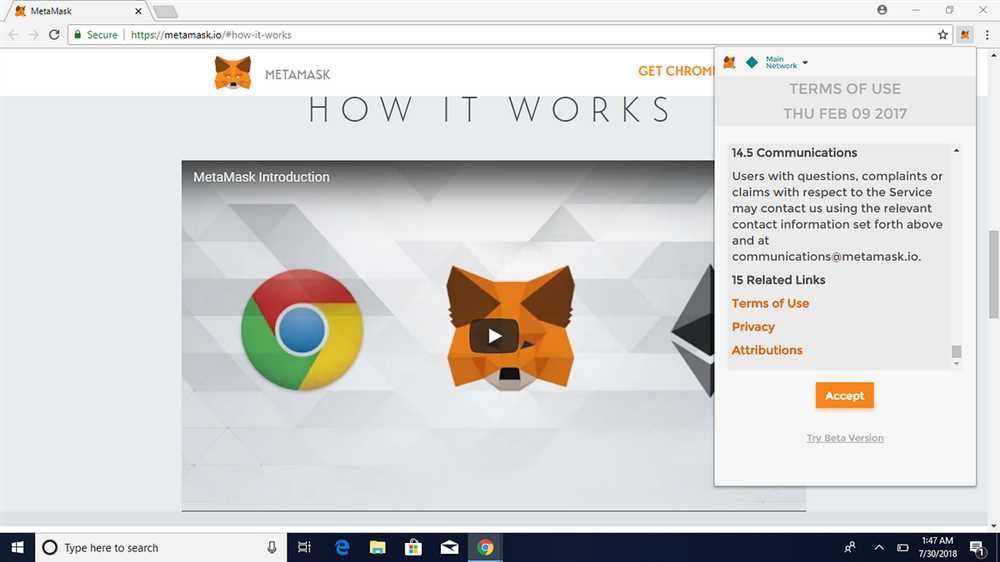
- Create a new wallet by setting up a password and agreeing to the Terms of Use. Make sure to choose a strong password and write it down in a safe place.
- After setting up your wallet, you will be provided with a unique seed phrase. This phrase is crucial for restoring your wallet if you ever lose access to it.
- Make sure to copy and securely store this seed phrase in a safe place. Do not share it with anyone.
- Once you have copied the seed phrase, click on the “Next” button.
- Confirm your seed phrase by selecting the words in the correct order.
- Click on the “Confirm” button.
- Congratulations! You have successfully installed and set up the Metamask extension on your Google Chrome browser.
Now you are ready to start using Metamask to manage your cryptocurrencies and interact with decentralized applications (DApps) on the Ethereum network.
Step 2: Create a New Wallet
Once you have installed the MetaMask extension, it’s time to create a new wallet. Follow these steps:
1. Open the MetaMask extension
In your browser toolbar, click on the MetaMask icon to open the extension. If this is your first time using MetaMask, a welcome screen will appear. Click on the “Get Started” button to proceed.
2. Set up a password
MetaMask will ask you to set up a password for your wallet. Choose a strong password that you can remember, as it will be needed to access your wallet in the future.
3. Backup your seed phrase
Next, you will be given a unique seed phrase consisting of 12 random words. Write down this seed phrase on a piece of paper and keep it in a safe place. This seed phrase can be used to recover your wallet if you ever lose access to it.
4. Confirm your seed phrase
After writing down the seed phrase, MetaMask will ask you to confirm it. Select each word in the correct order to verify that you have noted it down correctly.
5. Complete the wallet creation process
Finally, click on the “Confirm” button to complete the wallet creation process. Your new MetaMask wallet is now ready to use!
Note: It is important to keep your seed phrase and password secure, as they are the keys to accessing your wallet. Never share them with anyone and avoid storing them digitally, as this can make them vulnerable to theft.
Step 3: Backup and Security
When using Metamask Wallet, it is crucial to prioritize backup and security to ensure the protection of your funds and private keys. Here are some essential steps to follow:
1. Create a strong password:
Choose a password that is unique and consists of a combination of upper and lowercase letters, numbers, and special characters. Avoid using common or easily guessable passwords to reduce the risk of being hacked.
2. Enable Two-Factor Authentication (2FA):
Enable 2FA for an additional layer of security. This feature requires you to enter a secondary code, usually generated by an authentication app on your mobile device, before accessing your wallet.
3. Backup your seed phrase:
Your seed phrase is a unique combination of words that helps you restore your wallet if it gets lost or stolen. Write down your seed phrase on a piece of paper and store it somewhere safe, preferably offline. Avoid taking screenshots or storing it digitally, as it can be easily accessed by hackers.
4. Set up hardware wallet integration:
Consider using a hardware wallet, such as Ledger or Trezor, for enhanced security. Hardware wallets store your private keys offline, making it difficult for hackers to gain access to them. Metamask supports integration with these devices, providing an extra layer of protection.
5. Keep your software up to date:
Regularly update your Metamask Wallet software to ensure you have the latest security patches and features. Developers frequently release updates to address vulnerabilities and improve overall security.
6. Beware of phishing attempts:
Be cautious of phishing attempts, especially when entering your login credentials or seed phrase. Double-check the website’s URL to ensure you are on the correct and official Metamask page. Avoid clicking on suspicious links or sharing sensitive information.
7. Use reputable sources:
Only download and install Metamask Wallet from the official Chrome Web Store or Metamask’s official website. Avoid third-party sources, as they may contain malware or malicious code that can compromise your wallet’s security.
By following these steps, you can significantly enhance the security of your Metamask Wallet and protect your funds from potential threats.
Chapter 3: Using Metamask Wallet on Chrome
In this chapter, we will explore how to use the Metamask wallet on Google Chrome. Metamask is a popular cryptocurrency wallet that allows users to manage their digital assets and interact with decentralized applications (DApps) on the Ethereum network.
To get started, make sure that you have installed the Metamask extension in your Chrome browser. Once installed, you can find the Metamask icon in the top right corner of your browser toolbar.
Click on the Metamask icon to open the wallet. If you are using Metamask for the first time, you will be prompted to create a new wallet or import an existing one. Follow the on-screen instructions to set up your new wallet.
Once your wallet is set up, you will see your account balance and a list of your transactions. To send or receive funds, click on the “Send” or “Receive” buttons respectively. You will be prompted to enter the recipient’s address and the amount you want to send or receive.
Metamask also allows you to interact with DApps on the Ethereum network. To do this, navigate to a DApp’s website and connect your wallet. You can do this by clicking on the Metamask icon and then clicking on the “Connect” button on the DApp’s website. Once connected, you can interact with the DApp using your Metamask wallet.
Additionally, Metamask provides a wide range of settings that you can customize to suit your needs. To access the settings, click on the Metamask icon and then click on the three dots in the top right corner of the wallet interface. From here, you can customize your account, security, network, and other settings.
Using Metamask on Chrome provides a convenient and secure way to manage your digital assets and interact with decentralized applications. By following the steps in this chapter, you will be able to effortlessly use Metamask on Chrome and unlock the full potential of the Ethereum network.
What is Metamask Wallet?
Metamask Wallet is a cryptocurrency wallet that allows users to store, manage and interact with Ethereum and other blockchain-based assets. It is a browser extension that is compatible with Chrome, Firefox, and Brave browsers.