
MetaMask is a popular cryptocurrency wallet and browser extension that allows users to manage their Ethereum-based tokens, including non-fungible tokens (NFTs). If you’re looking to transfer your NFTs to another wallet or address, MetaMask provides a straightforward and secure process to do so.
In this step-by-step guide, we will walk you through the process of transferring your NFTs using MetaMask.
Step 1: Connect to MetaMask – Ensure that you have MetaMask installed and set up on your web browser. Once you’ve done that, open your MetaMask wallet and connect to your desired Ethereum network (such as the Ethereum Mainnet or a testnet).
Step 2: Access your NFT collection – After connecting to MetaMask, navigate to the platform or marketplace where your NFTs are stored. This could be OpenSea, Rarible, or any other platform that supports MetaMask.
Step 3: Select the NFT you want to transfer – Within your NFT collection, locate the specific NFT you wish to transfer to another wallet. Once you’ve found it, click on the NFT to view its details and available actions.
Step 4: Choose “Transfer” or “Send” – Look for the “Transfer” or “Send” button or option within the NFT details page. Click on it to proceed with the transfer process.
Step 5: Enter the recipient wallet address – In the transfer form, you will be prompted to enter the recipient’s wallet address. Make sure to double-check the address for accuracy to avoid any mistakes.
Step 6: Confirm the transfer – Once you’ve entered the recipient’s wallet address, review the details of the transfer, including any associated fees. If everything looks correct, click on the “Confirm” or “Transfer” button to initiate the transfer process.
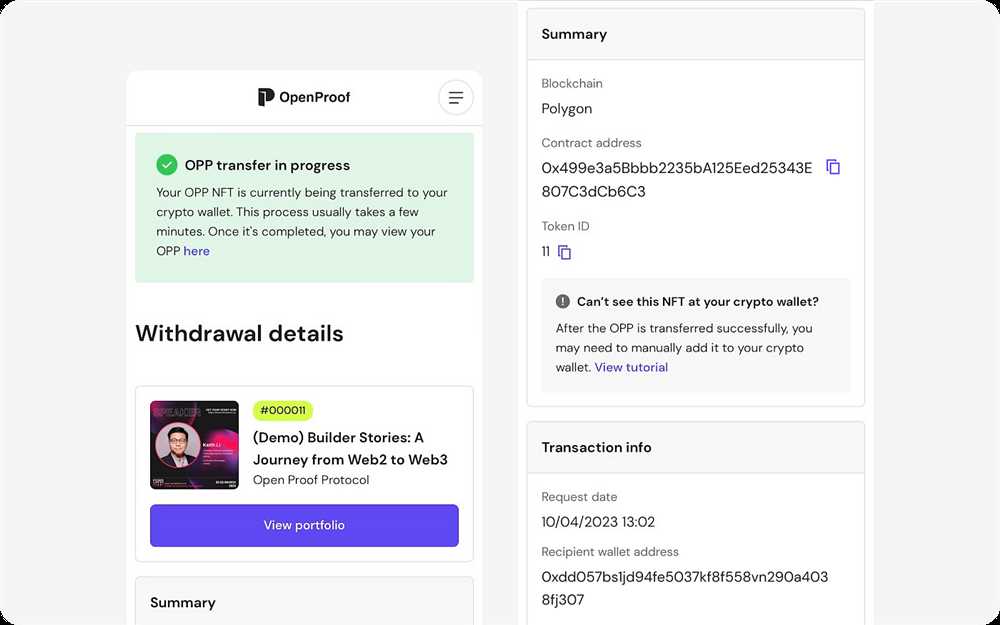
Step 7: Wait for confirmation – After confirming the transfer, you’ll need to wait for the transaction to be processed and confirmed on the blockchain. This may take a few moments or longer depending on network congestion.
Step 8: Verify the transfer – To ensure that the transfer was successful, you can check the recipient wallet address to see if the NFT has arrived. You can also view the transaction details on a block explorer like Etherscan.
That’s it! You have successfully transferred your NFT to another wallet using MetaMask. Repeat these steps for any additional NFTs you wish to transfer. Remember to always exercise caution and verify all details before initiating any transfers.
Step-by-Step Guide: Transferring NFTs to Another Wallet Using MetaMask
MetaMask is a popular web extension wallet that allows users to securely manage their cryptocurrencies and NFTs. If you own NFTs and want to transfer them to another wallet, MetaMask provides a simple and convenient way to do so. In this step-by-step guide, we will walk you through the process of transferring NFTs to another wallet using MetaMask.
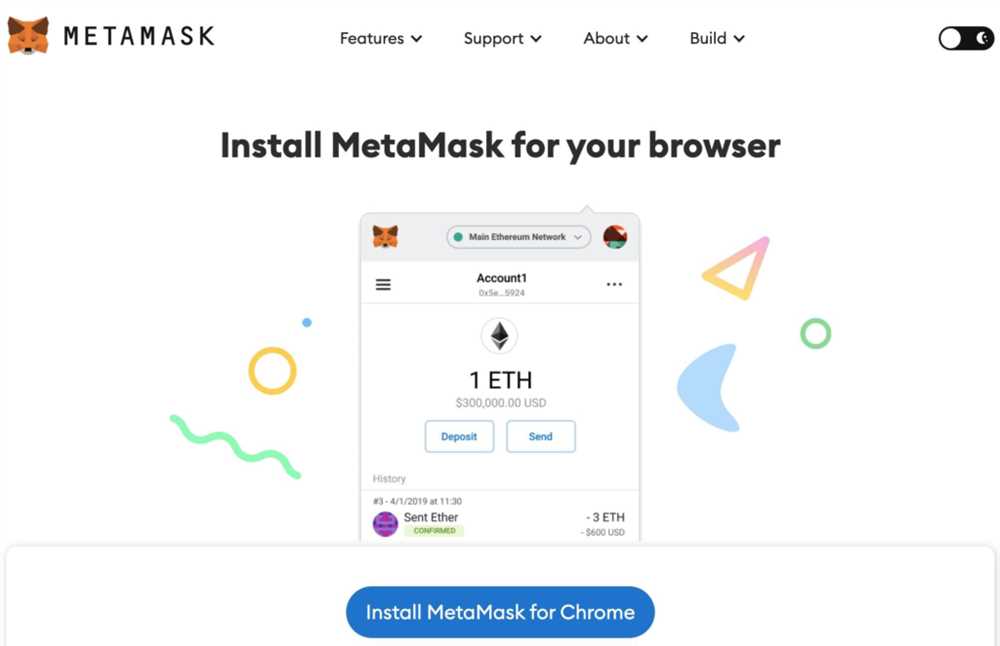
- First, make sure you have MetaMask installed on your browser. If you don’t have it installed, you can download it from the official MetaMask website and follow the installation instructions.
- Open MetaMask and log in to your wallet using your password or recovery phrase.
- Once you are logged in, click on the “Asset” tab at the top of the MetaMask window.
- In the Asset tab, you will see a list of your NFTs. Find the NFT you want to transfer and click on it to select it.
- After selecting the NFT, click on the “Send” button.
- A new window will pop up, asking for the recipient’s wallet address. Enter the wallet address of the recipient where you want to transfer the NFT.
- Double-check the wallet address to ensure that it is correct. Sending NFTs to the wrong address can result in permanent loss.
- Click on the “Next” button to proceed with the NFT transfer.
- You will be prompted to review the transaction details, such as gas fees. Make sure you have enough ETH in your wallet to cover the gas fees.
- If everything looks good, click on the “Confirm” button to initiate the NFT transfer.
- MetaMask will display a transaction confirmation screen with the transaction hash and other details. You can click on the transaction hash to view it on a blockchain explorer.
- The NFT transfer may take some time to be confirmed on the blockchain. You can check the progress of the transaction by clicking on the MetaMask extension icon and navigating to the “Activity” tab.
- Once the NFT transfer is confirmed, you can verify it by checking the recipient’s wallet address on a blockchain explorer.
And that’s it! You have successfully transferred an NFT to another wallet using MetaMask. This step-by-step guide should help you navigate the process smoothly and securely. Remember to always double-check the recipient’s wallet address and have enough ETH for gas fees before initiating any transaction.
Step 1: Install and Set up MetaMask
To transfer NFTs to another wallet using MetaMask, you’ll need to install and set up the MetaMask extension on your web browser. Follow these steps to get started:
1. Install MetaMask:
Go to the official MetaMask website or search for the MetaMask extension in your web browser’s extension store. Click on the “Add to [Browser Name]” button to install the extension.
2. Create a new wallet:
Once installed, open the MetaMask extension by clicking on the MetaMask icon in your browser toolbar. Click on the “Get Started” button to create a new wallet.
Note: If you already have a MetaMask wallet, you can skip this step and import your existing wallet by clicking on “Import wallet” instead.
3. Set up a password:
Enter a strong password for your MetaMask wallet. Make sure to use a combination of uppercase and lowercase letters, numbers, and special characters to ensure the security of your wallet.
4. Backup your seed phrase:
MetaMask will generate a unique seed phrase consisting of 12 or 24 words. This seed phrase is crucial for recovering your wallet in case you lose access to your MetaMask account. Write down the seed phrase and keep it in a safe and secure place.
Note: Never share your seed phrase with anyone as it can give them full access to your wallet and funds.
5. Confirm your seed phrase:
To confirm that you have correctly saved your seed phrase, MetaMask will ask you to select the words in the correct order. Select the words in the order they were presented to you and click “Confirm” to proceed.
6. Connect to a network:
After confirming your seed phrase, you will be directed to the MetaMask main screen. To transfer NFTs, make sure you are connected to the appropriate blockchain network where the NFTs are located. To switch networks, click on the network name at the top of the MetaMask extension and select the desired network from the drop-down menu.
Congratulations! You have successfully installed and set up MetaMask. You are now ready to transfer NFTs to another wallet using this extension.
Step 2: Connect Your Current Wallet
Before you can transfer your NFTs to another wallet using MetaMask, it is important to connect your current wallet to MetaMask.
Follow the steps below to connect your current wallet:
- Open the MetaMask extension in your browser.
- Click on the MetaMask icon located in the top-right corner of your browser.
- If you already have a MetaMask wallet, click on the “Connect” button. If you do not have a MetaMask wallet, click on the “Create a Wallet” button to create one.
- If you clicked on the “Connect” button, a drop-down menu will appear. Select your current wallet from the list of supported wallets.
- If you clicked on the “Create a Wallet” button, you will be guided through the process of creating a new MetaMask wallet. Follow the instructions provided.
- Once your current wallet is connected to MetaMask, you will see the wallet address and balance displayed in the MetaMask extension.
Now that your current wallet is connected to MetaMask, you are ready to proceed to the next step and transfer your NFTs to another wallet.
Step 3: Add the Receiving Wallet
Once you have your MetaMask wallet set up and funded, the next step is to add the receiving wallet where you want to transfer your NFTs.
To add a receiving wallet in MetaMask, follow these steps:
- Open your MetaMask extension or mobile app.
- Click on the account icon located at the top-right corner of the screen.
- Select “Create Account” or “Import Account”, depending on whether you want to create a new wallet or import an existing one.
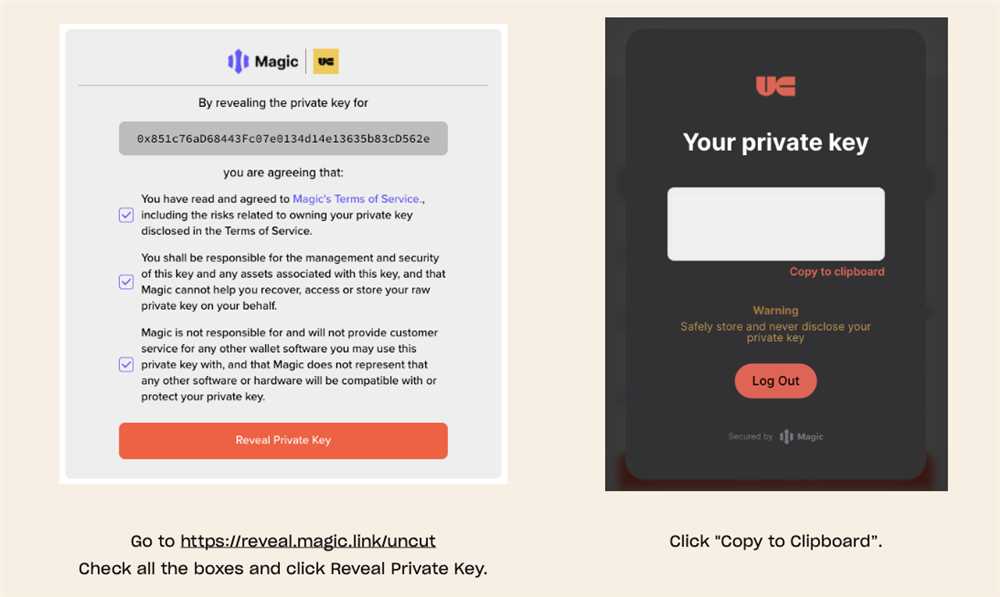
- If you choose to create a new wallet, follow the prompts to set up a new account and secure it with a strong password. If you choose to import an existing wallet, select the option to import using a seed phrase or private key.
- Once your receiving wallet is added to MetaMask, you should see it listed alongside your other accounts.
It is important to double-check that you have added the correct receiving wallet address in MetaMask before proceeding to transfer your NFTs. Make sure to verify the address with the recipient to avoid any mistakes or loss of funds.
Note: Adding another wallet to MetaMask does not give anyone else access to your funds or private keys. It simply allows you to manage multiple wallets within the same interface.
What is MetaMask?
MetaMask is a popular cryptocurrency wallet browser extension that allows users to interact with the Ethereum blockchain. It enables users to securely store, send, and receive Ethereum and other ERC-20 tokens.
Can I transfer multiple NFTs at once?
Yes, you can transfer multiple NFTs at once using MetaMask. The process is similar to transferring a single NFT. Instead of clicking on a single NFT, you need to select multiple NFTs from your collection. Most NFT marketplaces provide an option to select multiple NFTs for transfer. Follow the same steps mentioned earlier, and make sure to enter the recipient’s wallet address correctly.
Is there a fee for transferring NFTs using MetaMask?
Yes, there is a fee associated with transferring NFTs using MetaMask. When you initiate the transfer, MetaMask will show you the estimated transaction fee, also known as gas fee. The gas fee is required to process and validate the transaction on the Ethereum blockchain. The fee amount can vary depending on network congestion, but you have the option to adjust the gas fee to prioritize faster or cheaper transfers. Keep in mind that lower fees may result in slower transaction processing times.
Can I transfer NFTs to a different blockchain using MetaMask?
No, MetaMask is primarily designed to interact with the Ethereum blockchain and its associated tokens, including NFTs. You cannot directly transfer NFTs to a different blockchain using MetaMask. However, there are other wallets and platforms that support cross-chain transfers, allowing you to move NFTs between different blockchains.