
Welcome to the beginner’s guide on setting up and using Metamask on your iPhone! Metamask is a popular cryptocurrency wallet and browser extension that allows you to interact with decentralized applications (DApps) on the Ethereum blockchain. Whether you are new to the world of cryptocurrencies or an experienced user, this guide will walk you through the process of installing and using Metamask on your iPhone.
Step 1: Download and Install Metamask
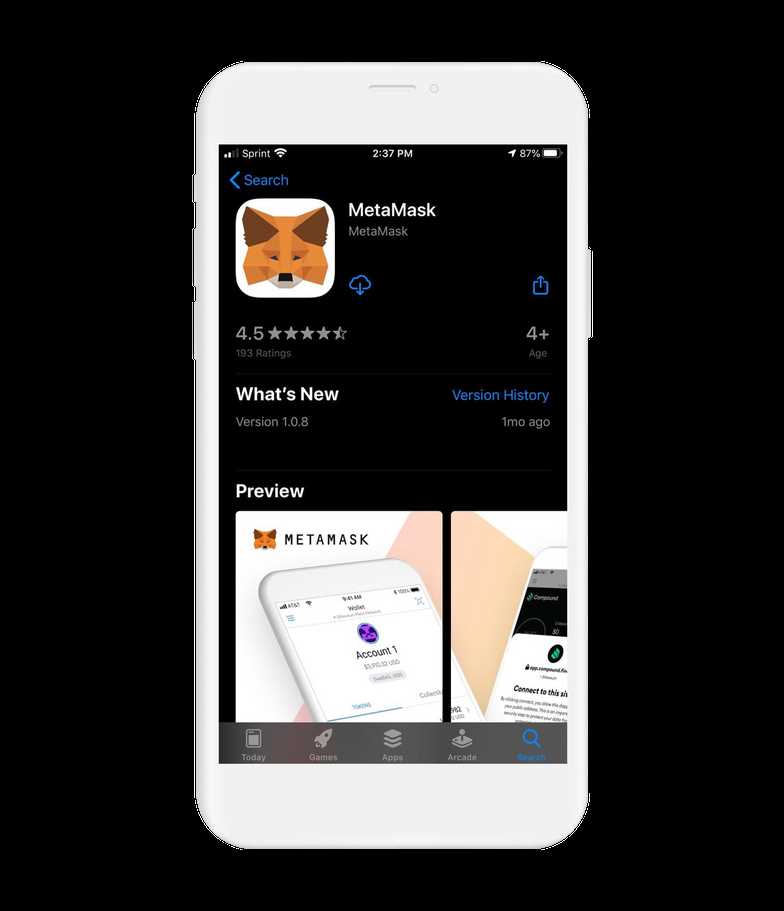
The first step is to download and install the Metamask app on your iPhone. You can find the app on the Apple App Store by searching for “Metamask”. Once you find the app, tap on the “Get” or “Install” button to begin the installation process. After the installation is complete, you will see the Metamask icon on your home screen.
Step 2: Create a New Wallet
To start using Metamask, you need to create a new wallet. Open the Metamask app on your iPhone and tap on the “Create a Wallet” button. Follow the on-screen instructions to set a strong password for your wallet. Remember to write down your password and keep it in a safe place.
Step 3: Backup your Wallet
After creating a wallet, it is crucial to back it up to ensure you can recover your funds if your device gets lost or damaged. Metamask will provide you with a secret backup phrase, also known as a seed phrase. Write down this phrase and store it securely. Do not share it with anyone.
Step 4: Connect to a Network
Once your wallet is created and backed up, you will be prompted to connect to a network. Metamask supports various networks, including the Ethereum mainnet, testnets, and custom networks. Choose the network you wish to connect to, and you’re ready to go!
Now that your Metamask wallet is set up and connected to a network, you can start using it to interact with decentralized applications (DApps), manage your cryptocurrencies, and even participate in token sales. Keep your wallet secure by keeping your device and password safe, and remember to always double-check the addresses before making any transactions.
If you encounter any issues or have any questions while using Metamask, consult the official Metamask documentation or seek help from the Metamask community. Enjoy exploring the world of decentralized applications with Metamask on your iPhone!
Creating an Account on Metamask for iPhone
To set up and use Metamask on your iPhone, you will need to create an account first. Follow these steps to create an account on Metamask:
- Go to the App Store on your iPhone and search for “Metamask”. Download and install the app.
- Open the Metamask app by tapping on its icon.
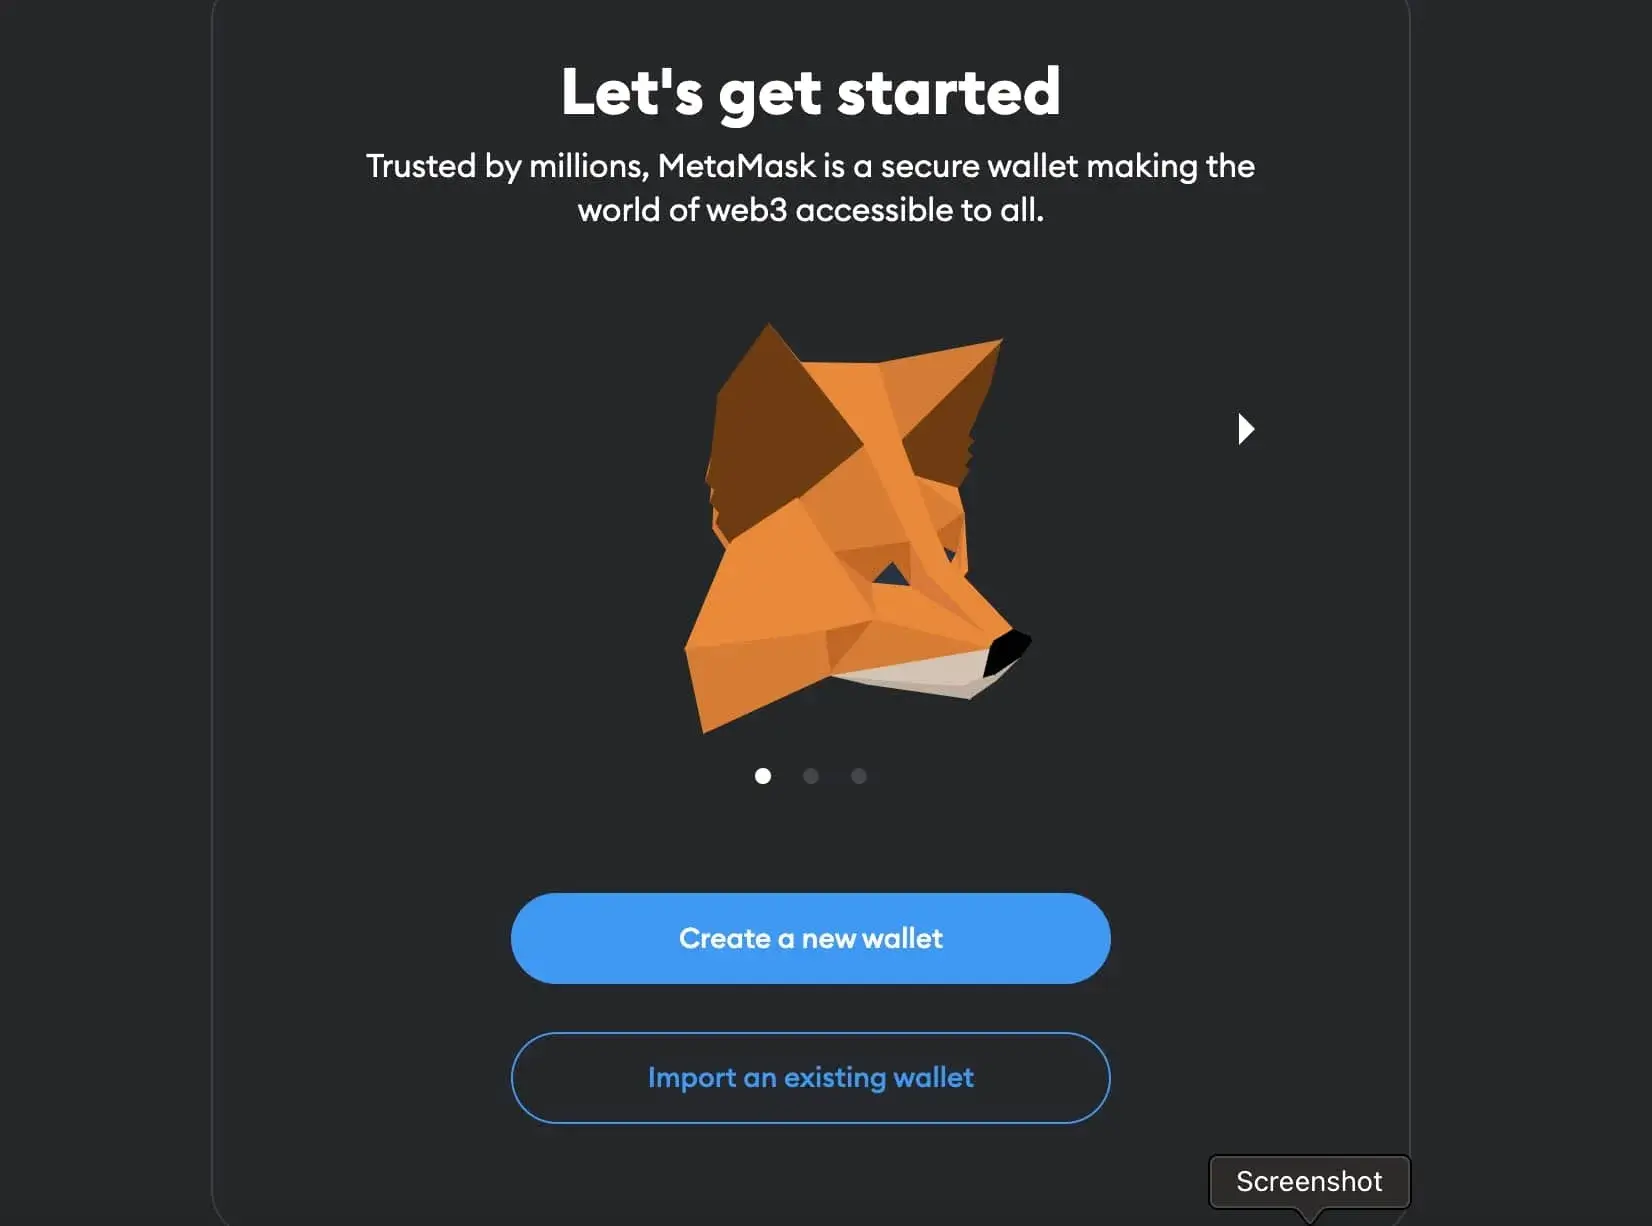
- On the welcome screen, tap on the “Get Started” button to begin the account creation process.
- You will be presented with the option to either import an existing account or create a new one. Since we are creating a new account, select the “Create a Wallet” option.
- Next, read and accept the terms of use by tapping on the “I Agree” button.
- In the next step, you will be asked to set a strong password for your account. Enter a password that you can remember but ensure it is secure and not easily guessable.
- Confirm your password by entering it again in the “Confirm Password” field.
- Once you have set a password, tap on the “Create” button.
- Metamask will generate a unique 12-word recovery phrase for you. This recovery phrase is crucial for restoring your account in case you lose access to your device. Write down these words and keep them in a secure place.
- After you have securely saved your 12-word recovery phrase, tap on the “Next” button.
- In the next step, you will be asked to verify your recovery phrase. Tap on the words in the correct order to confirm that you have saved them correctly.
- Once you have successfully verified your recovery phrase, your account will be created, and you will be taken to the main Metamask interface.
Congratulations! You have successfully created an account on Metamask for iPhone. Now you can start exploring and using the various features offered by the app.
Importing Your Wallet to Metamask on iPhone
If you already have an existing Ethereum wallet and want to use it with Metamask on your iPhone, you can easily import it by following these simple steps:
1. Open the Metamask app on your iPhone and click on the “Continue” button to proceed.
2. On the next screen, you will see two options: “Create a Wallet” and “Import Wallet”. Tap on the “Import Wallet” option.
3. Now, you will be prompted to enter your wallet’s seed phrase or private key. Make sure you have this information handy before proceeding. Enter the seed phrase or private key correctly and click on the “Import” button.
4. Metamask will then validate the seed phrase or private key and import your wallet. This process may take a few moments.
5. After successful import, you will be redirected to the main Metamask interface, where you can see your imported wallet’s address and balance. You can now use your existing wallet with Metamask on your iPhone.
It’s important to note that importing a wallet to Metamask on your iPhone does not transfer any funds or assets. It simply allows you to access and manage your existing wallet using the Metamask interface.
Now that you have successfully imported your wallet to Metamask on your iPhone, you can take advantage of the many features and benefits offered by the Metamask wallet, such as decentralized application (dApp) support, secure storage of private keys, and easy token management.
Remember to keep your seed phrase or private key secure and never share it with anyone. With Metamask, you can securely manage your Ethereum wallet and interact with the decentralized web from the convenience of your iPhone.
Using Metamask on iPhone for Ethereum Transactions
Metamask is a popular Ethereum wallet that allows users to securely store, send, and receive Ethereum and other ERC-20 tokens. With the release of the mobile version of Metamask for iPhone, users can now conveniently manage their Ethereum transactions on the go.
Setting Up Metamask on iPhone
To start using Metamask on your iPhone, you will first need to download the app from the App Store. Once installed, open the app and follow the on-screen instructions to create a new wallet or import an existing one.
After setting up your wallet, you will be prompted to create a password. Make sure to choose a secure password and remember it, as it will be required every time you access your wallet.
Connect to the Ethereum Network

After setting up your wallet, the next step is to connect Metamask to the Ethereum network. By default, Metamask is configured to use the Ethereum Mainnet, but you can also connect to other networks such as the Ropsten Testnet or the Rinkeby Testnet.
To switch between networks, tap on the network name at the top of the app and select the desired network from the dropdown menu. You can also add custom networks by tapping on “Custom RPC” and entering the network details.
Sending and Receiving Ethereum

Once connected to the Ethereum network, you can easily send and receive Ethereum and ERC-20 tokens using Metamask on your iPhone. To send Ethereum, tap on the “Send” button, enter the recipient’s address, the amount of Ethereum you want to send, and any optional message or gas settings. Review the transaction details and confirm the transaction.
To receive Ethereum, tap on the “Receive” button, and your wallet address will be displayed. You can share this address with others to receive Ethereum or tokens.
Viewing Transaction History and Balances

Metamask on iPhone allows you to view your transaction history and token balances. To view your transaction history, tap on the “Activity” tab. This will display a list of your recent transactions, including details such as the transaction hash, date, and amount.
To view your token balances, tap on the “Assets” tab. This will show a list of your tokens, along with their respective balances and token symbols.
Managing Security and Privacy
Security and privacy are crucial when using a cryptocurrency wallet. Metamask on iPhone provides several security features to help protect your funds. These include biometric authentication (such as Face ID or Touch ID) and the ability to lock the app with a PIN code.
Additionally, you can back up your wallet by selecting “Settings” > “Security & Privacy” > “Export Private Key.” Make sure to store your private key securely in a separate location, as anyone with access to it will have full control over your wallet.
| Feature | Description |
|---|---|
| Biometric Authentication | Securely access your wallet using Face ID or Touch ID |
| App Lock | Set up a PIN code to lock the Metamask app |
| Private Key Backup | Export and securely store your wallet’s private key |
Overall, Metamask on iPhone provides a user-friendly interface for managing Ethereum transactions. With its security features and convenient mobile access, it’s a great option for users looking to interact with the Ethereum network on the go.
What is Metamask?
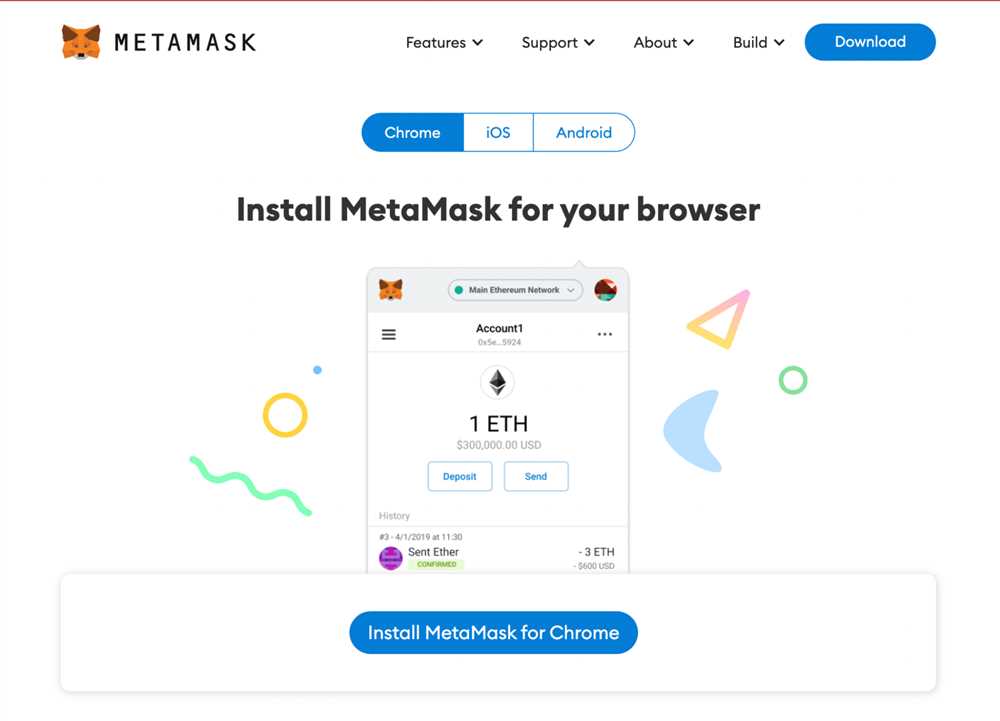
Metamask is a cryptocurrency wallet and browser extension that allows users to interact with Ethereum-based decentralized applications (dApps) directly from their web browsers. It provides a user-friendly interface for managing Ethereum accounts, storing digital assets, and executing blockchain transactions.
Can I use Metamask on my iPhone?
Yes, you can use Metamask on your iPhone. Metamask has a mobile app available for iOS devices, which allows you to access your Ethereum accounts and dApps on the go. You can download and install the Metamask app from the App Store.