
Metamask is a popular web browser extension that allows users to interact with the Ethereum blockchain. With Metamask, you can securely manage your Ethereum accounts, send and receive Ether, and easily access decentralized applications (DApps) right from your browser.
If you are an Opera browser user and want to join the growing Ethereum ecosystem, this step-by-step guide will walk you through the process of installing and using Metamask on Opera.
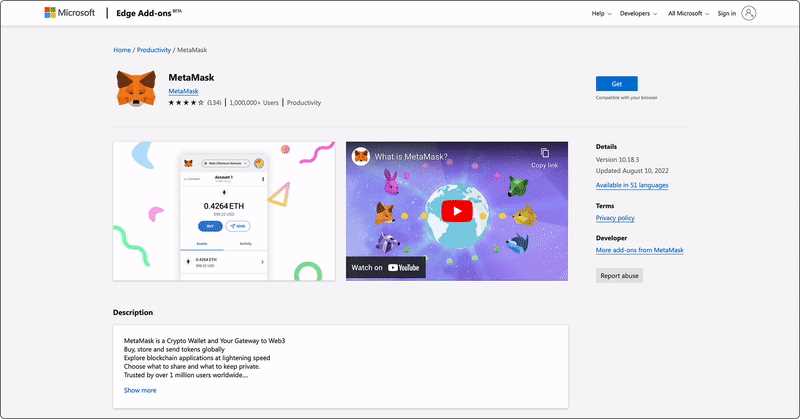
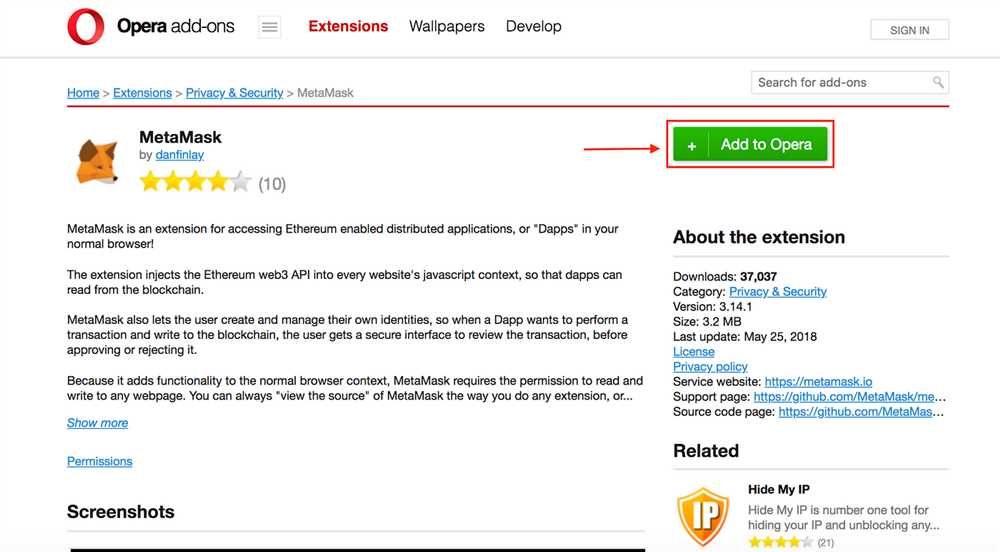
Step 1: Open the Opera browser and visit the official Metamask website to download the extension. Click on the “Download” button to start the installation process.
Step 2: Once the installation is complete, you will see the Metamask icon in the top right corner of your Opera browser. Click on the icon to open the Metamask extension.
Step 3: In the Metamask extension, click on the “Get Started” button to create a new wallet. Follow the instructions to set a strong password and backup your seed phrase.
Step 4: After setting up your wallet, you will be directed to the main Metamask interface. Here, you can view your account balance, transaction history, and manage your Ethereum accounts.
Step 5: To use your Metamask wallet for Ethereum transactions, you first need to connect it to a decentralized application (DApp) or a website that supports Metamask. Simply visit the DApp or website and click on any button or link that requires a wallet connection.
Step 6: Metamask will automatically detect the DApp or website and ask for your permission to connect. Review the details and click “Connect” to establish the connection.
Step 7: Once connected, you can now use your Metamask wallet to interact with the DApp or website and perform Ethereum transactions.
Step 8: To send Ether, click on the “Send” button in the Metamask interface. Enter the recipient’s address, the amount of Ether you want to send, and any optional data. Review the transaction details and click “Confirm” to initiate the transfer.
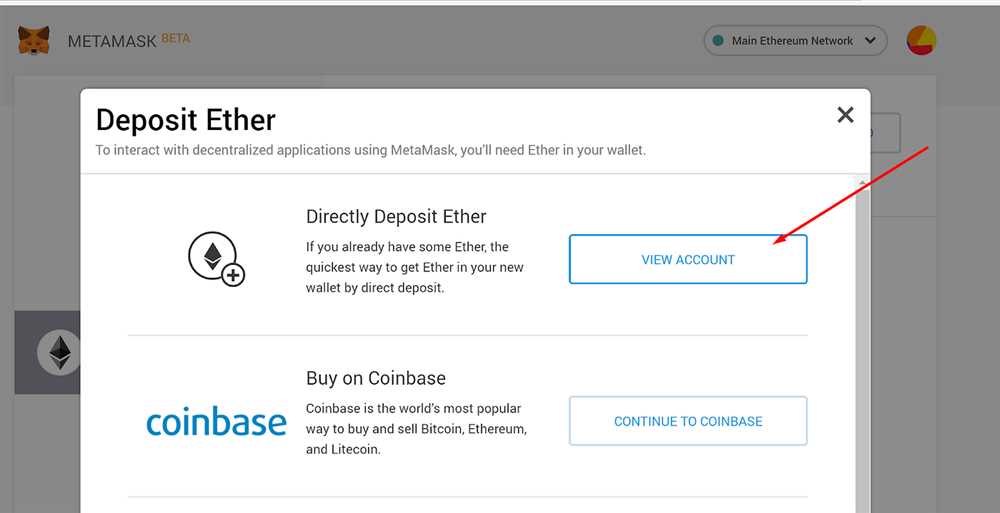
Step 9: To receive Ether, click on the “Receive” button in the Metamask interface. Copy your Ethereum address and share it with the sender.
Step 10: Congratulations! You have successfully installed and set up Metamask on Opera browser. Now you can freely explore the world of Ethereum and enjoy the benefits of decentralized finance.
Note: Always remember to keep your password and seed phrase safe and secure. Never share them with anyone and make sure to create regular backups.
Start using Metamask on Opera today and experience the convenience and security of managing your Ethereum accounts right from your browser!
Download and Install Opera Browser
In order to use Metamask on Opera browser, you’ll first need to download and install Opera Browser on your computer. Follow the steps below:
Step 1: Go to the Opera Website
Open your preferred web browser and go to the official Opera website.
Step 2: Download Opera Browser
Once on the Opera website, locate the download button or link. Click on it to start the download process. Make sure to choose the appropriate version for your operating system.
Step 3: Install Opera Browser
After the download is complete, locate the downloaded file on your computer and double-click on it to start the installation process. Follow the on-screen instructions to complete the installation.
Once the installation is complete, you can launch Opera Browser by clicking on its icon in the applications folder or desktop shortcut.
Now that you have Opera Browser installed on your computer, you can proceed with setting up Metamask for Ethereum transactions.
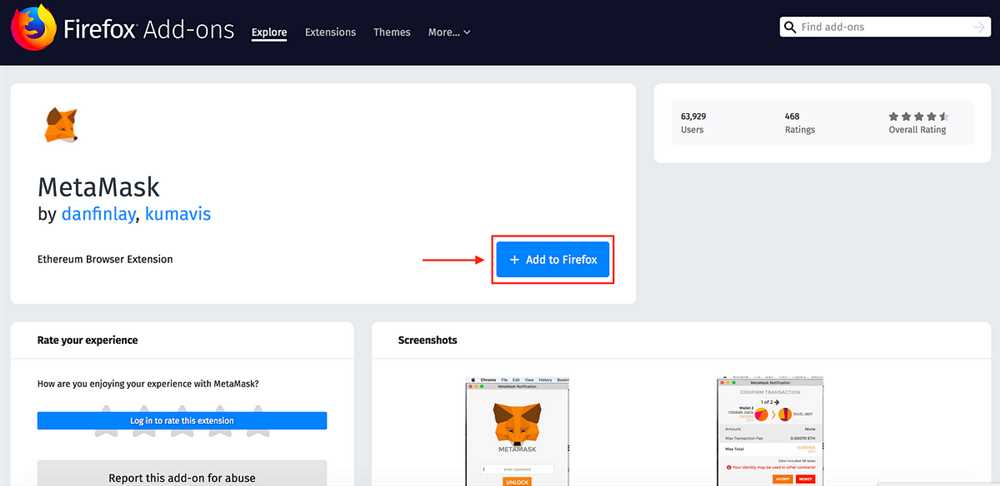
Note: Metamask is also available as an extension for other popular browsers such as Google Chrome and Mozilla Firefox. If you prefer using one of these browsers, you can download and install them instead.
Create and Configure a New Metamask Wallet
To begin using Metamask on the Opera browser, you will first need to create a new Metamask wallet. Follow the steps below to get started:
- Launch the Opera browser on your computer and ensure that the Metamask extension is installed and activated.
- Click on the Metamask icon located at the top-right corner of the browser window. If it’s your first time using Metamask, you will be prompted to create a new wallet.
- Click on the “Create a Wallet” button to proceed.
- You will be presented with a set of terms and conditions. Read through them carefully, then check the box to agree to the terms.
- Create a strong password for your wallet. Make sure to choose a password that is unique and not easily guessable. Confirm the password by typing it again in the “Confirm Password” field.
- Next, you will be shown a series of seed words. These words are crucial for recovering your wallet in case you forget your password or lose access to your device. Write down the seed words in the exact order they are displayed and keep them in a safe place.
- After writing down the seed words, you will be asked to verify them. Click on each word in the correct order to verify your understanding and prevent any mistakes.
- Once you have successfully verified the seed words, your wallet will be created, and you will be taken to the main Metamask interface.
At this point, your new Metamask wallet is ready to be configured. Follow the on-screen instructions to set up additional security features, such as adding a lock pattern or enabling hardware wallet integration.
Note: It is important to keep your seed words and password secure. Never share them with anyone and avoid storing them electronically or in a public location.
Connect Metamask to Opera Browser
Once you have installed the Opera browser and added the MetaMask extension, you can proceed to connect your MetaMask wallet to the browser.
Follow these steps to connect MetaMask to Opera:
- Open the Opera browser on your device.
- Click on the MetaMask extension icon located in the top-right corner of the browser toolbar.
- If you have already set up a MetaMask wallet, click “Import existing DEN”. If you are new to MetaMask, click “Create a new DEN”.
- If you chose to import an existing DEN, enter your seed phrase or private key in the provided field, and then click “Import”.
- If you chose to create a new DEN, enter a strong password and click “Create”.
- Review and agree to the terms of service and privacy policy.
- Click the “Next” button.
- Set a password for MetaMask (this is different from your Opera browser password) and click “Submit”.
- Click on the MetaMask extension icon again to open the wallet.
- Click the menu button (three horizontal lines) in the top-left corner of the MetaMask window.
- Select “Connect Hardware Wallet” from the dropdown menu.
- Choose the type of hardware wallet you want to connect with (e.g., Ledger or Trezor).
- Follow the instructions provided by MetaMask to connect your hardware wallet.
Once you have successfully connected your MetaMask wallet to the Opera browser, you can start using it for Ethereum transactions and interacting with decentralized applications.
Remember to always keep your MetaMask password and seed phrase secure, as they grant access to your funds and personal information.
Use Metamask for Ethereum Transactions

Metamask is a popular browser extension that allows users to interact with the Ethereum blockchain. With Metamask, you can easily send and receive Ethereum and other ERC-20 tokens, as well as interact with decentralized applications (dApps).
Using Metamask for Ethereum transactions is simple and secure. First, you need to install the Metamask extension on your browser. Once installed, you can create a new wallet or import an existing one using your seed phrase.
Create a New Wallet
To create a new wallet, click on the Metamask icon in your browser and select “Create a Wallet”. Follow the prompts to set up a secure password and backup your seed phrase. Make sure to store your seed phrase in a safe place, as it is the only way to access your funds if you lose your device.
Import an Existing Wallet
If you already have a Metamask wallet or want to import an existing one, click on the Metamask icon in your browser and select “Import Wallet”. Enter your seed phrase or private key, and follow the prompts to complete the import process. Remember to keep your seed phrase private and secure.
Once your wallet is set up, you can start using Metamask for Ethereum transactions. You can send Ethereum or any ERC-20 token by clicking on the “Send” button and entering the recipient’s address and the amount you want to send. You can also choose the gas price and gas limit for your transactions.
When making transactions, it is important to double-check the recipient’s address and the amount you are sending. Ethereum transactions are irreversible, meaning once a transaction is confirmed on the blockchain, it cannot be reversed or canceled.
Metamask also allows you to connect and interact with various dApps. When visiting a dApp, you will be prompted to connect your Metamask wallet. Once connected, you can use your wallet to perform various actions on the dApp, such as buying/selling tokens, accessing decentralized finance (DeFi) protocols, or participating in token sales.
Overall, using Metamask for Ethereum transactions provides a convenient and secure way to interact with the Ethereum blockchain and decentralized applications. It is important to follow best practices for wallet security, such as keeping your seed phrase private and regularly updating your browser and extension to ensure you have the latest security patches.
What is Metamask?
Metamask is a cryptocurrency wallet and browser extension that allows users to interact with decentralized applications (DApps) on the Ethereum blockchain. It also functions as an Ethereum wallet, allowing users to store, send, and receive Ethereum and other ERC-20 tokens.