
Welcome to the step-by-step guide on how to add Tron to your Metamask wallet and access the Tron blockchain. Tron is a decentralized platform that aims to build a global digital content entertainment system using blockchain technology. By adding Tron to your Metamask wallet, you will be able to send, receive, and interact with Tron’s native cryptocurrency, TRX, and access various decentralized applications (DApps) built on the Tron blockchain.
Step 1: Install Metamask Extension
If you don’t have the Metamask extension installed in your web browser, you need to install it first. Metamask is a cryptocurrency wallet that allows you to manage your digital assets and interact with blockchain-based applications. Visit the Metamask website and follow the instructions to install the extension for your preferred web browser.
Step 2: Create or Import a Wallet
Once you have installed the Metamask extension, open it and either create a new wallet or import an existing one. If you are creating a new wallet, make sure to securely back up the seed phrase provided by Metamask. This seed phrase will be essential for recovering your wallet in case of loss or device change.
Step 3: Connect to the Tron Network
After setting up your Metamask wallet, click on the network selection dropdown in the top center of the Metamask extension. From the list of available networks, click on “Custom RPC” at the bottom. In the “New RPC URL” field, enter “https://api.trongrid.io” as the Tron network’s URL. You can also give it a custom name, for example, “Tron Mainnet”. Click “Save” to connect to the Tron network.
Step 4: Add Tron (TRX) to your Metamask Wallet
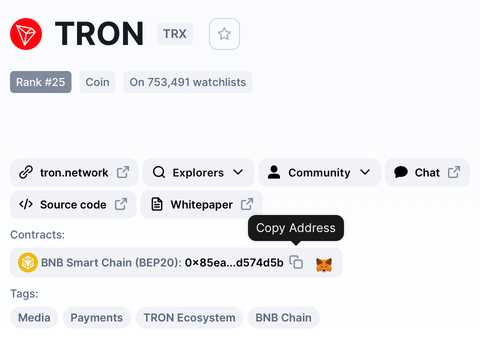
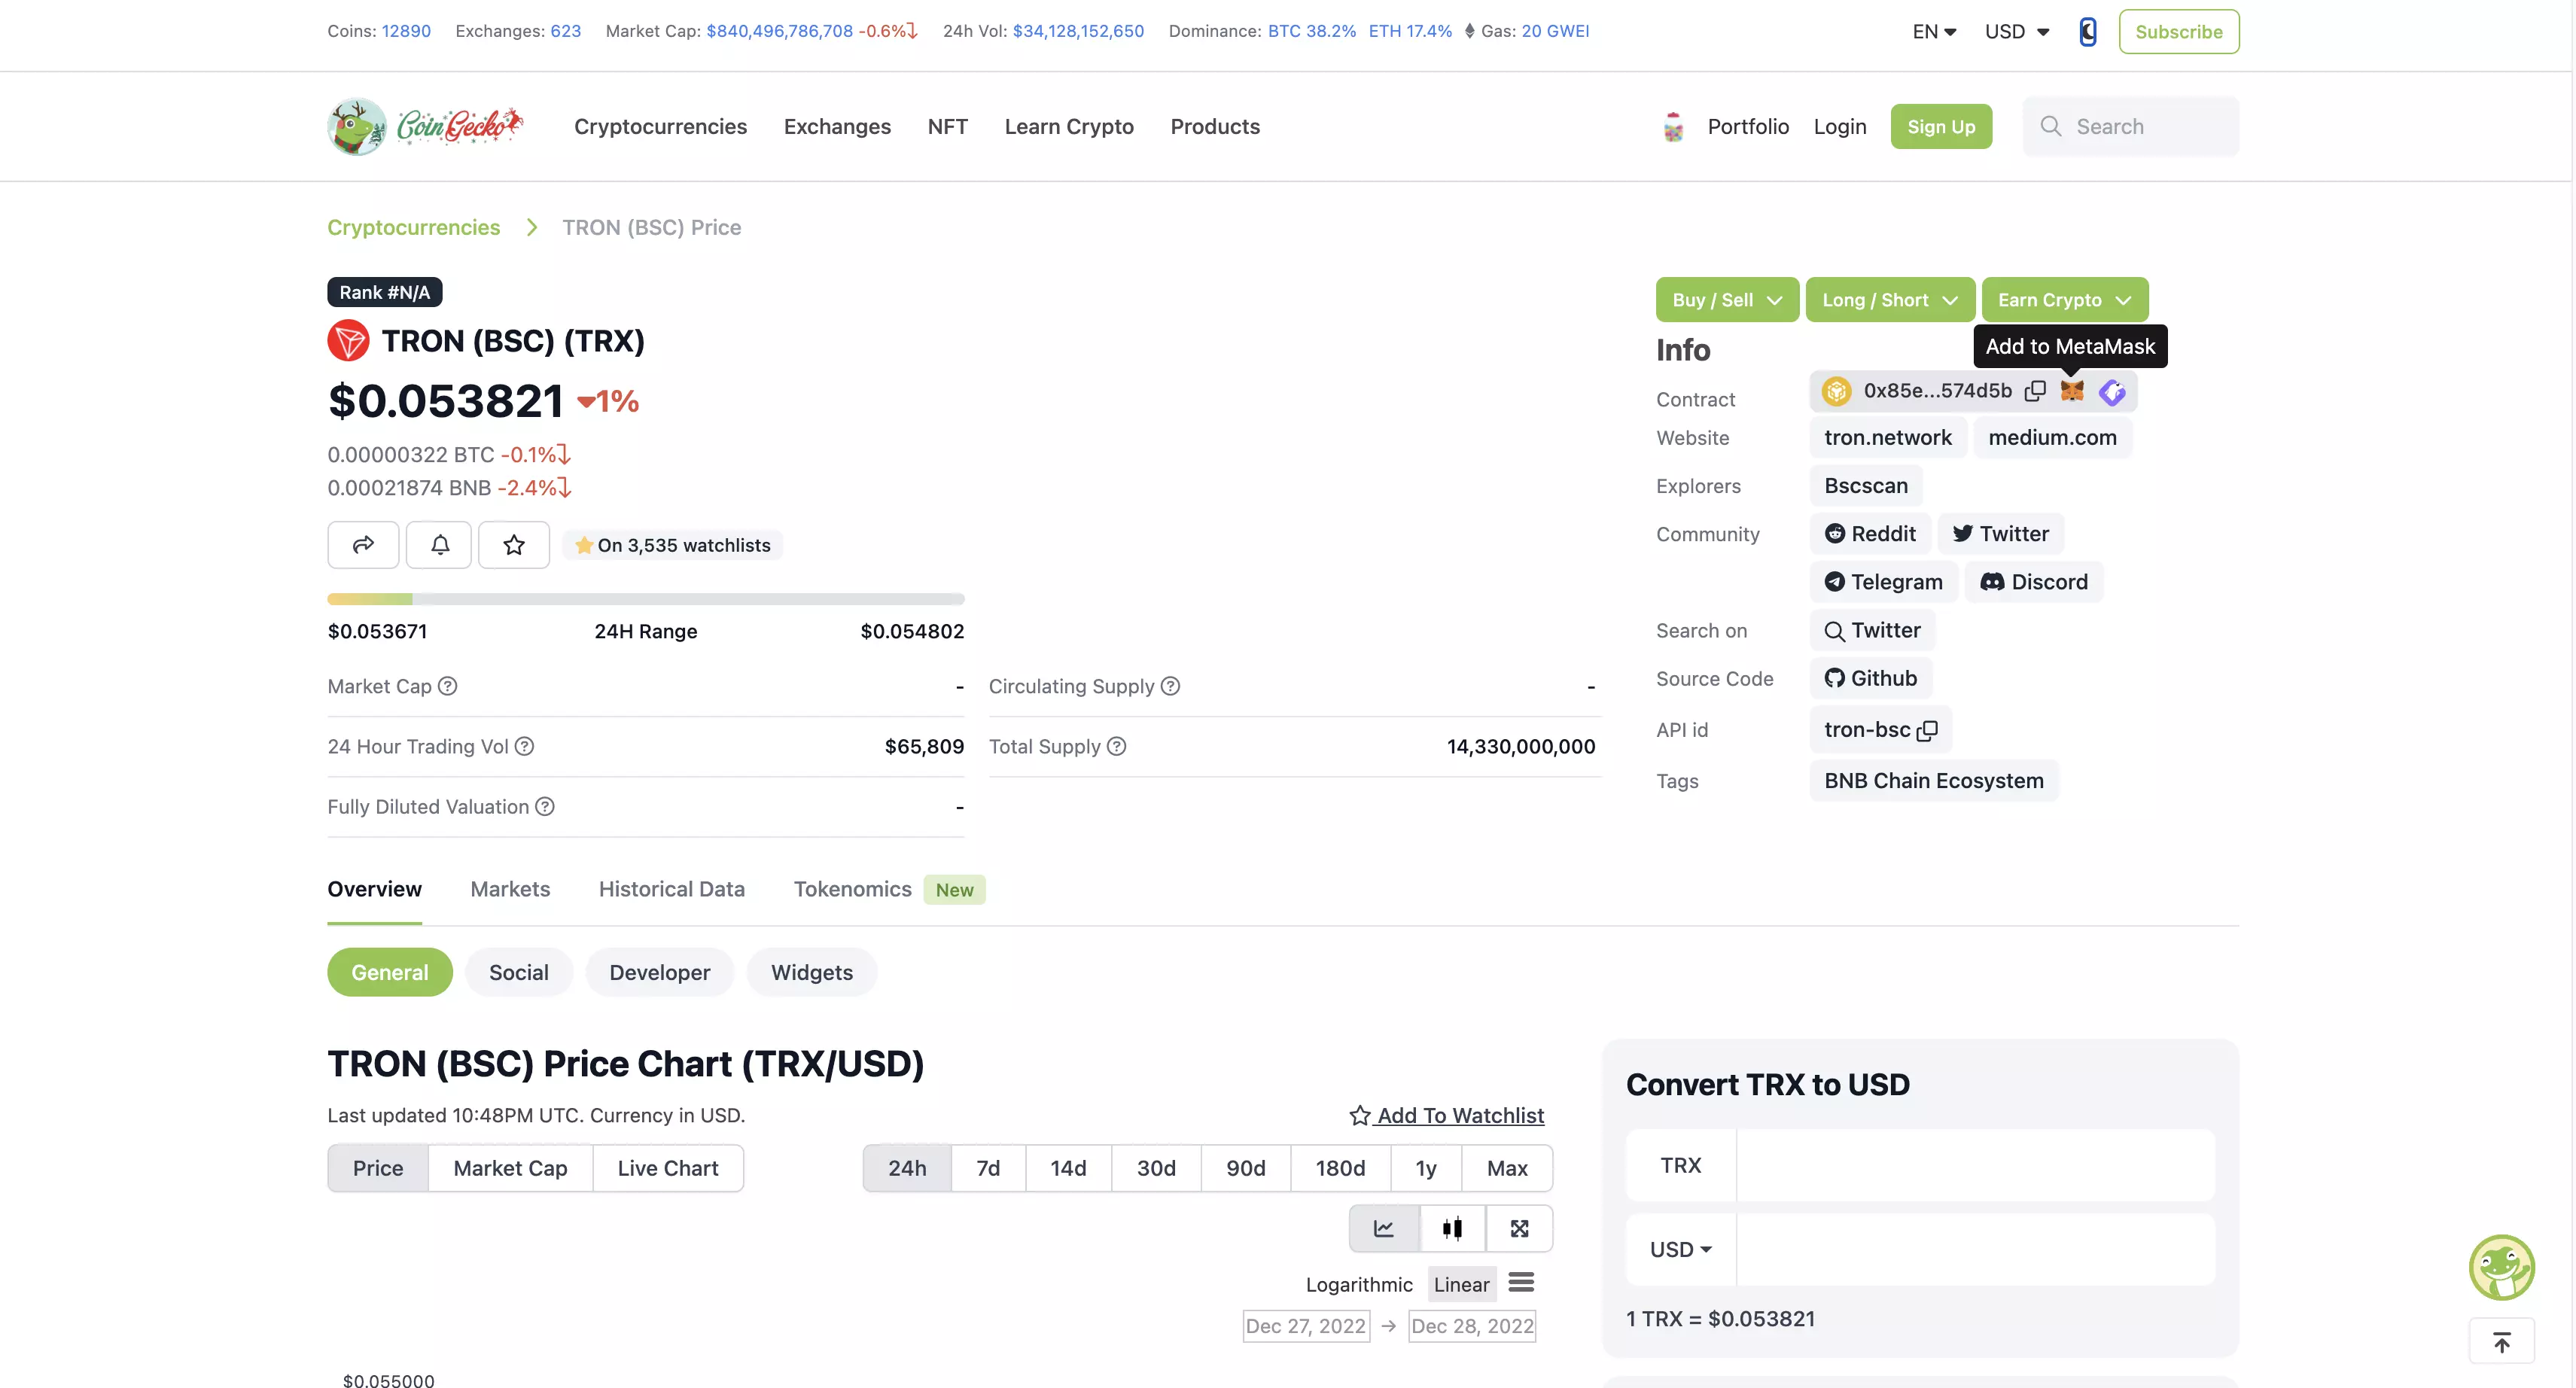
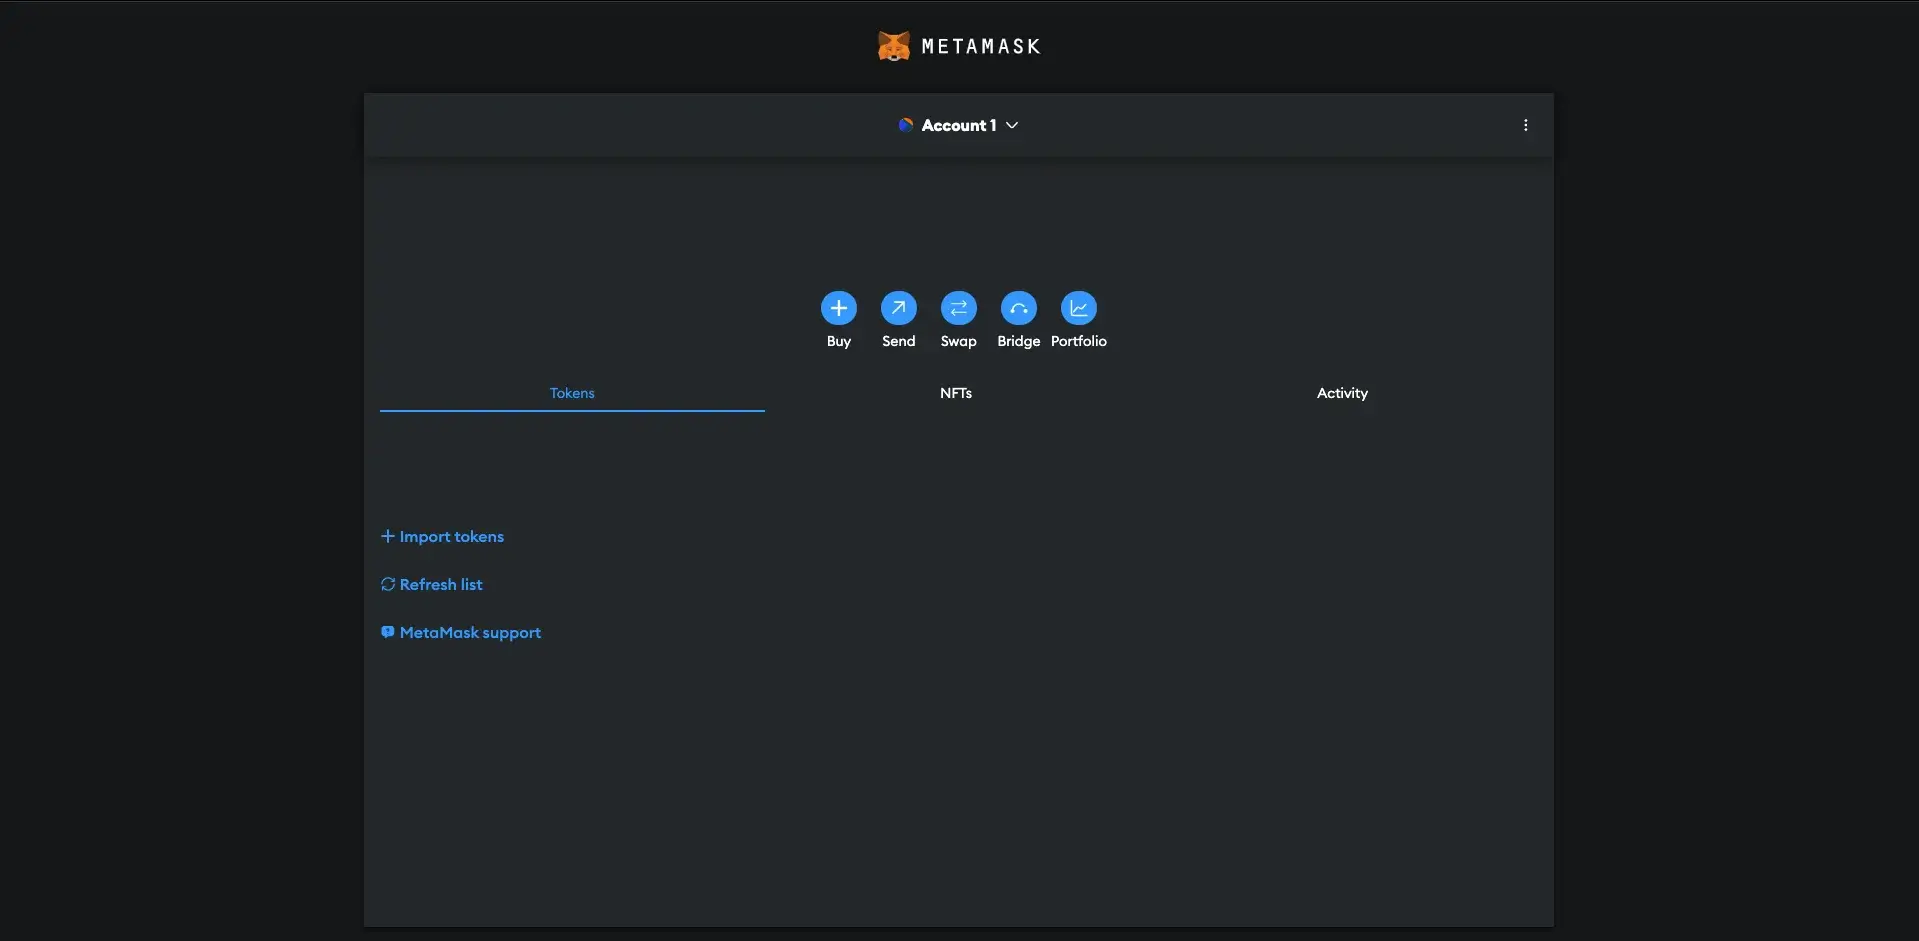
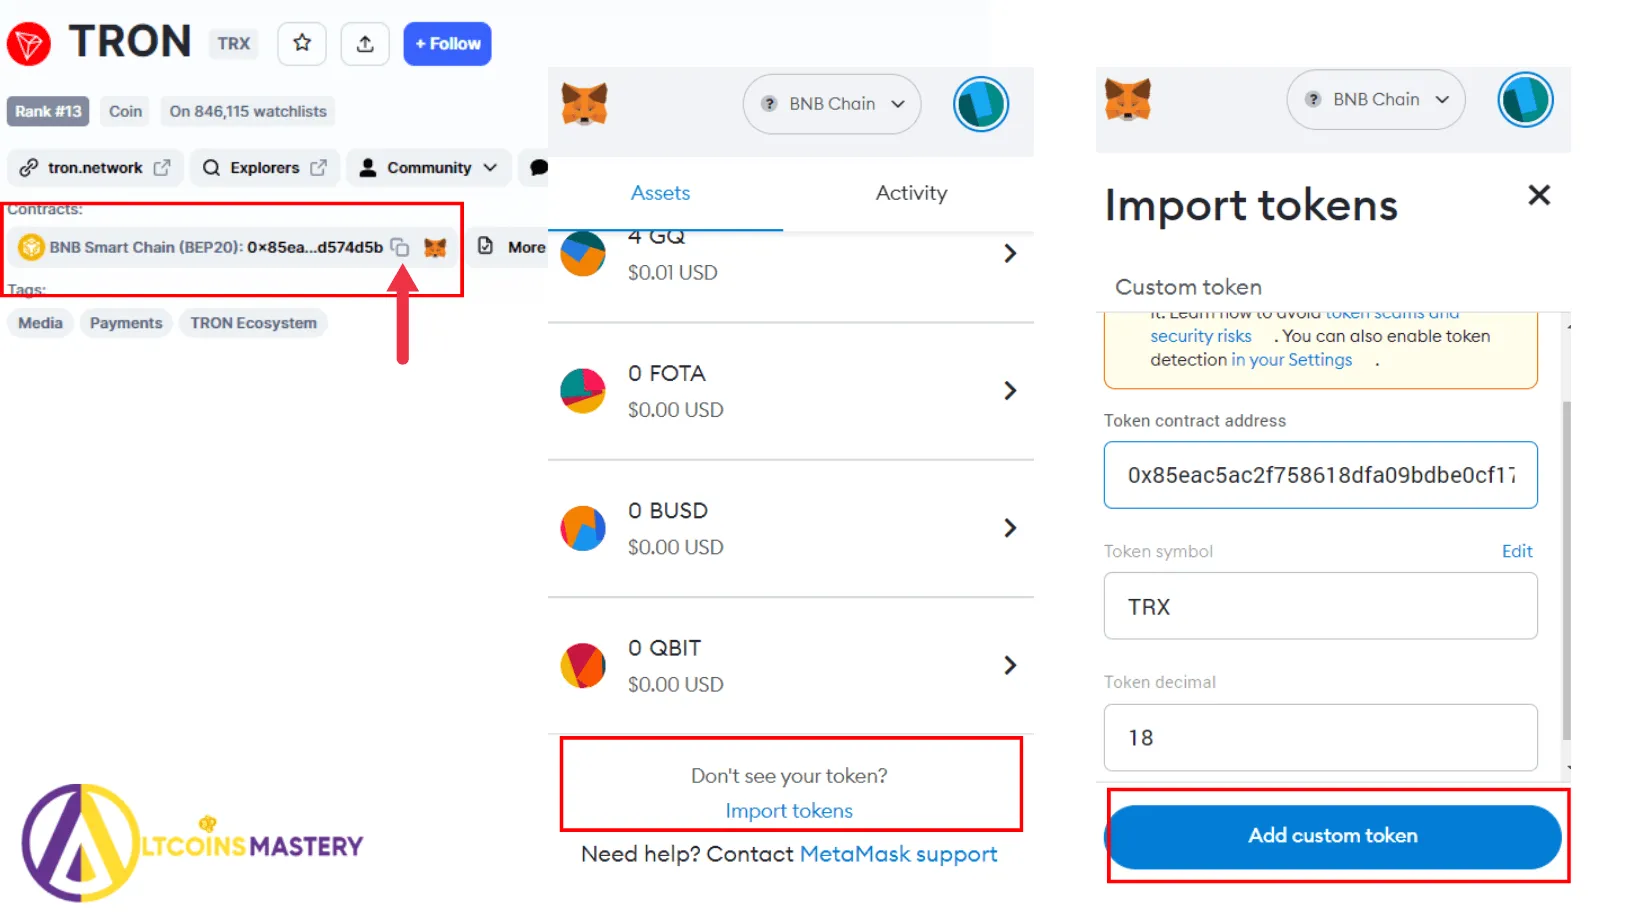
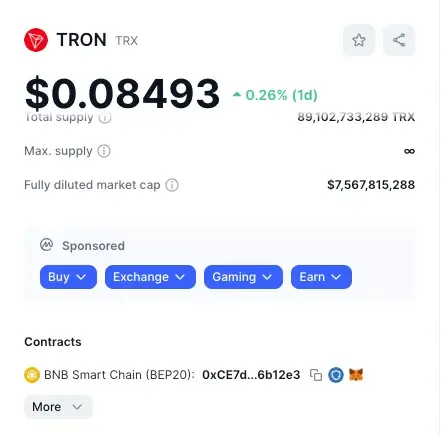
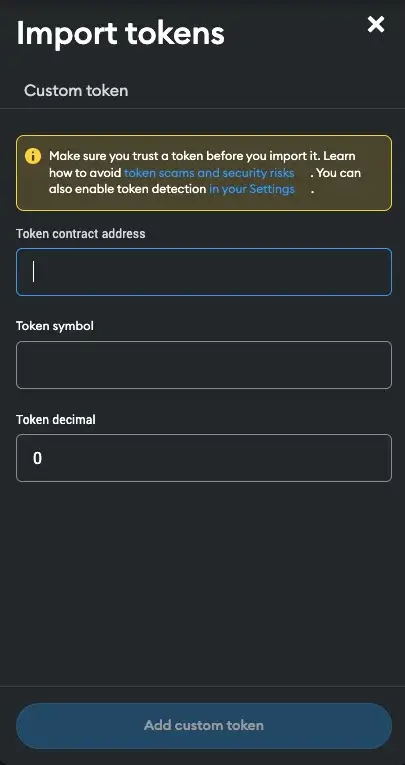
Now that you are connected to the Tron network, you can add TRX to your Metamask wallet. Click on the Metamask extension, and in the “Assets” tab, click on “Add Token”. In the “Token Contract Address” field, paste the Tron (TRX) contract address: TRX_CONTRACT_ADDRESS. Metamask should automatically fill in the token symbol and decimals. Click “Next” and then “Add Tokens” to complete the process.
Congratulations! You have successfully added Tron to your Metamask wallet and are now ready to start exploring and interacting with the Tron blockchain and its decentralized applications. Remember to always exercise caution and conduct proper research before participating in any blockchain-based activities.
Step-by-Step Guide: How to Add Tron to Metamask
If you want to access Tron blockchain through the popular Ethereum wallet, Metamask, follow the steps below:
Step 1: Install Metamask Extension
First, make sure you have the Metamask extension installed in your web browser. If you don’t have it, visit the official Metamask website and download it.
Step 2: Create or Import a Wallet
Once you have installed Metamask, open it and create a new wallet or import an existing wallet using your private key or recovery phrase.
Step 3: Open Metamask Settings
After setting up your wallet, click on the Metamask extension icon in your browser toolbar to open the Metamask interface. From there, click on the profile icon and select “Settings” from the dropdown menu.
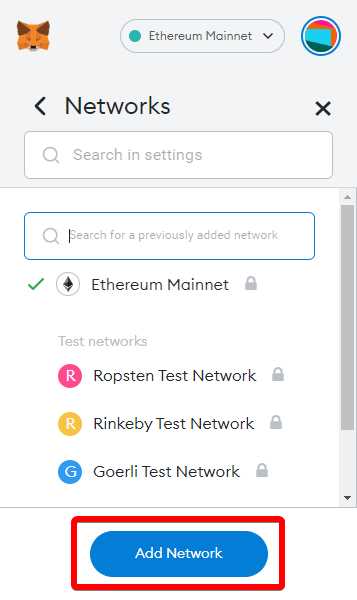
Step 4: Networks
In the “Settings” tab, scroll down until you find the section called “Networks”.
Step 5: Add Custom Network
Click on the “Add Network” button and enter the following details:
- Network Name: Tron
- New RPC URL: https://api.trongrid.io/
- Chain ID: 1 (or leave it blank)
- Currency Symbol (optional): TRX
Step 6: Save and Connect
After entering the details, click the “Save” button to save the custom network. Once saved, select the newly added Tron network from the dropdown list of networks.
Step 7: Accessing Tron Blockchain
Now that you have added Tron to Metamask, you can use the wallet to access the Tron blockchain. You can send and receive TRX tokens, interact with Tron DApps, and explore the Tron ecosystem.
Congratulations! You have successfully added Tron to Metamask and can now start exploring the Tron blockchain.
Download and Install Metamask Extension
To access the Tron blockchain through your browser, you will need to download and install the Metamask extension. Metamask is a popular browser extension that allows users to interact with decentralized applications (DApps) and manage their digital assets securely.
- Open your browser and go to the Metamask website.
- Click on the “Download” button to start the download process.
- Once the download is complete, locate the installation file on your computer.
- Double-click on the installation file to start the installation process.
- Follow the on-screen instructions to complete the installation.
- After the installation is complete, you will see the Metamask icon in your browser’s toolbar.
Now that you have installed the Metamask extension, you can proceed to the next step and set up your Tron wallet.
Create or Import Metamask Wallet
To add Tron to Metamask and access the Tron blockchain, you first need to create or import a Metamask wallet. Follow the steps below:
Create New Wallet
- Download the Metamask extension for your preferred web browser.
- Click on the Metamask icon in your browser toolbar to launch the extension.
- Click on “Get Started” and then “Create a Wallet”.
- Read and accept the terms of use.
- Create a strong password for your wallet and click on “Create”.
- Save and backup your recovery seed phrase in a secure location. This seed phrase is crucial for restoring access to your wallet in case of loss or device change.
- Confirm your seed phrase by selecting the correct words in the correct order.
- Your Metamask wallet is now created and ready to be used.
Import Existing Wallet
- If you already have a Metamask wallet or another wallet that supports exporting seed phrases, you can import it into Metamask.
- Open the Metamask extension on your browser.
- Click on “Import Wallet” and then select the option to import via seed phrase.
- Enter your recovery seed phrase and set a new password for your imported wallet.
- Your existing wallet will now be imported and accessible through Metamask.
Once you have created or imported your Metamask wallet, you can proceed to the next steps to add Tron to Metamask and start interacting with the Tron blockchain.
Add Tron Network to Metamask
Metamask is a widely used cryptocurrency wallet that allows users to interact with various blockchains. By default, it supports Ethereum, but it can also be used to access other networks such as Tron.
To add the Tron network to your Metamask wallet, follow these step-by-step instructions:
- Open your Metamask wallet extension in your browser.
- Click on the account icon in the top right corner of the screen, and then select “Settings.”
- In the settings menu, click on “Networks.”
- Scroll down to the bottom of the page, and click on the “Add Network” button.
- Fill in the following information:
-
Network Name: Tron
-
New RPC URL: https://api.trongrid.io
-
Chain ID: 1
-
Symbol: TRX
-
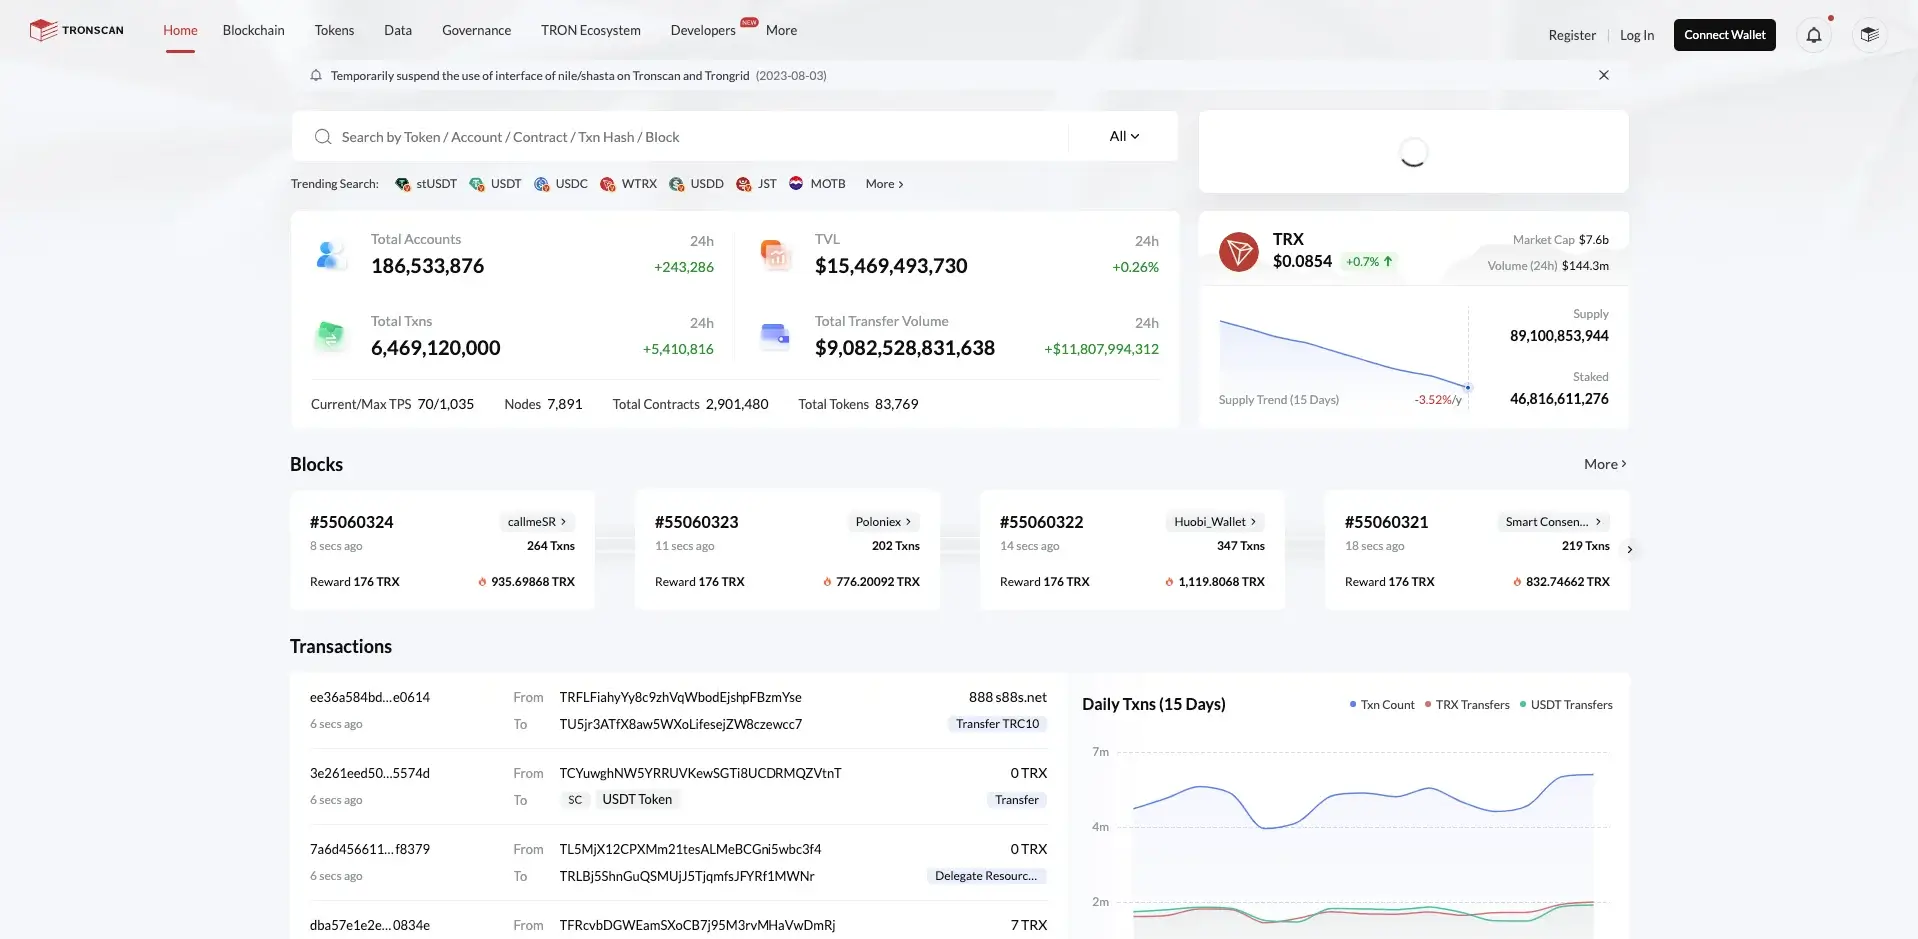
Block Explorer URL: https://tronscan.io
-
- Click on the “Save” button to add the Tron network to your wallet.
- You should now see the Tron network as an option in the network list when switching between networks in Metamask.
Once you have added the Tron network to your Metamask wallet, you can now access and interact with the Tron blockchain using Metamask.
Note: Make sure you are using the latest version of Metamask and exercise caution when interacting with unfamiliar networks or cryptocurrencies.
Access Tron Blockchain with Metamask
To access the Tron blockchain using Metamask, you will need to follow a few simple steps:
Step 1: Install the Metamask extension on your web browser.
Step 2: Once installed, open the Metamask extension and create or import a wallet. Make sure to secure your wallet with a strong password and save the seed phrase in a safe place.
Step 3: After setting up your wallet, click on the Metamask extension icon in your browser to open the wallet interface.
Step 4: In the wallet interface, click on the “Networks” tab.
Step 5: Scroll down to the bottom of the page and click on the “Custom RPC” option.
Step 6: In the “New RPC URL” field, enter the Tron mainnet RPC endpoint: https://api.trongrid.io.
Step 7: Click on “Save” to add the Tron mainnet to your Metamask wallet.
Step 8: Once the Tron mainnet is added, you can now access the Tron blockchain using Metamask. You can send and receive TRX tokens, interact with smart contracts, and explore decentralized applications on the Tron network.
Remember to always verify the URLs and make sure you are using official sources to avoid phishing and other security risks.
What is Metamask?
Metamask is a cryptocurrency wallet that allows users to store, manage, and interact with various cryptocurrencies and decentralized applications.
Why would I want to add Tron to Metamask?
Adding Tron to Metamask gives you access to the Tron blockchain and allows you to store, manage, and interact with TRX tokens and Tron-based decentralized applications.
How can I add Tron to Metamask?
To add Tron to Metamask, you first need to install the Metamask browser extension if you haven’t already. Then, you can add the Tron network by clicking on the network selection dropdown in the Metamask extension, selecting “Custom RPC,” and entering the Tron network details.