
Metamask, the popular web browser extension for interacting with the Ethereum network, has become an essential tool for cryptocurrency enthusiasts and developers alike. However, with the growing popularity of the Polygon network, many users are looking to add Polygon support to their Metamask wallets to take advantage of its low fees and fast transactions.
In this step-by-step guide, we will walk you through the process of adding Polygon support to your Metamask wallet, allowing you to seamlessly transact on the Polygon network. With Polygon’s scalability and interoperability, you’ll be able to navigate the Ethereum ecosystem with ease.
To get started, make sure you have the latest version of Metamask installed in your web browser. If you haven’t installed Metamask yet, simply search for it in the extension store of your preferred browser and follow the installation instructions.
Once you have Metamask installed, open the extension and create or import an existing wallet. If you already have a wallet set up, you can skip this step and proceed to the next one. Make sure to back up your wallet’s seed phrase in a safe place, as it will be required to restore your wallet in case of any mishap or device failure.
Now that you have a Metamask wallet set up, it’s time to add Polygon support. Click on the network dropdown at the top of the Metamask extension and select “Custom RPC” from the list of options. This will allow you to add a custom network configuration, which we will use to connect to the Polygon network.
Step-by-Step Guide to Adding Polygon Support to Metamask
If you are a cryptocurrency enthusiast and use Metamask as your go-to wallet, you might have heard about Polygon. Polygon is a Layer 2 scaling solution for Ethereum that aims to improve scalability and reduce transaction costs. In this step-by-step guide, we will show you how to add Polygon support to your Metamask wallet.
| Step 1: Visit the Metamask Website | Open your preferred web browser and go to the official Metamask website at https://metamask.io. |
| Step 2: Install the Metamask Extension | Click on the “Get Chrome Extension” button if you are using Google Chrome or “Get Firefox Extension” if you are using Mozilla Firefox. Follow the instructions to add the Metamask extension to your browser. |
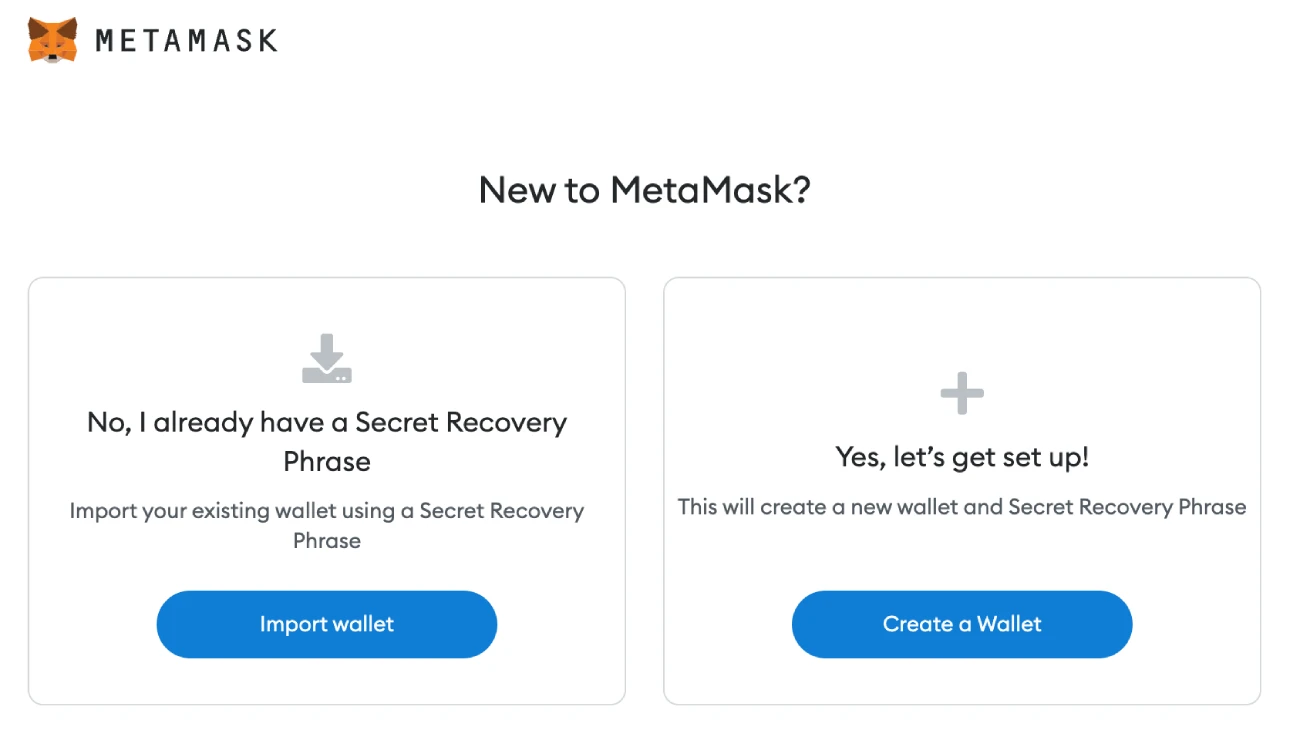
| Step 3: Create or Import a Wallet | Once the extension is installed, click on the Metamask icon in your browser toolbar. You will be prompted to either create a new wallet or import an existing one using a seed phrase. Choose the option that suits your needs. |
| Step 4: Switch to the Polygon Network | After setting up your wallet, click on the network dropdown located at the top of the Metamask interface. From the list of available networks, select “Custom RPC”. |
| Step 5: Add the Polygon Network Details | In the “New RPC URL” field, enter the Polygon mainnet RPC URL: https://rpc-mainnet.maticvigil.com/. In the “Chain ID” field, enter the chain ID for Polygon which is 137. Finally, click on the “Save” button to add the Polygon network. |
| Step 6: Confirm the Addition of Polygon Network | Metamask will display a confirmation popup asking you to confirm the addition of the Polygon network. Click on the “Approve” button to proceed. |
| Step 7: Enjoy Polygon Support | Congratulations! You have successfully added Polygon support to your Metamask wallet. You can now seamlessly transact on the Polygon network and take advantage of its benefits. |
Adding Polygon support to Metamask is a simple process that opens up a world of opportunities. By following this step-by-step guide, you can start exploring the Polygon network and enjoying its fast and low-cost transactions.
Install Metamask Extension
To add Polygon support to your Metamask wallet, you will first need to install the Metamask extension on your browser. Follow these steps to get started:
- Open your preferred web browser (e.g., Google Chrome, Mozilla Firefox).
- Go to the extension marketplace for your browser (e.g., Chrome Web Store for Google Chrome).
- Search for “Metamask” in the extension marketplace.
- Click on the “Add to Chrome” (or similar) button to install the Metamask extension.
- A pop-up window will appear asking for confirmation to add the extension. Click on “Add extension” to continue.
- After installation, a Metamask icon will appear in the browser toolbar.
- Click on the Metamask icon to open the extension.
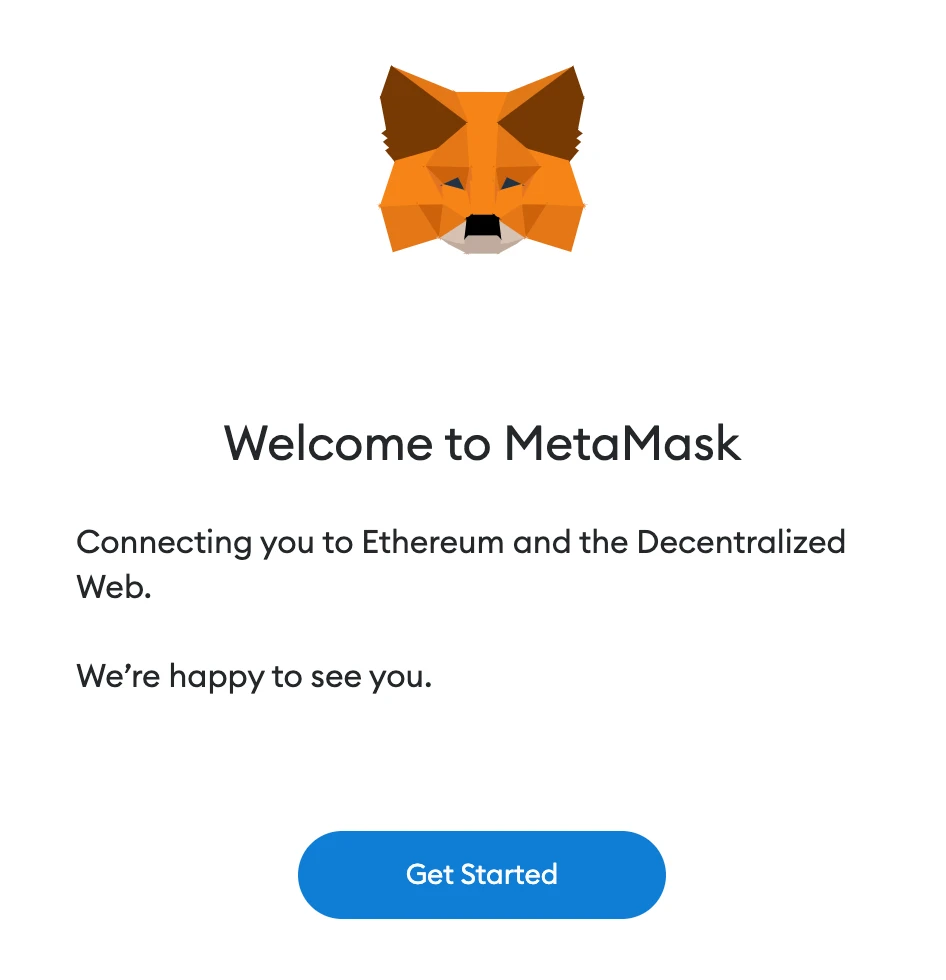
- Follow the on-screen instructions to set up your Metamask wallet (if you don’t already have one).
- Choose a password for your wallet and click “Create”. Make sure to store your password securely.
- A unique seed phrase will be generated. Write down this seed phrase and keep it in a safe place. This will be used to restore your wallet in case of loss or device change.
- Confirm your seed phrase by selecting the words in the correct order. This is a security measure to ensure you have properly recorded your seed phrase.
- Once your wallet is set up, you can connect it to the Polygon network by following the steps provided in the next section.
By installing the Metamask extension, you now have access to a secure and convenient way to interact with Polygon and other blockchain networks. You can proceed to the next section to learn how to connect your wallet to the Polygon network.
Create a New Wallet
To get started with Polygon support on Metamask, you will need to create a new wallet that is compatible with Polygon’s network. Here are the steps to create a new wallet:
Step 1: Install Metamask Extension

If you haven’t already, install the Metamask extension in your web browser. Metamask is available for most popular browsers such as Chrome, Firefox, and Brave. Simply search for “Metamask” in your browser extensions marketplace and follow the installation instructions.
Step 2: Set up Metamask
Once the extension is installed, click on the Metamask icon in your browser toolbar to launch it. If this is your first time using Metamask, you will be prompted to set up a new wallet. Follow the on-screen instructions to create a password and secure your wallet. Make sure to store your password in a safe place as it cannot be recovered if lost.
Step 3: Accessing the Polygon Network
After setting up your wallet, you will be redirected to the main Metamask interface. In the top right corner, click on the network selector and choose “Custom RPC”. This will allow you to connect to the Polygon network.
Next, you will need to add the Polygon RPC details. Enter the following information:
Network Name: Polygon
New RPC URL: https://polygon-rpc.com
Chain ID: 137
Symbol: MATIC
Block Explorer: https://polygonscan.com
Click “Save” to save the network settings. Metamask will now be connected to the Polygon network.
Step 4: Funding your Polygon Wallet
To use your new Polygon wallet, you will need to fund it with some MATIC tokens. You can acquire MATIC tokens from exchanges or by participating in liquidity pools. Once you have obtained MATIC tokens, you can send them to your Polygon wallet address. To find your wallet address, click on the Metamask extension in your browser toolbar and select the “Polygon” network. Then, click on your account name to view your wallet address. Copy the address and use it to receive MATIC tokens.
Your new Polygon wallet is now ready to use for seamless transactions on the Polygon network!
Add Polygon Network to Metamask

To seamlessly transact on the Polygon network using Metamask, you need to add the Polygon network to your Metamask wallet. Follow the step-by-step guide below:
Step 1: Open Metamask Extension
Open the Metamask extension in your browser. Ensure that you have the latest version installed to access the latest features and security updates.
Step 2: Navigate to Network Selection
In the Metamask extension, click on the network selection dropdown. It is usually located at the top of the extension interface and displays the currently selected network.
Step 3: Add a Custom Network

Scroll down the network selection dropdown and click on “Custom RPC” at the bottom.
Step 4: Fill in Network Details
A new window will appear where you can enter the details for the Polygon network.
Fill in the following details:
- Network Name: Enter “Polygon” or any preferred name.
- New RPC URL: Enter “https://rpc-mainnet.maticvigil.com” for the Polygon mainnet or “https://rpc-mumbai.maticvigil.com” for the Polygon testnet.
- Chain ID: Enter “137” for the Polygon mainnet or “80001” for the Polygon testnet.
- Symbol: Enter “MATIC” or any preferred symbol.
- Block Explorer URL: Enter “https://explorer.matic.network” for the Polygon mainnet or “https://mumbai-explorer.matic.today” for the Polygon testnet.
Leave the remaining fields as default or empty.
Step 5: Save Network Configuration
After entering the network details, click on the “Save” button to save the network configuration.
Step 6: Switch to Polygon Network
Once the network configuration is saved, you can switch to the Polygon network by selecting it from the network selection dropdown. The name you entered in the “Network Name” field should be displayed.
That’s it! You have successfully added the Polygon network to your Metamask wallet. Now you can seamlessly transact and interact with Polygon decentralized applications (dapps) using Metamask.
Swap ETH for MATIC Tokens
To swap ETH for MATIC tokens, follow these steps:
| Step | Action |
|---|---|
| 1 | Open your Metamask wallet and ensure you are connected to the Polygon network. |
| 2 | Navigate to a trusted decentralized exchange (DEX) on the Polygon network, such as QuickSwap or SushiSwap. |
| 3 | Connect your Metamask wallet to the DEX by clicking on the “Connect Wallet” button. |
| 4 | In the DEX interface, locate the “Swap” or “Trade” section and select the ETH/MATIC trading pair. |
| 5 | Enter the amount of ETH you want to swap for MATIC tokens. |
| 6 | Review and confirm the transaction details, including the gas fee. |
| 7 | Click on the “Swap” or “Trade” button to initiate the transaction. |
| 8 | Wait for the transaction to be confirmed on the Polygon network. |
| 9 | Once the transaction is confirmed, you will see the MATIC tokens in your Metamask wallet balance. |
Note: Make sure you have enough ETH in your wallet to cover the gas fees for the transaction.
What is Polygon?
Polygon is a Layer 2 scaling solution for Ethereum that aims to improve scalability and provide a more cost-effective and efficient way of carrying out transactions on the Ethereum network.
Why would I want to add Polygon support to Metamask?
Adding Polygon support to Metamask allows you to seamlessly transfer assets and perform transactions on the Polygon network directly from your Metamask wallet. This can be beneficial if you frequently use the Polygon network or want to take advantage of its lower transaction fees and faster confirmation times.
Are there any fees associated with using Polygon on Metamask?
Yes, there are fees associated with using Polygon on Metamask. These fees are paid in the native currency of the Polygon network, which is called MATIC. The fees can vary depending on the type of transaction and the current network congestion, but they are generally lower compared to the fees on the Ethereum mainnet.