
Are you tired of juggling multiple cryptocurrency accounts with different wallets? Look no further! In this comprehensive guide, we will show you how to effectively manage multiple accounts with Metamask, a popular Ethereum wallet.
Metamask is not only a user-friendly wallet but also a powerful tool that allows you to seamlessly switch between different Ethereum accounts without the hassle of logging in and out. With Metamask, you can easily manage your various crypto assets and transactions all in one place.
Getting started is easy. All you need to do is install the Metamask extension in your browser and follow a simple setup process. Once installed, you can now create multiple accounts and import existing ones with just a few clicks. Each account will have a unique address, giving you complete control over your funds.
The main advantage of using Metamask is the convenience it offers in managing your accounts. You can easily switch between your different accounts by clicking on the account dropdown menu. This eliminates the need to remember multiple passwords or carry around numerous hardware wallets.
Furthermore, Metamask provides additional security features such as password encryption and the ability to set up multiple layers of authentication. This ensures that your funds are safely protected, even if your device is lost or stolen. With Metamask, you can have peace of mind knowing that your accounts are secure.
So, whether you’re a seasoned crypto trader or a beginner just starting out, Metamask is the perfect solution for managing your multiple accounts. With its user-friendly interface and advanced security features, it’s no wonder that Metamask is the go-to wallet for Ethereum users around the world. Start managing your accounts with ease today!
What is Metamask?
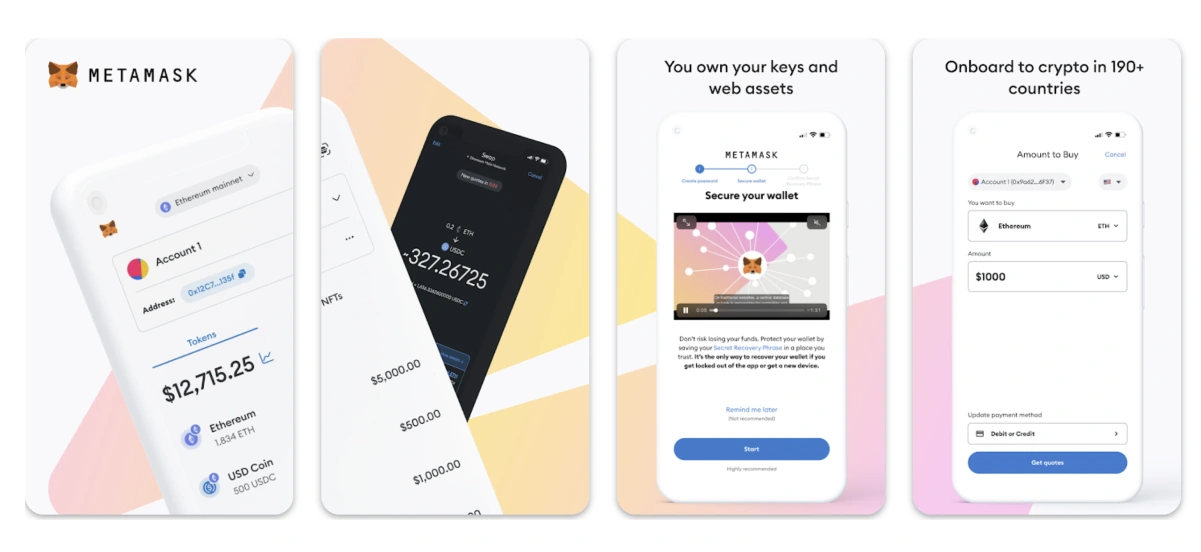
Metamask is a browser extension that allows users to interact with the Ethereum blockchain. It acts as a digital wallet, allowing users to securely store and manage their Ethereum (ETH) and other ERC-20 tokens.
With Metamask, users can easily send and receive cryptocurrency, as well as manage multiple Ethereum accounts. It provides a user-friendly interface that allows individuals to access decentralized applications (dApps) directly from their browser.
Metamask also serves as a bridge between traditional web browsers and the Ethereum blockchain. It injects necessary code into web pages to enable communication with the Ethereum network.
Key Features of Metamask:
- Secure Wallet: Metamask stores private keys locally, keeping users’ funds secure. The extension provides a mnemonic phrase for account recovery purposes.
- Token Management: Users can add and manage various ERC-20 tokens, enabling easy token transfers and interaction with dApps.
- DApp Integration: Metamask integrates seamlessly with numerous decentralized applications, providing a simple and secure way to interact with these applications.
- Multiple Account Support: Users can create and manage multiple Ethereum accounts within Metamask, which is particularly useful for managing different types of activities.
- Network Flexibility: Metamask allows users to switch between different Ethereum networks, providing access to various test networks and custom networks.
Overall, Metamask is a powerful tool that enhances the user experience when interacting with the Ethereum blockchain and participating in the world of decentralized finance (DeFi) and dApps.
Benefits of Using Multiple Metamask Accounts
Metamask is a popular cryptocurrency wallet that allows users to manage their digital assets on the Ethereum blockchain. While many users may be comfortable using just one account, there are several benefits to using multiple Metamask accounts:
1. Improved Privacy:
By using multiple accounts, you can keep your transactions separate and maintain a higher level of privacy. This can be particularly important if you are involved in various projects or want to keep your personal transactions separate from business-related activities.
2. Enhanced Security:
Having multiple accounts can help mitigate the risks associated with a single point of failure. If one account is compromised, the others will remain unaffected. Additionally, you can use different security measures, such as multiple passwords or hardware wallets, for each account to further enhance security.
3. Better Organization:
Using multiple accounts allows for better organization of your digital assets. You can assign specific accounts for specific purposes, such as one for personal use, one for trading, and one for interacting with decentralized applications (dApps). This can make it easier to track and manage your assets.
4. Seamless Switching:
Metamask allows you to switch between multiple accounts with ease. This means you can quickly and conveniently access different wallets and navigate through different dApps without the need to constantly log in and log out.
5. Access to Testnets:
With multiple accounts, you can easily switch between the Ethereum mainnet and various testnets. This allows you to test and experiment with smart contracts and dApps without affecting your mainnet holdings.
Conclusion:
Using multiple Metamask accounts can provide you with improved privacy, enhanced security, better organization, seamless switching between accounts, and access to testnets. Consider utilizing multiple accounts to maximize the benefits of managing your digital assets with Metamask.
Creating and Managing Multiple Metamask Accounts
Metamask is a popular browser extension that allows you to manage your Ethereum accounts and interact with the decentralized web. One of its main features is the ability to create and manage multiple accounts, which can be beneficial for different use cases and purposes. In this guide, we will walk you through the process of creating and managing multiple Metamask accounts.
Creating a New Metamask Account
To create a new Metamask account, follow these steps:
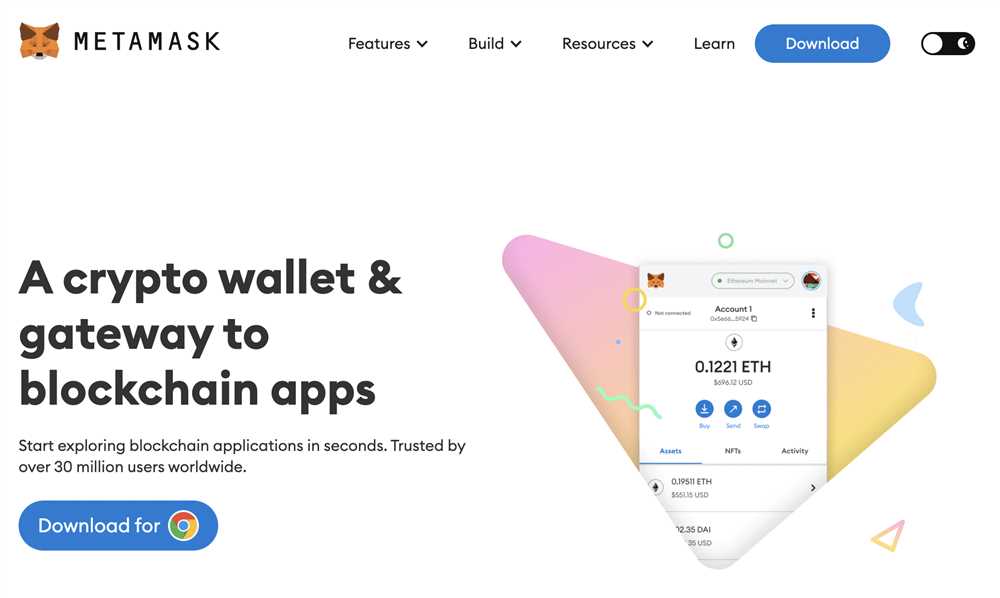
- Open your browser and navigate to the Metamask website.
- Click on the “Download” button and install the extension for your browser.
- Once installed, click on the Metamask icon in your browser’s toolbar.
- A pop-up window will appear, click on the “Create a Wallet” button.
- Follow the on-screen instructions to set up your account, including choosing a strong password and backing up your seed phrase.
After completing these steps, you will have successfully created a new Metamask account. You can repeat this process to create multiple accounts.
Managing Multiple Metamask Accounts
Once you have multiple accounts created in Metamask, you can easily switch between them and manage them efficiently. Here are some useful tips:
- To switch between accounts, click on the profile icon in the top right corner of the Metamask pop-up, and then click on the account you want to switch to.
- To rename your accounts for better organization, click on the profile icon, select “Account List,” click on the three dots next to the account you want to rename, and choose “Edit Account Name.”
- To delete an account, click on the profile icon, select “Account List,” click on the three dots next to the account you want to delete, and choose “Remove Account.”
- If you frequently use a specific account, you can set it as your default account by clicking on the profile icon, selecting “Settings,” and choosing the account under “Default Account.”
By following these steps, you will be able to create and manage multiple Metamask accounts efficiently, allowing you to better organize your funds and transactions in the Ethereum network.
Switching Between Metamask Accounts
If you have multiple accounts connected to your Metamask wallet, you may need to switch between them for different transactions or activities. Fortunately, Metamask makes it easy to switch between accounts with just a few clicks.
Step 1: Opening the Account Menu
To switch between accounts, start by clicking on the account icon in the top-right corner of the Metamask extension. This will open the account menu, which displays a list of all the accounts connected to your wallet.
Step 2: Selecting the Desired Account
In the account menu, you will see a list of all your accounts, along with their corresponding addresses. To switch to a different account, simply click on the desired account in the list. Metamask will automatically update to display the selected account as the active one.
Step 3: Confirming the Account Switch
After clicking on a different account in the account menu, Metamask may ask you to confirm the account switch. This is an additional security measure to ensure that you intended to switch to a new account. Review the account information displayed and click “Switch” to confirm the account switch.
Once you’ve confirmed the account switch, Metamask will update to display the new account as the active one. You can now proceed with your desired transaction or activity using the selected account.
Switching between Metamask accounts allows you to manage multiple wallets and easily handle different cryptocurrency addresses. This flexibility is particularly useful when interacting with various decentralized applications and blockchain networks.
Tips for Securely Managing Multiple Metamask Accounts
If you are using Metamask to manage multiple accounts, it is important to follow certain security protocols to safeguard your funds and personal information. Here are some tips for securely managing multiple Metamask accounts:
Create Strong Passwords
When creating passwords for your Metamask accounts, make sure to use a combination of letters, numbers, and special characters. Avoid using easily guessable passwords, such as your birthdate or pet’s name. It is also recommended to use a password manager to securely store and generate strong passwords.
Enable Two-Factor Authentication

Metamask supports two-factor authentication (2FA) through various authenticator apps. Enable 2FA for each of your Metamask accounts to add an extra layer of security. This will require you to enter a unique code generated by your authenticator app in addition to your password when logging in.
Regularly Update and Secure Your Devices
Make sure to keep your devices, including your computer and mobile phone, up to date with the latest software updates and security patches. Enable automatic updates whenever possible. Additionally, use strong anti-malware and antivirus software to protect against potential threats.
Beware of Phishing Attempts
Be cautious of phishing attempts that aim to trick you into revealing your Metamask account information. Avoid clicking on suspicious links or entering your account details on unfamiliar websites. Always verify the authenticity of the website before entering your login credentials.
Keep Track of Your Account Addresses
It is important to keep a record of your Metamask account addresses to avoid any confusion or potential loss of funds. Double-check the addresses before making any transactions to ensure that you are sending funds to the intended recipient.
Backup and Secure Your Seed Phrase
Metamask provides a seed phrase that can be used to restore your accounts in case of loss or device failure. It is crucial to securely backup this seed phrase and store it in a safe place offline. Avoid storing it digitally or sharing it with anyone to prevent unauthorized access to your accounts.
Use Different Wallet Addresses for Different Purposes
Consider using different Metamask wallet addresses for different purposes, such as separate addresses for personal use, trading, or participating in ICOs. This can help isolate potential security breaches and minimize the impact on your overall holdings.
By following these tips, you can enhance the security of your multiple Metamask accounts and minimize the risks associated with managing cryptocurrency.
Can I manage multiple accounts with Metamask?
Yes, Metamask allows users to manage and switch between multiple Ethereum accounts.
How can I add a new account to Metamask?
To add a new account to Metamask, you can click on your account icon at the top right corner of the Metamask UI, select “Create Account,” and follow the prompts to create a new account.
Is it possible to import an existing account into Metamask?
Yes, you can import an existing account into Metamask. To do this, click on your account icon, select “Import Account,” and enter your private key or seed phrase.
How do I switch between accounts in Metamask?
To switch between accounts in Metamask, click on your account icon, and you will see a list of all your accounts. Simply select the account you want to switch to.