
If you’ve recently dived into the world of decentralized finance (DeFi), chances are you’ve come across Solana, a high-performance blockchain platform that promises lightning-fast transactions and scalability. As one of the rising stars in the crypto space, Solana has gained significant attention from developers and investors alike.
When it comes to interacting with the Solana network, MetaMask, a popular Ethereum wallet, can be easily configured to work seamlessly with Solana. By making use of MetaMask’s versatile features, you can access and interact with Solana’s ecosystem, including decentralized applications (dApps), tokens, and smart contracts.
In this step-by-step guide, we will walk you through the process of using MetaMask with the Solana network. Whether you’re a beginner or an experienced user, this guide will help you get started and navigate the Solana ecosystem with ease.
Before we dive in, it’s important to note that Solana is not natively supported by MetaMask. However, by following the steps outlined in this guide, you’ll be able to configure MetaMask in a way that allows you to interact with the Solana network effortlessly.
Setting up MetaMask with Solana
MetaMask is a widely used cryptocurrency wallet that allows users to interact with decentralized applications (dApps) on various blockchain networks. While MetaMask is commonly associated with Ethereum, it can also be used with other networks such as Solana. This guide will walk you through the process of setting up MetaMask to work with the Solana network.
Step 1: Install MetaMask Extension
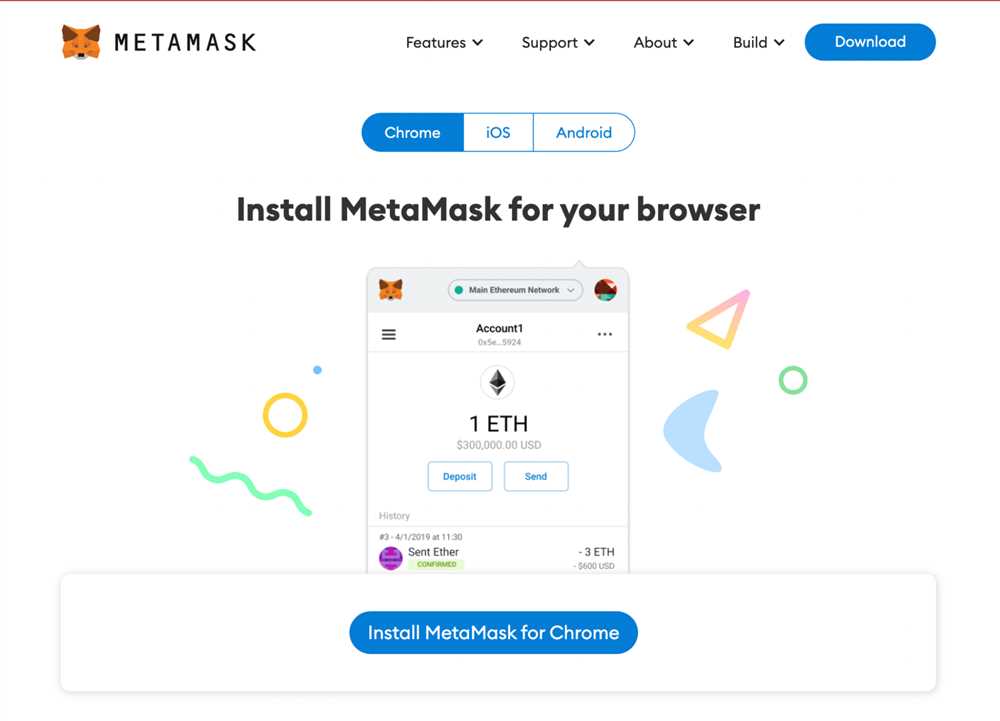
The first step is to install the MetaMask extension in your web browser. MetaMask is available for Google Chrome, Mozilla Firefox, and Brave. Simply visit the respective extension stores for your browser and search for “MetaMask”. Click on the “Add to Chrome” (or equivalent) button to install the extension.
Step 2: Create or Import a MetaMask Wallet
Once the extension is installed, you will see the MetaMask icon in your browser’s toolbar. Click on the icon to open the MetaMask wallet. If you already have a MetaMask wallet, you can click “Import Wallet” and follow the instructions to import your existing wallet. Otherwise, click “Create a Wallet” to create a new wallet.
Step 3: Connect MetaMask to Solana Network
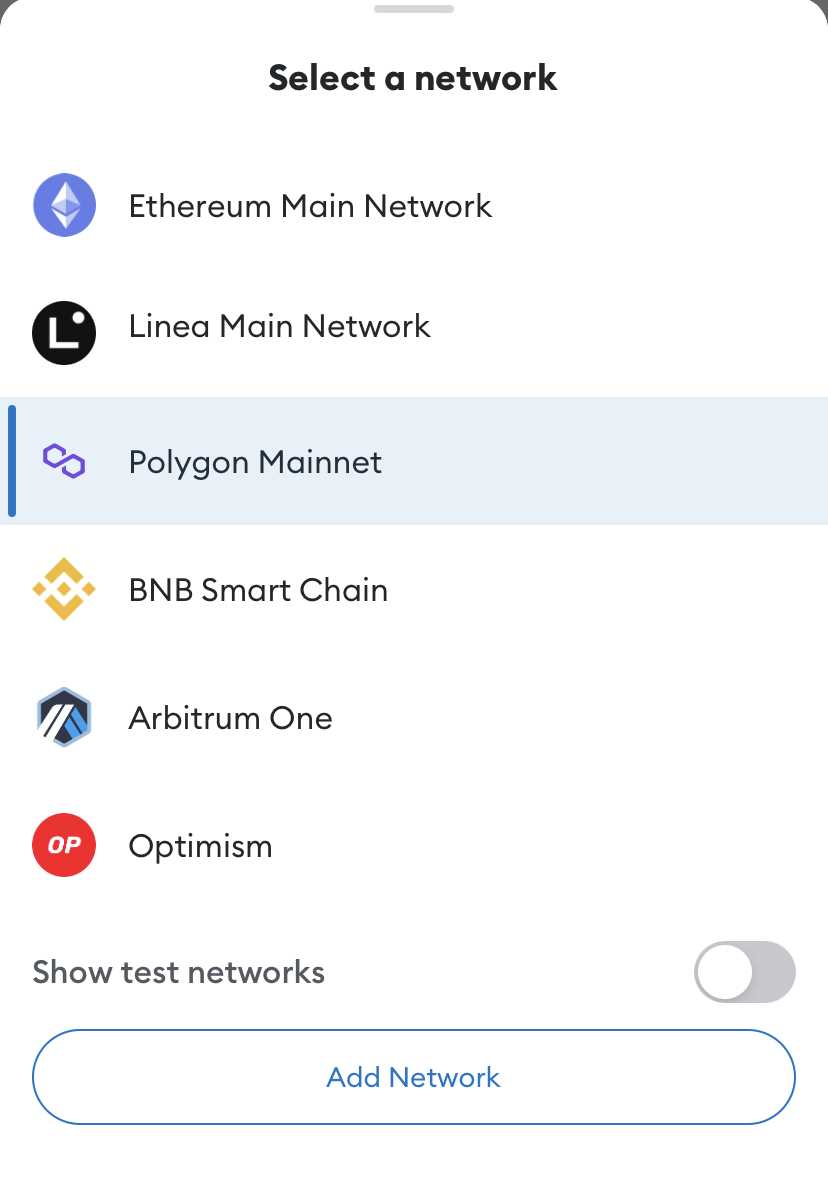
After setting up your wallet, you will need to connect MetaMask to the Solana network. To do this, click on the network dropdown at the top of the MetaMask wallet and select “Custom RPC”. In the “New RPC URL” field, enter the Solana network RPC URL, which is https://api.mainnet-beta.solana.com. Once entered, click “Save” to save the network settings.
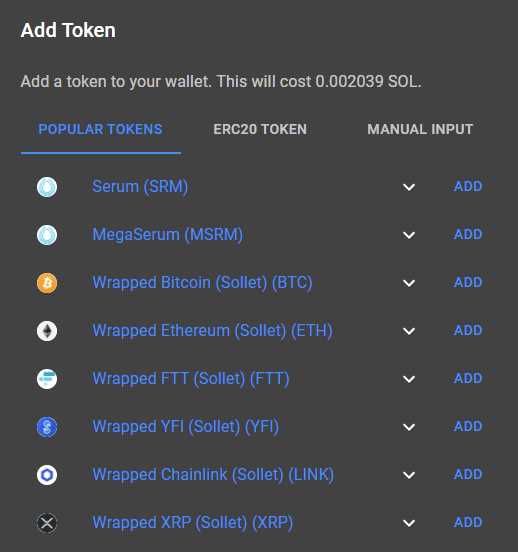
Step 4: Add Solana Token to MetaMask
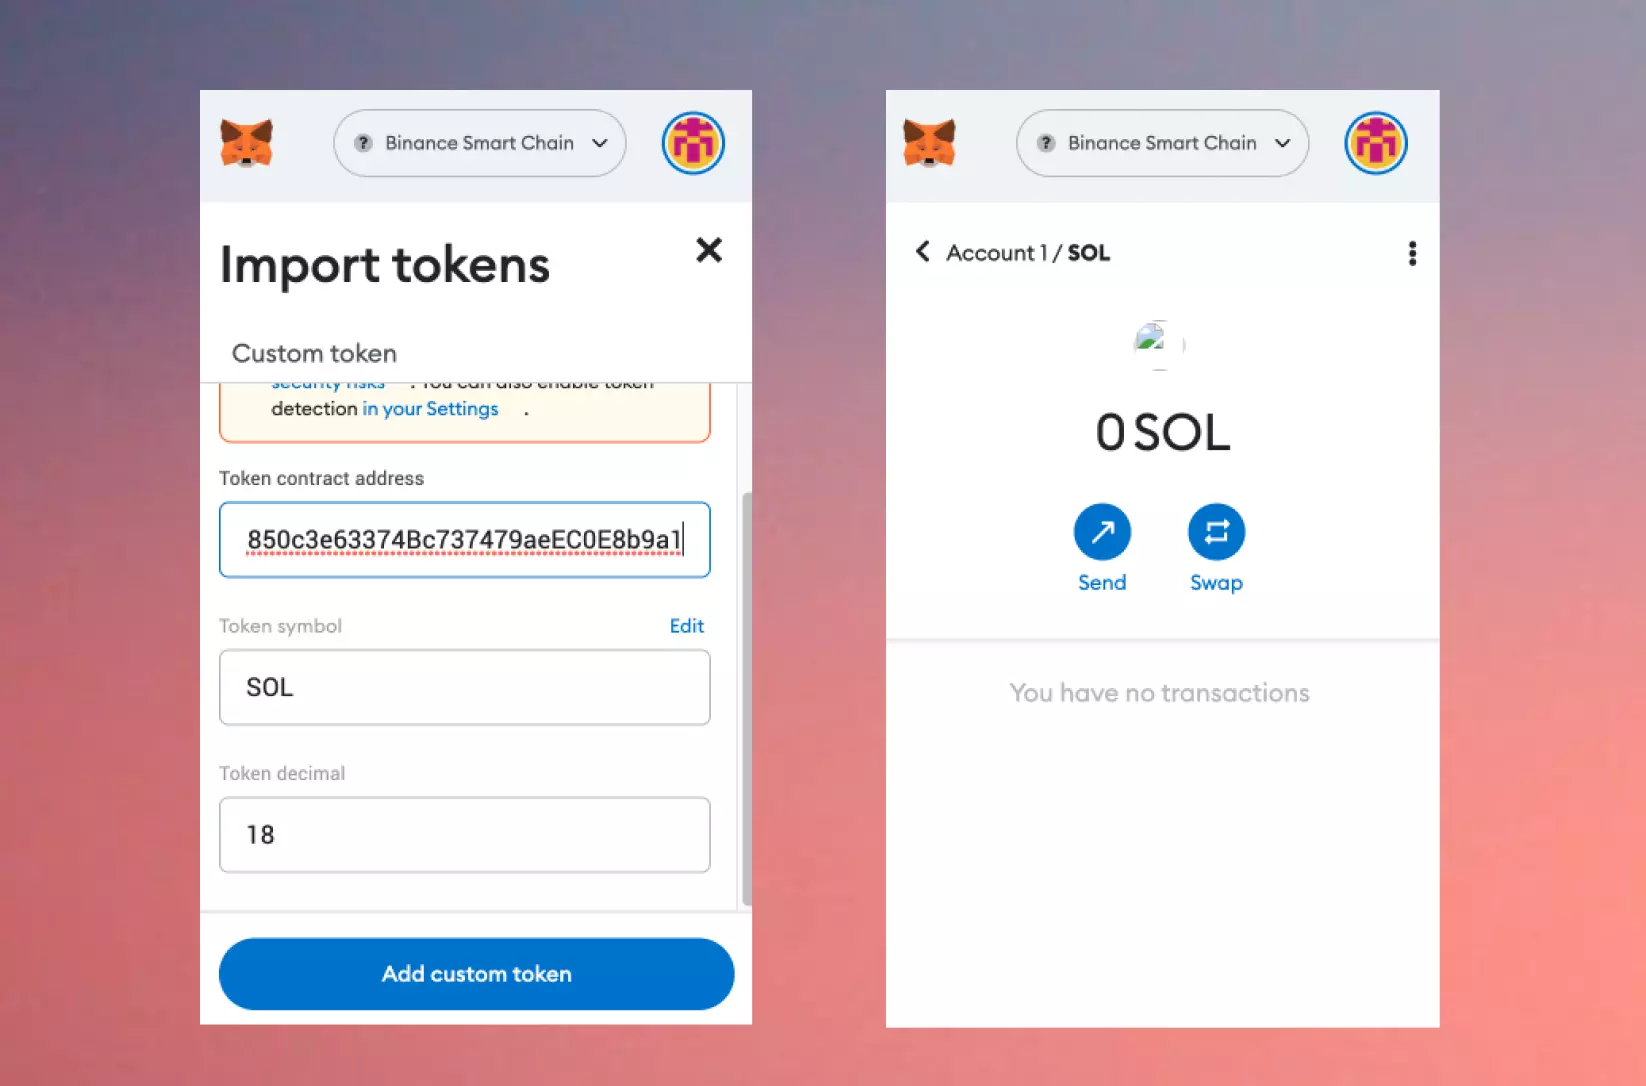
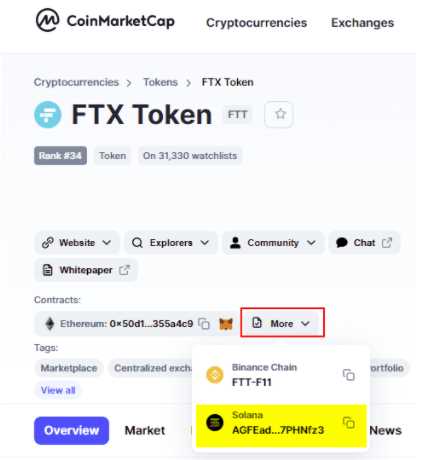
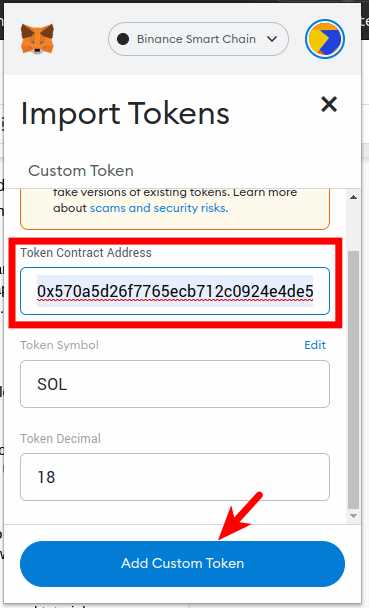
In order to view and interact with Solana-based tokens in MetaMask, you will need to add the Solana token to your wallet. To do this, click on the “Add Token” button in the MetaMask wallet and select “Custom Token”. In the token address field, enter the Solana token address. Once entered, click “Next” and then “Add Tokens” to add the Solana token to your wallet.
Now you have successfully set up MetaMask to work with the Solana network. You can use MetaMask to view your Solana wallet balance, send and receive Solana tokens, and interact with Solana-based dApps.
Creating a Solana Wallet on MetaMask
To use Solana with MetaMask, you will first need to create a Solana wallet within the MetaMask extension. Follow the steps below to create a new Solana wallet:
- Open the MetaMask extension in your browser and make sure you are connected to the Solana network.
- Click on the account icon at the top right corner and select “Create Account” from the dropdown menu.
- Choose a strong password for your wallet and click on “Create”.
- You will be shown a seed phrase consisting of 12 words. Make sure to write down this seed phrase and keep it in a secure place. This seed phrase is crucial for recovering your wallet if you ever lose access to it.
- Confirm your seed phrase by selecting the words in the correct order.
- Once you have confirmed your seed phrase, your Solana wallet will be created.
Your newly created Solana wallet on MetaMask is now ready to use. You can now securely store and manage your Solana assets using this wallet. Make sure to keep your password and seed phrase safe to avoid any unauthorized access to your funds.
Connecting and Transacting on the Solana Network using MetaMask
MetaMask is a popular digital wallet that allows users to interact with various blockchain networks, including the Solana Network. By connecting MetaMask to the Solana Network, users can manage their SOL and other Solana-based assets, as well as send and receive transactions. In this step-by-step guide, we will walk you through the process of connecting and transacting on the Solana Network using MetaMask.
Step 1: Install and Set Up MetaMask
To get started, you will need to install MetaMask if you haven’t already. You can download the MetaMask extension for your preferred web browser (Chrome, Firefox, or Brave) and follow the on-screen instructions to create a new wallet or import an existing one.
Step 2: Add Solana Network to MetaMask
Once you have MetaMask installed and set up, you will need to add the Solana Network to your list of networks. Open the MetaMask extension and click on the network dropdown at the top of the screen. Select “Custom RPC” and enter the following details to add the Solana Network:
| Network Name | Solana Mainnet |
|---|---|
| New RPC URL | https://api.mainnet-beta.solana.com |
| Chain ID | 101 |
| Symbol | SOL |
Step 3: Connect MetaMask to the Solana Network
After adding the Solana Network, select it from the network dropdown to connect MetaMask to the Solana Network. Once connected, you will see the Solana logo and the network details in the MetaMask extension.
Step 4: Manage and Transact with Solana Assets
With MetaMask connected to the Solana Network, you can now manage and transact with your Solana-based assets. You can view your SOL balance, send transactions to other addresses, and interact with decentralized applications (dApps) built on the Solana Network.
Step 5: Be Mindful of Gas Fees
When transacting on the Solana Network using MetaMask, it’s important to be mindful of gas fees. Gas fees are the transaction fees required to process and validate transactions on the Solana Network. Before confirming a transaction, double-check the gas fee estimate provided by MetaMask to ensure you are comfortable with the cost.
That’s it! You’re now ready to connect and transact on the Solana Network using MetaMask. Enjoy seamless access to the Solana ecosystem and explore the various possibilities it offers!
What is MetaMask?
MetaMask is a popular cryptocurrency wallet and Ethereum gateway that allows users to store, manage, and interact with Ethereum-based assets and decentralized applications (DApps).
Can I use MetaMask with the Solana network?
Yes, it is possible to use MetaMask with the Solana network by adding the Solana network to your MetaMask wallet using a custom RPC (Remote Procedure Call) URL.
How do I add the Solana network to MetaMask?
To add the Solana network to MetaMask, you need to open your MetaMask wallet, click on the network dropdown, select “Custom RPC”, and enter the Solana RPC URL and other details such as the network name and symbol.
What can I do with MetaMask on the Solana network?
With MetaMask on the Solana network, you can access and interact with Solana-based decentralized applications (DApps), send and receive Solana tokens, and manage your Solana wallet and assets.