
If you’re new to the world of cryptocurrencies and decentralized finance, you’ve probably heard of MetaMask. This popular and user-friendly browser extension allows you to easily interact with blockchain-based applications, manage your digital assets, and securely store your private keys. Whether you’re a beginner or an experienced user, our step-by-step guide will help you get started with MetaMask in no time.
Step 1: Installation
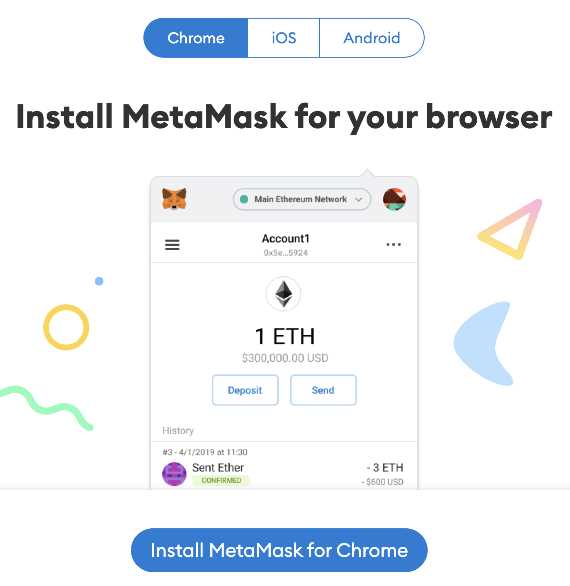
The first step to using MetaMask is downloading and installing the extension. It’s available for Chrome, Firefox, Brave, and other popular browsers. Simply visit the MetaMask website or go to the extension store of your preferred browser and search for “MetaMask.” Once installed, you’ll see the MetaMask icon next to your browser’s address bar.
Step 2: Creating a Wallet
After installing MetaMask, you’ll need to create a wallet. Click on the MetaMask icon and follow the prompts to set up a new wallet. You’ll be asked to create a strong password and shown a secret backup phrase. Make sure to store this backup phrase in a safe place, as it can be used to recover your wallet if you forget your password or lose access to your device.
Step 3: Managing Your Accounts and Assets
Once your wallet is set up, you can start managing your accounts and assets. MetaMask allows you to create multiple accounts, each with its own unique Ethereum address. You can also import existing accounts using your private key or seed phrase. In addition to Ethereum, MetaMask supports various other blockchain networks, such as Binance Smart Chain and Polygon. You can easily switch between different networks and view your asset balances.
Step 4: Interacting with Blockchain Applications
One of the main features of MetaMask is its ability to interact with blockchain applications, also known as dapps. Many decentralized finance projects and gaming platforms require you to connect your MetaMask wallet to access their services. To do this, simply click on the MetaMask icon and authorize the connection when prompted. You’ll also need to approve transactions when sending or receiving tokens, interacting with smart contracts, or participating in token sales.
With our step-by-step guide, you’ll quickly become a pro at using MetaMask. Start exploring the world of decentralized finance and enjoy the benefits of blockchain technology with this powerful tool.
How to Use MetaMask: Get Started Now with Our Step-by-Step Guide CoinBureau
MetaMask is a popular browser extension that acts as a digital wallet for accessing Ethereum-based decentralized applications (DApps) and interacting with the Ethereum blockchain. If you’re new to cryptocurrency and want to learn how to use MetaMask, this step-by-step guide will walk you through the process.
Step 1: Install MetaMask Extension
To get started, you need to install the MetaMask extension in your web browser. MetaMask is available for Chrome, Firefox, Brave, and Edge. Visit the respective web store for your browser and search for “MetaMask”. Click on the “Add to Chrome” (or similar) button, and follow the installation prompts.
Step 2: Create a New MetaMask Wallet
Launch MetaMask by clicking on the extension icon in your browser toolbar. The first time you open MetaMask, you will see a welcome screen. Click on the “Get Started” button and then select the “Create a Wallet” option. Create a strong password and backup your secret backup phrase, which is crucial for account recovery.
Step 3: Connect to the Ethereum Mainnet
MetaMask supports different blockchain networks, but the Ethereum Mainnet is the most widely used. To connect to the Ethereum Mainnet, click on the network dropdown at the top of the MetaMask interface and select “Ethereum Mainnet”.
Step 4: Add Funds to Your MetaMask Wallet
To interact with DApps, you need Ether (ETH) in your MetaMask wallet. You can purchase Ether from various exchanges or transfer it from another wallet. Click on the account icon in the top-right corner of MetaMask and select “Copy Address” to copy your wallet address. Use this address to receive Ether.
Step 5: Interact with DApps
Once you have funds in your MetaMask wallet, you can start interacting with DApps. Visit a DApp website and ensure that MetaMask is connected to the Ethereum Mainnet. You may need to give permission to MetaMask to access your wallet information. Explore the DApp’s features and follow the on-screen instructions to use it.
Step 6: Manage Your MetaMask Wallet and Security
MetaMask offers various features for managing your wallet and enhancing security. You can add additional accounts, import existing wallets, and customize network settings. It is important to regularly update MetaMask and be cautious of phishing attempts. Keep your secret backup phrase offline and never share it with anyone.
Conclusion
Using MetaMask is a convenient and secure way to access Ethereum-based DApps and interact with the Ethereum blockchain. By following this step-by-step guide, you can get started with MetaMask and explore the world of decentralized finance and blockchain technology.
What is MetaMask and Why You Should Use It
MetaMask is a cryptocurrency wallet and browser extension that allows users to manage their digital assets and interact with decentralized applications (dApps) on the Ethereum blockchain. It is a powerful tool for anyone looking to explore the world of blockchain and decentralized finance (DeFi).
Key Features of MetaMask
MetaMask offers several key features that make it a popular choice among Ethereum users:
- Secure Wallet: MetaMask stores users’ private keys locally, ensuring that they have full control over their funds. It also provides users with the ability to import and export their wallets, offering an extra layer of security.
- Browser Extension: MetaMask integrates seamlessly with popular web browsers like Chrome, Firefox, and Brave, allowing users to access Ethereum dApps directly from their browser without the need to install additional software.
- Simple Interface: MetaMask has a user-friendly interface that makes it easy for both beginners and experienced users to navigate. It provides a straightforward way to manage Ethereum addresses, view transaction history, and send or receive tokens.
- Network Connectivity: MetaMask supports multiple Ethereum networks, including the mainnet, testnets, and custom networks. This allows users to switch between different networks and explore various blockchain applications.
- Token Management: With MetaMask, users can easily add custom tokens to their wallet and keep track of their token balances. It also provides integrated token swaps, allowing users to exchange one token for another without leaving the wallet.
Why You Should Use MetaMask
There are several reasons why you should consider using MetaMask:
- Access to DeFi: MetaMask enables you to participate in the booming decentralized finance ecosystem. You can lend, borrow, trade, and invest in various DeFi protocols and earn passive income with your cryptocurrencies.
- Secure Storage: MetaMask provides a safe and reliable way to store your digital assets. By holding your private keys locally, you have full control over your funds and can ensure they are not susceptible to hacks or centralized control.
- Convenience: MetaMask’s browser extension allows for seamless integration with your everyday browsing experience. You don’t have to switch between different applications or wallets to interact with Ethereum dApps.
- Easy-to-Use: Whether you are new to cryptocurrencies or an experienced user, MetaMask offers a simple and intuitive interface that makes managing your digital assets a breeze.
- Community Support: MetaMask has a vibrant and active community of users and developers. You can easily find help and resources online, making it easier to navigate and explore the Ethereum ecosystem.
In conclusion, MetaMask is an essential tool for anyone interested in Ethereum and DeFi. It provides a secure and user-friendly way to manage your digital assets, interact with blockchain applications, and participate in the decentralized finance revolution.
Creating and Setting Up a MetaMask Wallet
MetaMask is a popular web wallet that allows you to manage your Ethereum-based assets and interact with decentralized applications (DApps) on the Ethereum network. To get started with MetaMask, you need to create and set up a MetaMask wallet. Follow the steps below to create your own MetaMask wallet:
- Go to the MetaMask website and download the MetaMask extension for your web browser.
- Click on the “Add to Browser” button and follow the prompts to install MetaMask.
- Once MetaMask is installed, you will see the MetaMask icon in the top right corner of your browser.
- Click on the MetaMask icon and follow the prompts to set up your wallet.
- Create a strong password for your wallet and make sure to remember or securely store it.
- You will be provided with a secret backup phrase. This is essential for recovering your wallet in case you forget your password or lose access to your device. Write down this backup phrase and keep it in a safe place.
- Confirm your backup phrase by typing it in the correct order. This ensures that you have properly recorded your backup phrase.
- Once your wallet is set up, you can access it by clicking on the MetaMask icon in your browser and entering your password.
- Your MetaMask wallet is now ready to use! You can add funds to your wallet by purchasing Ethereum or transferring it from another wallet or exchange.
It is important to note that MetaMask is a non-custodial wallet, which means you have full control over your funds. However, this also means that if you lose your password or backup phrase, you may permanently lose access to your wallet and funds. Therefore, it is crucial to back up your wallet and keep your password secure.
Connecting MetaMask to Your Browser and Mobile Devices
MetaMask is a cryptocurrency wallet that allows you to interact with decentralized applications (dApps) on the Ethereum blockchain. To get started, you’ll need to connect MetaMask to your browser or mobile device. Follow these steps to connect MetaMask:
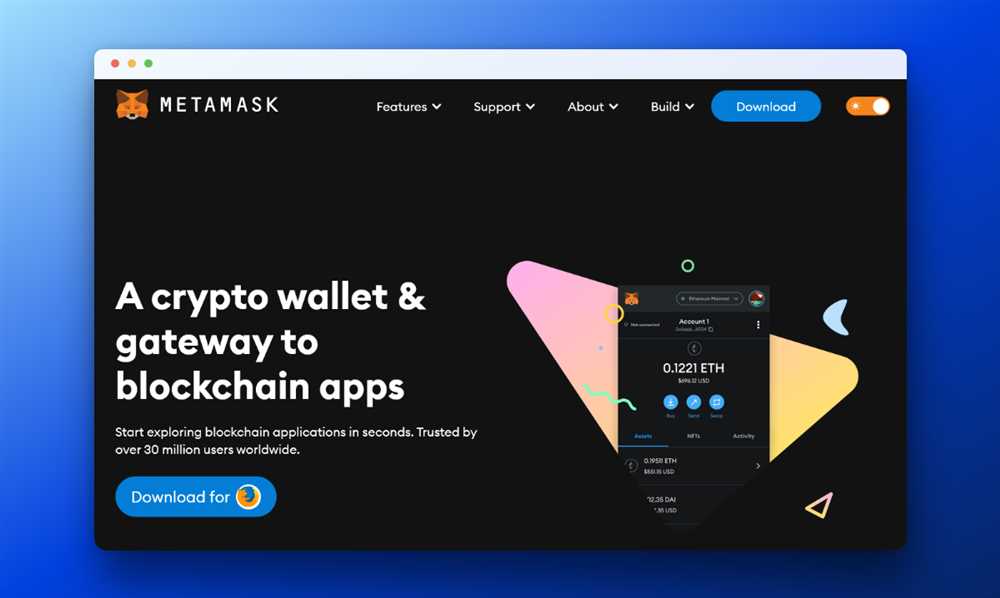
- Open your preferred browser (such as Chrome or Firefox) and go to the MetaMask website.
- Click on the “Download” button and follow the instructions to install MetaMask on your browser.
- Once MetaMask is installed, a fox icon will appear in your browser toolbar.
- Click on the MetaMask icon to open the extension.
- A welcome screen will appear. Click on the “Get Started” button.
- You will be presented with two options: “Create a Wallet” or “Import Wallet”. Choose the option that suits you best.
- If you choose to create a wallet, follow the prompts to set up a password and backup your seed phrase.
- If you choose to import a wallet, enter your seed phrase or private key when prompted.
- Once your wallet is created or imported, you will be asked to confirm your password.
- After confirming your password, you will be taken to the main MetaMask interface where you can view your account balance, transaction history, and interact with dApps.
- If you want to connect MetaMask to your mobile device, you can download the MetaMask mobile app from the App Store (for iOS) or Google Play Store (for Android).
- Open the MetaMask app and follow the on-screen instructions to create or import your wallet.
- Once your wallet is set up, you can use MetaMask on your mobile device to securely manage your cryptocurrencies and interact with dApps.
By following these steps, you can easily connect MetaMask to your browser or mobile device and start using it to access the world of decentralized finance (DeFi) and other Ethereum-based applications.
How to Send and Receive Crypto Using MetaMask
MetaMask is a popular cryptocurrency wallet that allows users to securely store and manage their digital assets. In addition to storage, MetaMask also enables users to send and receive cryptocurrencies. In this guide, we will show you step-by-step how to send and receive crypto using MetaMask.
Sending Crypto with MetaMask
To send cryptocurrency to another wallet using MetaMask, follow the steps below:
- Open your MetaMask wallet and ensure that you are on the “Assets” tab.
- Click on the cryptocurrency you want to send.
- Click on the “Send” button.
- Enter the recipient’s wallet address in the “To” field. Make sure to double-check the address to avoid any errors.
- Enter the amount of cryptocurrency you want to send in the “Amount” field.
- Review the transaction details and click on the “Next” button.
- Confirm the transaction by clicking on the “Confirm” button.
- Wait for the transaction to be confirmed on the blockchain. This may take some time depending on the network congestion.
- Once the transaction is confirmed, the recipient will receive the cryptocurrency in their wallet.
Receiving Crypto with MetaMask
To receive cryptocurrency using MetaMask, follow the steps below:
- Open your MetaMask wallet and ensure that you are on the “Assets” tab.
- Copy your wallet address by clicking on the “Copy” button next to it.
- Share your wallet address with the sender. They can use this address to send cryptocurrency to your wallet.
- Once the sender sends the cryptocurrency to your wallet address, you will receive it in your MetaMask wallet.
That’s it! You now know how to send and receive crypto using MetaMask. Remember to always double-check the wallet address when sending or receiving cryptocurrency to avoid any mistakes. Happy transacting!
Advanced Features and Security Tips for MetaMask Users
MetaMask is a powerful tool that allows users to interact with the Ethereum blockchain and participate in decentralized finance (DeFi) applications. While the basic features of MetaMask, such as importing and managing wallets, are relatively straightforward, there are some advanced features and security tips that can enhance your experience and protect your funds.
Advanced Features
Here are some advanced features you can explore in MetaMask:
| Custom Networks | MetaMask supports custom networks, allowing you to connect to testnets or private networks. This is useful for developers and those exploring other blockchain ecosystems. |
| Token Swaps | MetaMask integrates with decentralized exchanges like Uniswap and Sushiswap, enabling you to swap tokens directly within the wallet interface. |
| DApp Integration | MetaMask provides seamless integration with various decentralized applications (dApps), making it easy to interact with DeFi protocols and NFT marketplaces. |
| Hardware Wallet Support | For enhanced security, MetaMask can be connected to hardware wallets like Ledger and Trezor, ensuring that your private keys remain offline. |
Security Tips

Here are some tips to enhance the security of your MetaMask wallet:
- Use a strong and unique password for your MetaMask wallet.
- Enable two-factor authentication (2FA) for added security.
- Regularly update both MetaMask and your web browser to benefit from the latest security patches.
- Avoid clicking on suspicious links or downloading unknown software that could compromise your wallet.
- Verify the authenticity of dApps and websites before interacting with them using MetaMask.
- Backup your MetaMask seed phrase and store it securely offline.
- If possible, use a dedicated device or a separate browser profile for your MetaMask wallet.
- Be wary of phishing attempts and never share your private keys or seed phrase with anyone.
By understanding and utilizing these advanced features and security tips, you can make the most out of your MetaMask experience while safeguarding your funds from potential threats.
What is MetaMask?
MetaMask is a digital wallet that allows users to store, manage, and interact with decentralized applications (dApps) on the Ethereum blockchain.