
Bitcoin has become a popular investment option in recent years, and many people are looking for secure and convenient ways to store their digital assets. One popular option is to use a digital wallet, such as Metamask, which allows users to securely store, manage, and interact with their Bitcoin and other cryptocurrencies.
In this step-by-step guide, we will walk you through the process of storing your Bitcoin on Metamask, ensuring that your assets are kept safe and easily accessible. Whether you’re a beginner or an experienced investor, this guide will provide you with all the necessary information to get started.
Step 1: Install Metamask
The first step in storing your Bitcoin on Metamask is to install the wallet extension. Metamask is available as a browser extension for Google Chrome, Firefox, and Brave browsers. Simply search for “Metamask” in your browser’s extension store and follow the installation instructions.
Step 2: Create a Metamask Account
Once you have installed Metamask, open the extension and click on the “Create a Wallet” button. Follow the on-screen prompts to set up a new account. Make sure to create a strong password and securely store your backup phrase, as this will be required to access your account and recover your funds if necessary.
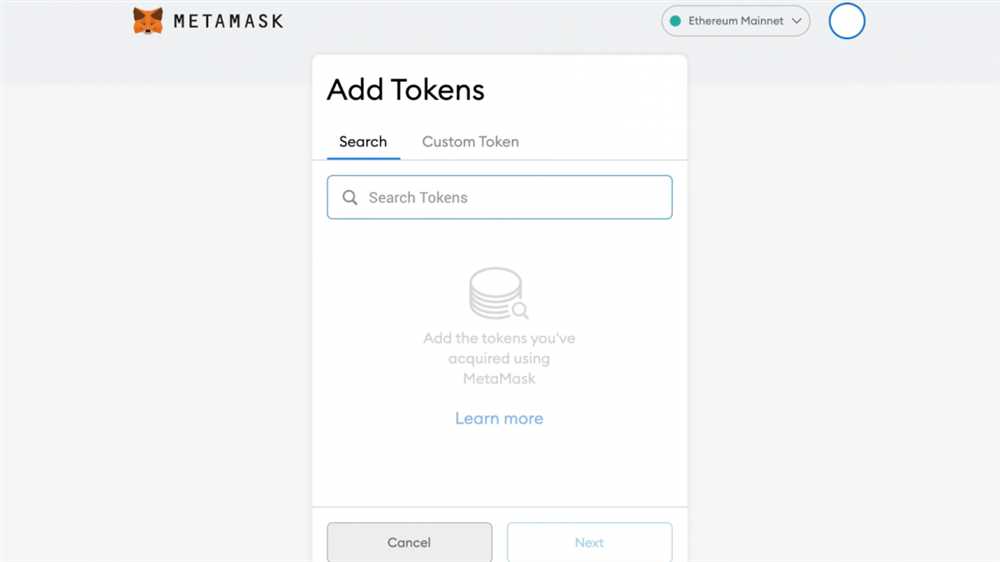
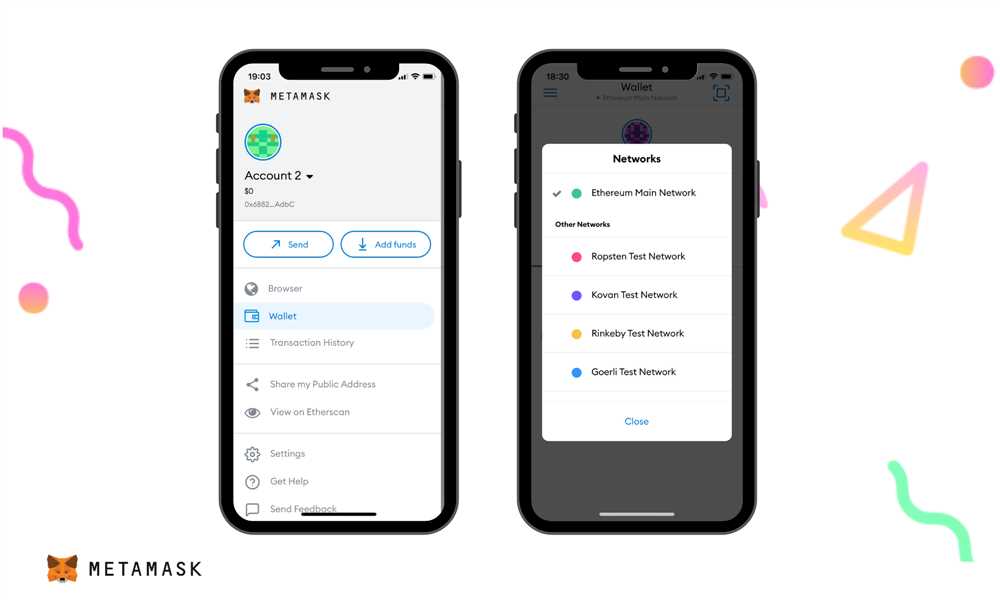
Step 3: Add Bitcoin to your Metamask Wallet
After setting up your Metamask account, you will need to add Bitcoin to your wallet. To do this, click on the “Wallet” tab in the Metamask extension and select the “Receive” option. You will be provided with a Bitcoin address, which you can use to receive funds from external sources.
Step 4: Send Bitcoin to your Metamask Wallet
To transfer Bitcoin from another wallet or exchange to your Metamask wallet, you will need to obtain your wallet’s Bitcoin address, which can be found in the “Wallet” tab. Copy this address and use it as the destination address when initiating the transfer from your other wallet or exchange. The Bitcoin should appear in your Metamask wallet shortly after the transaction is confirmed on the Bitcoin network.
Step 5: Secure your Metamask Wallet
Now that your Bitcoin is stored on Metamask, it is important to take steps to secure your wallet. Enable the “Password Lock” feature in the Metamask settings to require a password each time you access your wallet. Additionally, consider storing your backup phrase offline in a secure location, such as a safe or a hardware wallet, to protect against the loss or theft of your device.
Following these steps will ensure that your Bitcoin is securely stored on Metamask, providing you with peace of mind and easy access to your digital assets. Remember to stay updated with the latest security practices and to always exercise caution when managing your cryptocurrencies.
Creating a Metamask Wallet
Before you can start storing Bitcoin on your Metamask wallet, you need to create one. Follow these steps to create a Metamask wallet:
- Visit the official Metamask website and download the extension for your web browser.
- Once the extension is installed, click on the Metamask icon in your browser’s toolbar.
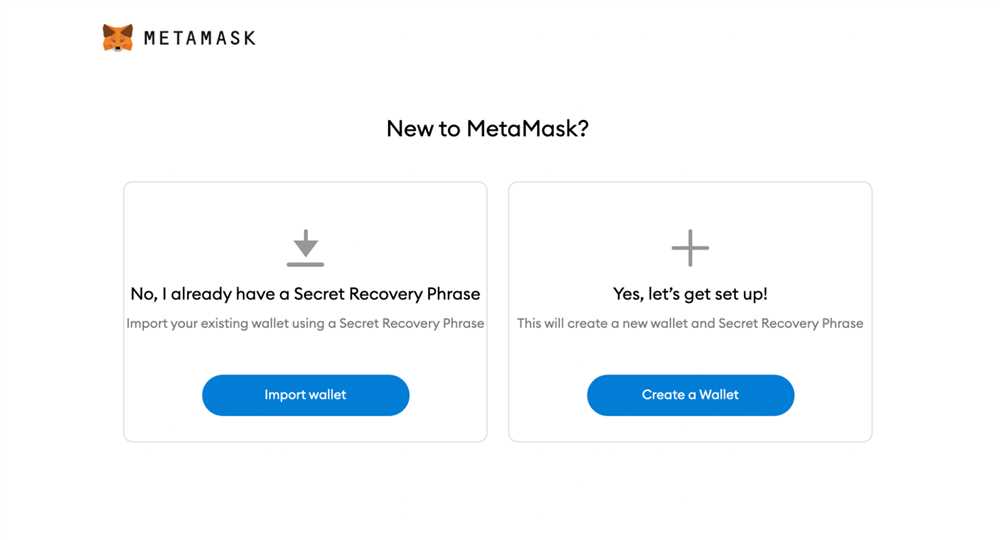
- A new tab will open, showing the Metamask welcome screen. Click on the “Get Started” button.
- You will be presented with two options: “Import Wallet” or “Create a Wallet.” Select “Create a Wallet.”
- Create a strong password for your wallet. Make sure it is something you can remember, but still secure.
- After creating your password, you will be provided with a unique 12-word recovery phrase. Write down this phrase and store it in a safe place. Do not share this phrase with anyone, as it can be used to access your wallet.
- Confirm your recovery phrase by selecting the words in the correct order.
- Once your recovery phrase is confirmed, your Metamask wallet will be created.
Now that you have created your Metamask wallet, you can start storing Bitcoin and other cryptocurrencies securely.
Installing the Metamask Extension

Before you can start storing Bitcoin on Metamask, you will need to install the Metamask extension for your web browser. Follow the step-by-step guide below to install the extension:
- Open your web browser and navigate to the official Metamask website.
- Click on the “Get Chrome Extension” button if you are using Google Chrome, or “Get Firefox Add-on” if you are using Mozilla Firefox.
- A new tab or window will open, redirecting you to the respective web store for the chosen browser.
- Click on the “Add to Chrome” or “Add to Firefox” button to begin the installation.
- Once the installation is complete, a Metamask icon will appear in your browser’s toolbar.
- Click on the Metamask icon to open the extension.
- A welcome screen will be displayed, prompting you to accept the terms and conditions.
- Read through the terms and conditions, then click on the “Accept” button to proceed.
- Create a strong password for your Metamask wallet and click on the “Create” button.
- Follow the on-screen instructions to back up your wallet using the seed phrase provided.
- Once you have completed the backup process, your Metamask wallet is ready to use.
Now that you have installed the Metamask extension, you can proceed to the next step and start storing your Bitcoin securely.
Setting Up Your Metamask Wallet
In order to store your Bitcoin on Metamask, you first need to set up your Metamask wallet. Follow these steps to get started:
- Open up your web browser and go to the Metamask website.
- Click on the “Get Started” button to begin the installation process.
- Choose the appropriate browser extension for your web browser and click on the “Install” button.
- Once the extension is installed, click on the Metamask icon in your browser’s toolbar to open up the wallet.
- Click on the “Create a Wallet” button to start the wallet creation process.
- Read and accept the terms of use and privacy policy.
- Create a strong password for your wallet and click on the “Create” button.
- A secret backup phrase will be displayed on the screen. Write this phrase down and store it in a safe place, as it can be used to restore your wallet in case of loss or theft.
- Confirm your backup phrase by selecting the words in the correct order.
- Once your backup phrase is confirmed, your wallet is set up and ready for use!
Now that your Metamask wallet is set up, you can proceed to the next steps to store your Bitcoin securely. Remember to always keep your backup phrase safe and never share it with anyone.
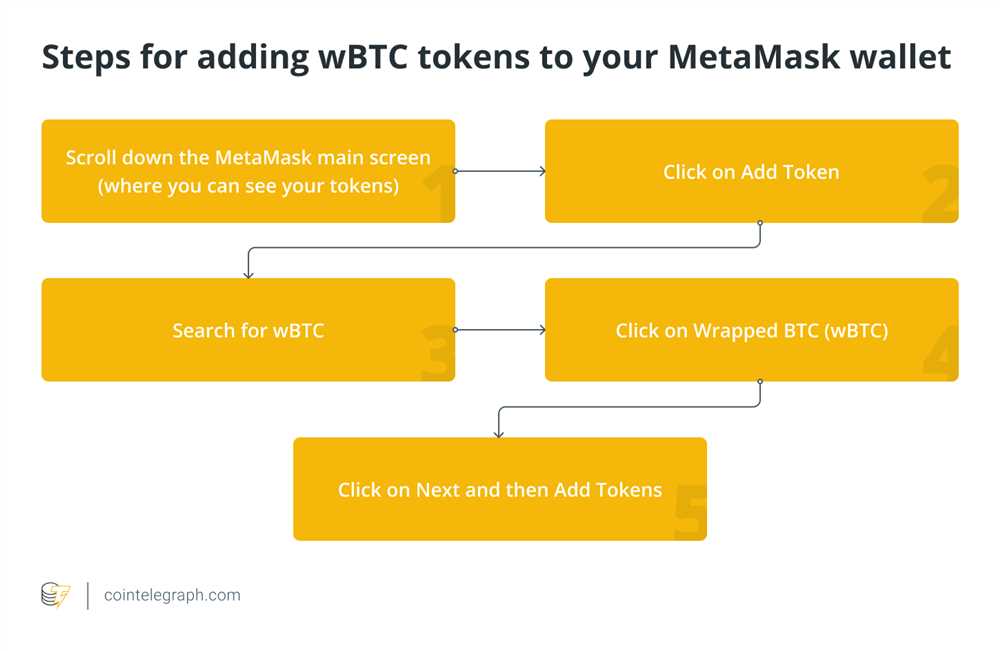
Adding Bitcoin to Your Metamask Wallet
To add Bitcoin to your Metamask wallet, follow these steps:
- Open Metamask extension in your web browser.
- Click on the account icon in the top right corner and select “Add Account”.
- A new account will be created. Copy its address.
- Go to your Bitcoin wallet or exchange where you have your Bitcoins.
- Initiate a withdrawal or send Bitcoin transaction.
- Paste the copied address from your Metamask wallet as the recipient address.
- Specify the amount of Bitcoin that you want to send.
- Confirm the transaction and wait for the Bitcoin network to process it.
- Once the transaction is confirmed, the Bitcoin will be added to your Metamask wallet.
Now you have successfully added Bitcoin to your Metamask wallet. You can manage your Bitcoin along with other cryptocurrencies in the same wallet.
Safely Storing Your Bitcoin on Metamask
When it comes to storing your Bitcoin, security is of the utmost importance. Metamask is a popular and trusted wallet that allows you to store, send, and receive Bitcoin and other cryptocurrencies. To ensure the safety of your funds, it is essential to follow some best practices when using Metamask.
Create a Strong Password
The first step in safely storing your Bitcoin on Metamask is to create a strong and unique password. Avoid using common phrases or easily guessable combinations of letters and numbers. Instead, opt for a password that includes a mix of uppercase and lowercase letters, numbers, and special characters. Remember to never share your password with anyone.
Enable Two-Factor Authentication
Two-factor authentication (2FA) adds an extra layer of security to your Metamask wallet. By enabling 2FA, you will need to provide a verification code in addition to your password when accessing your wallet. This adds an extra step that makes it more difficult for potential attackers to gain unauthorized access.
Once you have enabled 2FA, make sure to keep your backup codes in a secure location. These codes will help you regain access to your wallet in case you lose access to your phone or other 2FA devices.
Additionally, it is a good practice to periodically review the devices and applications that have access to your Metamask wallet. Remove any devices or applications that you no longer use or trust.
Use a Hardware Wallet
For an added layer of security, consider using a hardware wallet to store your Bitcoin. Hardware wallets are physical devices that store your private keys offline, away from potential online threats. They provide an extra level of protection against hacking and malware.
If you choose to use a hardware wallet, you can still connect it to Metamask to easily manage your funds. Metamask supports integration with popular hardware wallets like Trezor and Ledger.
By taking these steps, you can ensure the safety of your Bitcoin when using Metamask. Remember to always stay vigilant and keep your software and devices updated to protect against any potential security vulnerabilities.
What is Metamask?
Metamask is a cryptocurrency wallet that allows users to store, manage, and interact with Ethereum-based tokens and decentralized applications (dApps) directly from their web browsers.