
Welcome to our step-by-step guide on how to set up and use Metamask for Chrome! Metamask is a popular cryptocurrency wallet that allows you to securely store and manage your Ethereum and ERC20 tokens directly in your browser. Whether you’re new to cryptocurrencies or an experienced user, Metamask provides a user-friendly interface that makes it easy for anyone to interact with the decentralized web.
Step 1: Installation
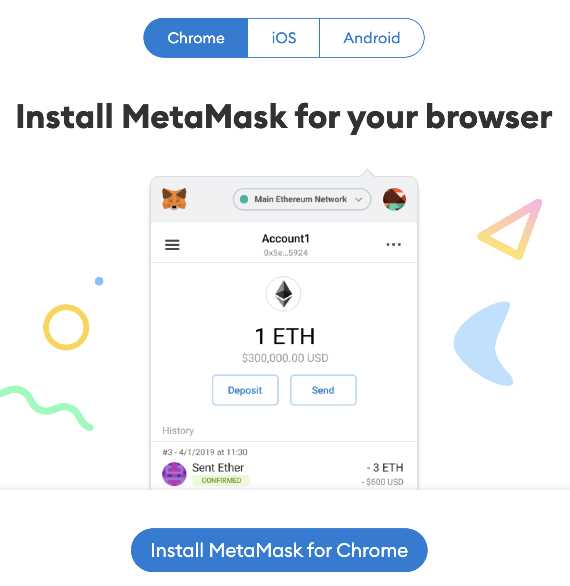
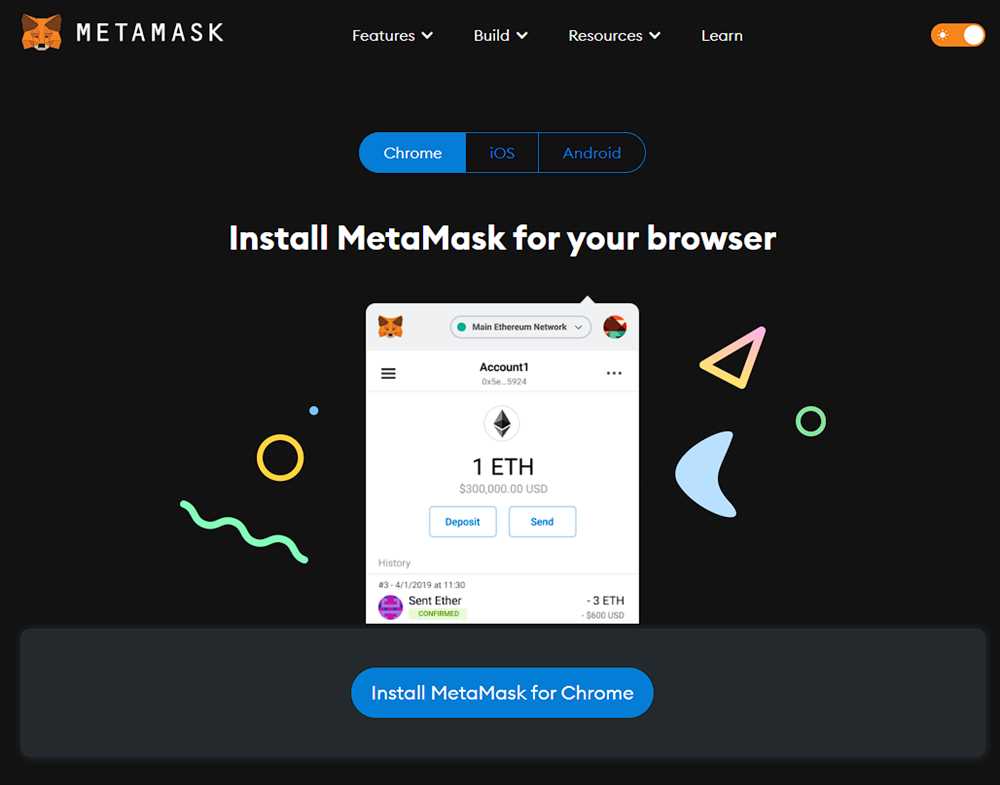
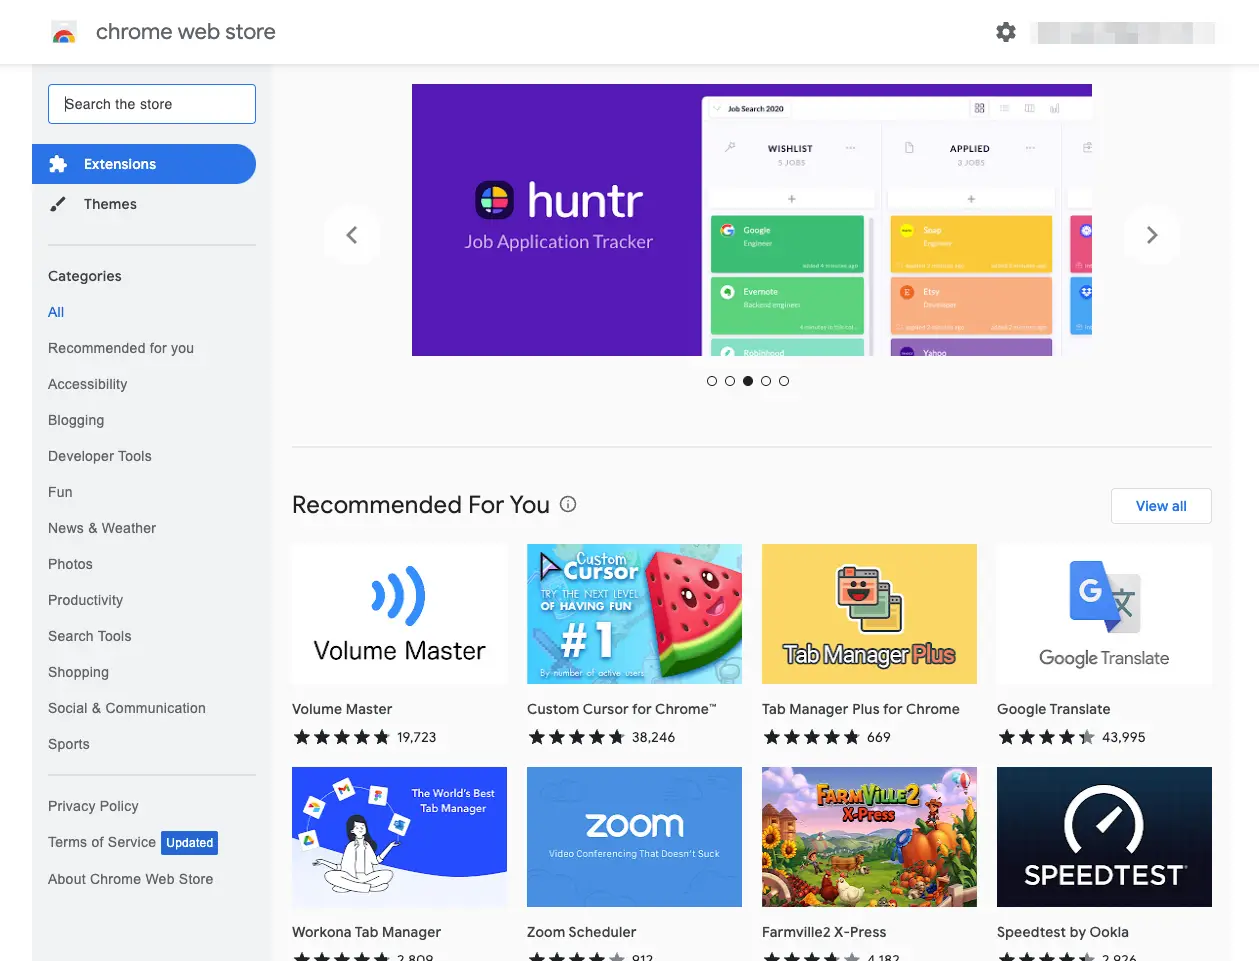
First, you’ll need to install the Metamask extension for Chrome. Simply go to the Chrome Web Store and search for Metamask. Once you’ve found the extension, click on the “Add to Chrome” button to begin the installation process. After the installation is complete, you’ll see the Metamask icon appear in your browser’s toolbar.
Step 2: Creating a Wallet
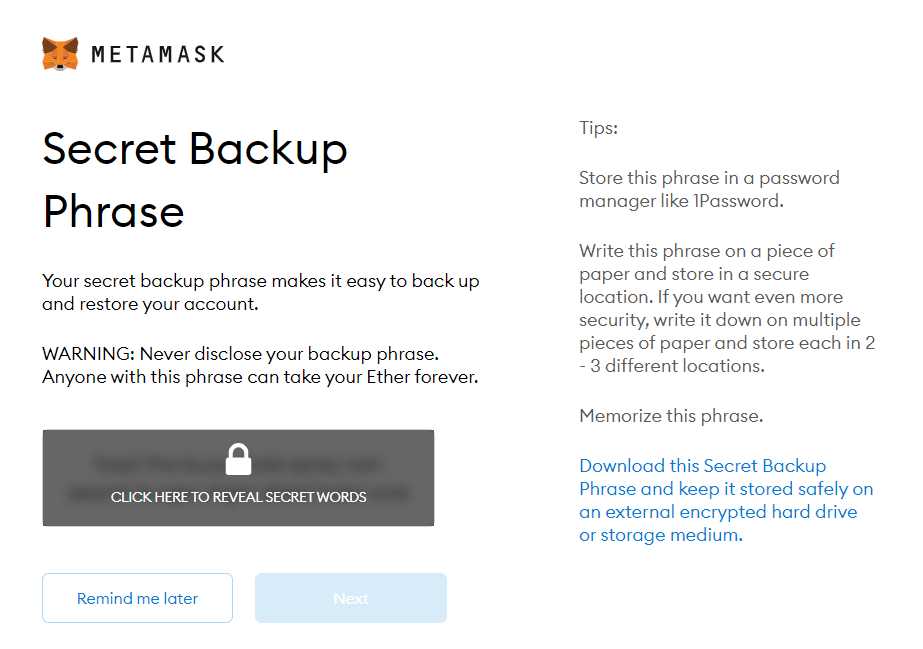
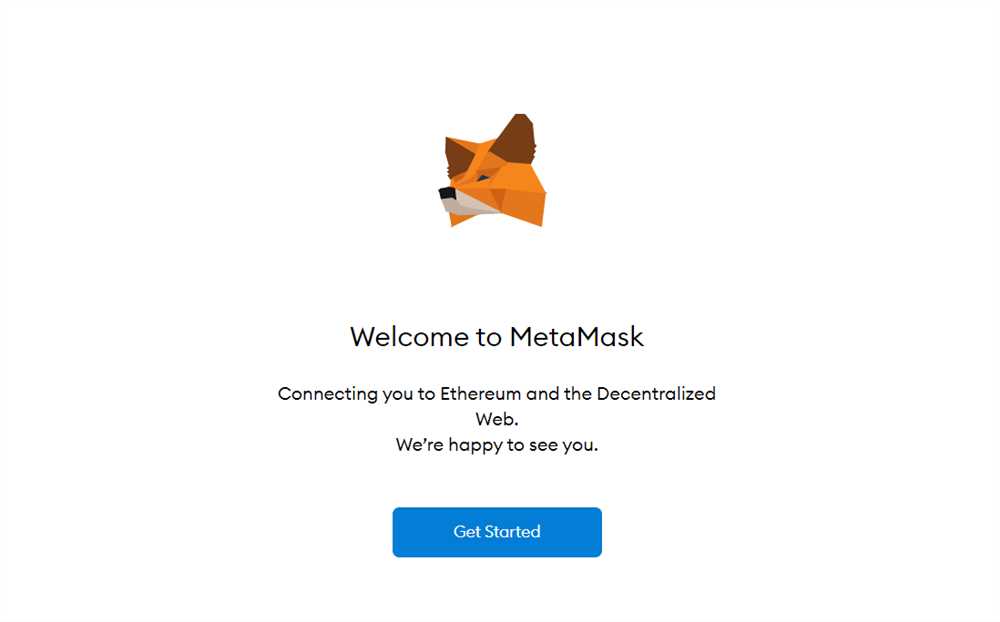
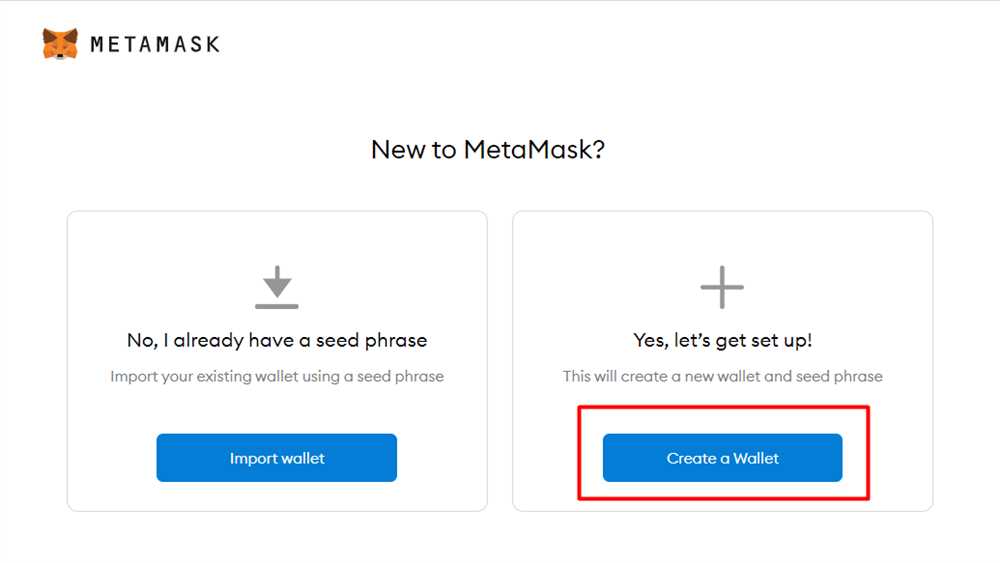
Next, click on the Metamask icon in your browser’s toolbar to open the extension. You’ll be greeted with a welcome screen that gives you the option to import an existing wallet or create a new one. Since we’re starting from scratch, select the “Create a Wallet” option. Follow the prompts to choose a strong password and create a new wallet. Be sure to write down your secret backup phrase as it will be needed to recover your wallet if you ever forget your password.
Step 3: Accessing Your Wallet
Once your wallet is created, you’ll be taken to the main Metamask interface. Here, you can view your account address, balance, and transaction history. You’ll also notice that Metamask has automatically connected to the Ethereum mainnet. If you want to use a different network, click on the network dropdown in the top left corner and select your desired network.
Step 4: Transacting with Metamask
Now that your wallet is set up, you’re ready to start transacting with Metamask! Whether you want to send ETH, receive tokens, or interact with decentralized applications (dApps), Metamask makes it easy. Simply click on the respective tab in the Metamask interface and follow the prompts to complete your desired transaction. Remember to review the transaction details carefully before confirming the transaction.
That’s it! You’ve successfully set up and are now familiar with the basics of using Metamask for Chrome. With Metamask, you can securely store your cryptocurrencies and easily interact with the decentralized web. Happy transacting!
Step-by-Step Guide to Set Up and Use Metamask for Chrome
Metamask is a popular browser extension that allows users to interact with the Ethereum blockchain. It serves as a wallet for storing cryptocurrency and enables users to access decentralized applications (dApps).
Step 1: Install the Metamask extension on your Chrome browser. Open the Chrome Web Store and search for “Metamask”. Click on the “Add to Chrome” button and follow the prompts to install the extension.
Step 2: Once the extension is installed, you will see the Metamask fox icon at the top right corner of your browser.
Step 3: Click on the Metamask fox icon and select “Create a Wallet” to set up a new wallet. Follow the instructions to create a strong password and secure your wallet. Make sure to back up your seed phrase in a safe place.
Step 4: After setting up your wallet, you can choose to import an existing wallet or create a new one. If you choose to import, enter your seed phrase and create a new password.
Step 5: Once your wallet is set up, you will be able to see your account address and balance. You can also switch between Ethereum’s main network and test networks like Ropsten or Kovan.
Step 6: To add Ethereum or any other ERC-20 tokens to your wallet, click on the “Add Token” button and enter the token’s contract address. The token will be added to your wallet, and you will be able to view your balance.
Step 7: You can now use Metamask to interact with dApps. When you visit a dApp that is compatible with Metamask, you will be prompted to connect your wallet. Simply click on the “Connect” button, and the dApp will have access to your wallet and funds.
Step 8: When making transactions on dApps, Metamask will prompt you to confirm the transaction details, such as the recipient address and amount. Review the details carefully and click on the “Confirm” button to complete the transaction.
Step 9: Metamask also allows you to send and receive cryptocurrency. To send funds, click on the “Send” button, enter the recipient’s address and the amount, and click on “Next” to confirm the transaction. To receive funds, click on the “Receive” button, and your account address will be displayed for the sender to scan.
Step 10: Make sure to keep your wallet and seed phrase secure. Metamask provides options to lock your wallet and enable additional security measures such as biometric authentication or hardware wallet integration.
That’s it! You have successfully set up and are ready to use Metamask for Chrome. Explore the world of decentralized applications and manage your cryptocurrency with ease.
Installing Metamask Extension
To begin using Metamask on your Google Chrome browser, you’ll need to install the Metamask extension. Here are the steps to follow:
Step 1: Open your Google Chrome browser and go to the Chrome Web Store.
Step 2: In the search bar at the top left corner, type “Metamask” and press Enter.
Step 3: From the search results, click on the “Metamask” extension.
Step 4: On the extension page, click on the “Add to Chrome” button located on the top right corner.
Step 5: A confirmation pop-up will appear. Click on the “Add extension” button to proceed with the installation.
Step 6: Once the installation is complete, a Metamask fox logo will appear next to your browser’s address bar.
Step 7: Click on the Metamask fox logo to open the extension and start the setup process.
That’s it! You have successfully installed the Metamask extension on your Google Chrome browser. Now you can proceed to set up your Metamask wallet and start using it for Ethereum-based transactions.
Creating and Importing a Wallet
Metamask allows you to create a new wallet or import an existing one. Here’s how you can do it:
Creating a New Wallet:
To create a new wallet, follow these steps:
- Click on the Metamask plugin icon in your Chrome browser toolbar to open the extension.
- Click on the “Get Started” button.
- Read and accept the terms and conditions.
- Create a strong and secure password for your wallet.
- Click on the “Create” button to generate a new wallet.
After creating a new wallet, you will be provided with a secret backup phrase. It is essential to write down this phrase and store it in a safe place. This backup phrase can be used to restore your wallet in case you lose access to it.
Importing an Existing Wallet:
If you already have an existing wallet, you can import it into Metamask by following these steps:
- Click on the Metamask plugin icon in your Chrome browser toolbar to open the extension.
- Click on the “Get Started” button.
- Click on the “Import Wallet” option.
- Enter your wallet’s private key, keystore file, or seed phrase.
- Click on the “Import” button to import your existing wallet.
Make sure to double-check the accuracy of the information you provide while importing the wallet to avoid any errors.
Connecting Metamask to a dApp
Once you have successfully installed and set up Metamask on your Chrome browser, you can start connecting it to decentralized applications (dApps) to interact with blockchain networks.
To connect Metamask to a dApp, follow these simple steps:
- Open the dApp you want to connect to in your Chrome browser.
- Look for the Metamask icon, usually located in the toolbar next to the address bar.
- Click on the Metamask icon to open the Metamask interface.
- If your Metamask wallet is locked, enter your password to unlock it.
- Once unlocked, the Metamask interface will display a prompt asking you for permission to connect. Review the dApp’s name, URL, and any other information to make sure it is the correct dApp you want to connect to.
- Click on “Connect” or “Allow” to grant permission for the dApp to interact with your Metamask wallet.
After completing these steps, Metamask will establish a connection between your wallet and the dApp. You can now use the dApp to perform various actions on the blockchain network, such as sending or receiving tokens, interacting with smart contracts, or participating in decentralized finance (DeFi) applications.
It’s important to note that you should always exercise caution when connecting your Metamask wallet to a dApp. Make sure to thoroughly research the dApp and verify its legitimacy before granting permission to access your wallet.
You can also disconnect Metamask from a dApp at any time by clicking on the Metamask icon and selecting the “Disconnect” or “Revoke access” option.
| Troubleshooting Tip: |
|---|
| If you encounter any issues while trying to connect Metamask to a dApp, ensure that you have the latest version of Metamask installed and that your browser and operating system are up to date. If the problem persists, you can consult the Metamask documentation or reach out to their support team for further assistance. |
Managing Transactions and Security
Metamask not only allows you to connect to the Ethereum network and access dApps, but it also gives you the ability to manage your transactions and add an extra layer of security to your account.
When making a transaction, Metamask will prompt you to review and confirm the details before sending it. It’s important to carefully review the transaction details, such as the recipient address and the amount, to ensure accuracy and prevent any mistakes. Double-checking these details can help you avoid accidentally sending funds to the wrong address.
In addition, Metamask provides features to enhance the security of your account. It generates a unique 12-word seed phrase during setup, which serves as a backup to restore your account in case of loss or hardware failure. Make sure to write down this seed phrase and store it in a secure location offline. Sharing your seed phrase with anyone can lead to unauthorized access to your account and potential loss of funds.
Metamask also allows you to create and manage multiple accounts within the extension. This feature is useful for organizing your funds and distinguishing between different purposes, such as personal and business transactions. Each account has its own unique address and will require separate transactions when sending or receiving funds.
Furthermore, to ensure the security of your transactions, Metamask provides the option to set your own gas fees. Gas fees are required to process and verify Ethereum transactions. By setting the appropriate gas fees based on network congestion, you can avoid delays and potential failed transactions. Metamask also offers a tool to estimate gas fees before sending a transaction.
Remember to always keep your Metamask extension and your browser up to date with the latest versions. Updates often include security patches and bug fixes, so regular updates can help protect your account and assets from potential vulnerabilities.
In conclusion, Metamask offers a convenient way to manage your transactions while providing essential security measures. By reviewing and confirming transaction details, backing up your account with the seed phrase, managing multiple accounts, setting appropriate gas fees, and keeping your extension and browser up to date, you can ensure a safe and secure experience when using Metamask.
What is Metamask and how does it work?
Metamask is a browser extension that allows users to interact with Ethereum-based decentralized applications (dapps) directly from their browser. It functions as a digital wallet, allowing users to store, manage, and send their Ethereum and ERC-20 tokens. Metamask also acts as a bridge between your browser and the Ethereum blockchain, enabling secure transactions and communication.
Can I use Metamask without having any cryptocurrency?
No, in order to use Metamask, you need to have some cryptocurrency, particularly Ethereum (ETH) and/or ERC-20 tokens. Metamask acts as a digital wallet, enabling you to store, manage, and send your cryptocurrencies. Without any cryptocurrencies in your wallet, Metamask would serve no purpose.
Is Metamask safe to use?
Yes, Metamask is generally considered safe to use. It has been audited by security experts, and it implements strong security measures to protect your private keys and sensitive information. However, it’s important to use caution and practice good security hygiene, such as keeping your Metamask passphrase secure and regularly updating your browser and extension to the latest versions to ensure the highest level of security.