
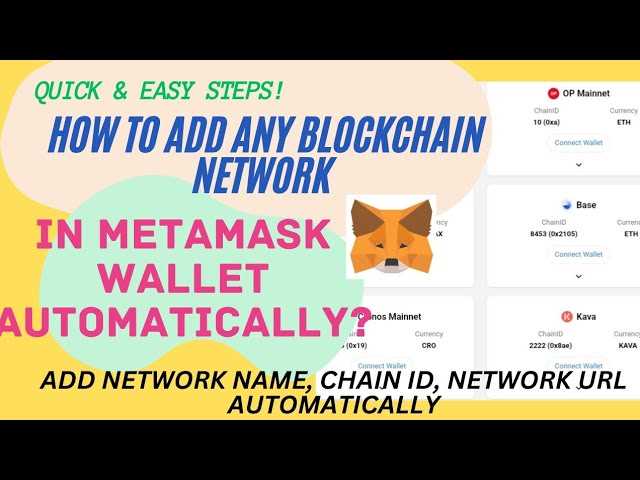
If you’re an avid user of MetaMask, you know that it’s a powerful tool for interacting with decentralized applications. However, adding a new network to MetaMask can be a bit tricky if you don’t know the steps. In this article, we’ll show you how to automatically add a network to MetaMask in just a few simple steps.
One of the first things you’ll need is the network’s provider URL. This is typically provided by the network you want to add, and it allows MetaMask to communicate with that network. Once you have the provider URL, open up MetaMask and click on the network selection menu. From there, select “Custom RPC” to manually add a network.
But here’s where things get interesting. Instead of manually entering all the network details, MetaMask allows you to automatically add a network using the provider URL. This eliminates the need for manual configuration and makes the process much quicker and simpler. Simply paste the provider URL into the “New RPC URL” field, and MetaMask will automatically fill in the network name, symbol, and chain ID.
After clicking on the “Save” button, you’ll see the newly added network in the network selection menu. You can now switch to this network and start interacting with decentralized applications that are built on it. With just a few simple steps, you can effortlessly add a network to MetaMask and expand your decentralized application experience.
So whether you’re a developer or an enthusiast, adding a new network to MetaMask has never been easier. Follow the simple steps outlined in this article, and you’ll be on your way to exploring the vast world of decentralized applications with MetaMask.
Adding a Network to Metamask: Step-by-Step Guide
Metamask is a popular wallet for managing cryptocurrencies and interacting with decentralized applications. By default, it supports a limited number of networks, but you can easily add your own network by following these simple steps:
- Open the Metamask application on your browser and click on the network dropdown menu, located at the top of the interface.
- Select the “Custom RPC” option from the dropdown menu.
- In the “New Network” form that appears, enter the details of your network.
- Provide a name for your network in the “Network Name” field.
- Input the URL of your network in the “New RPC URL” field.
- Choose a currency symbol for your network in the “Currency Symbol” field.
- Enter the network chain ID in the “Chain ID” field.
- Optionally, you can provide other network details such as the block explorer URL and the faucet URL.
- Click on the “Save” button to add the network to Metamask.
Once you have completed these steps, your new network will be added to the network dropdown menu in Metamask. You can then switch to your network to interact with dApps and manage your cryptocurrency assets.
Adding a network to Metamask gives you more flexibility to connect to different blockchain networks and explore new decentralized applications.
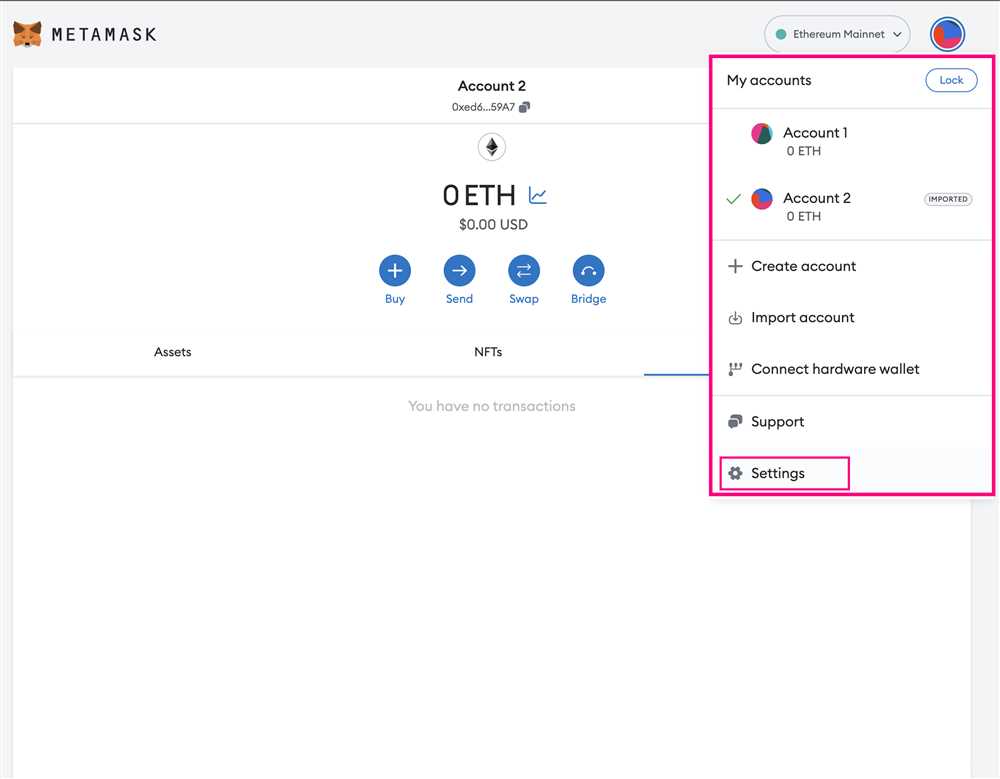
Step 1: Accessing Metamask Settings
To automatically add a network to Metamask, you will first need to access the Metamask settings. Follow the steps below:
- Open the Metamask extension in your browser. It can usually be found as a small fox icon located in the browser toolbar.
- Click on the icon to open the Metamask popup.
- In the popup, click on the profile icon located in the top-right corner.
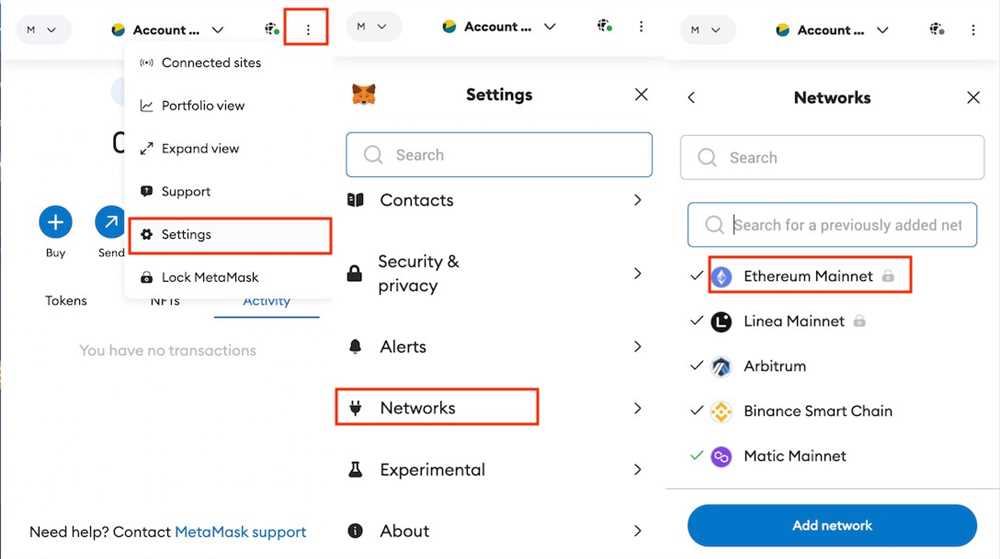
- A dropdown menu will appear. Select the “Settings” option from the menu.
- You will be redirected to the Metamask settings page.
Once you have accessed the Metamask settings, you can proceed to the next step of adding a network automatically.
Step 2: Adding a New Network
Once you have opened your MetaMask extension, you will see the main dashboard. In the top right corner, click on the network selection drop-down menu. This menu allows you to choose between different networks that have already been added to MetaMask. To add a new network, scroll down to the bottom of the menu and click on “Custom RPC”.
A new window will appear, asking you to provide network details. Here, you will need to fill in the following information:
- Network Name: Enter a memorable name for the network you are adding.
- New RPC URL: Enter the URL of the network you want to add.
- Chain ID: Enter the Chain ID associated with the network.
- Currency Symbol: Enter the symbol of the network’s currency (e.g., ETH for Ethereum).
- Block Explorer URL: Enter the URL of the block explorer for the network.
Once you have filled in all the details, click on the “Save” button. MetaMask will validate the information and if everything is correct, it will add the new network to your network selection menu. You can now select the added network from the menu and start using it for your transactions and interactions with decentralized applications.
Step 3: Configuring Network Details
Once you have added the network to your Metamask wallet, the next step is to configure the network details. This involves entering the necessary information to connect to the network.
To begin, open your Metamask extension or app and click on the network dropdown menu. Select the network you just added from the list.
Next, click on the “Settings” button next to the selected network. This will open the network settings page.
Here, you will see various fields that you need to fill in:
Network Name:
Enter a name for the network. This can be anything you want, but it’s recommended to use a descriptive name that helps you identify the network easily.
New RPC URL:
Input the RPC (Remote Procedure Call) URL for the network. This URL serves as the gateway to connect your wallet to the network. You can usually find this URL in the network’s documentation or by contacting the network provider.
ChainID:
Enter the ChainID for the network. ChainID is a unique identifier that distinguishes the network from others. Similar to the RPC URL, you can find the ChainID in the network’s documentation or by reaching out to the network provider.
Currency Symbol (optional):
If you want to see the network’s currency symbol displayed in your wallet, you can enter it here. This is optional and does not affect the functionality of the network.
Once you have filled in all the necessary fields, click on the “Save” button to save the network details.
That’s it! You have now successfully configured the network details for the added network in your Metamask wallet. You can now start using the network to interact with decentralized applications and manage your funds.
Note:
Make sure to double-check the accuracy of the entered information before saving. Incorrect network details can result in connection issues and may put your funds at risk.
How can I automatically add a network to Metamask?
To automatically add a network to Metamask, follow these simple steps:
Is it possible to add a custom network to Metamask without manually entering all the details?
Yes, it is possible to automatically add a network to Metamask without manually entering all the details. You can use the “Automatically Add Network” feature in Metamask to achieve this.
What are the benefits of automatically adding a network to Metamask?
Automatically adding a network to Metamask has several benefits. Firstly, it saves time and effort by not having to manually enter all the network details. Secondly, it reduces the chances of making mistakes when entering the details manually. Lastly, it allows for a seamless connection to the desired network without any hassle.
Can I automatically add a network to Metamask if I don’t know all the details?
Yes, even if you don’t know all the details of a network, you can still automatically add it to Metamask. Metamask will attempt to automatically detect the network settings based on the provided information.