
Welcome to our complete guide on how to set up and use Metamask for beginners. Whether you are new to the world of cryptocurrencies or an experienced user, Metamask is an essential tool that allows you to securely store, manage, and interact with your Ethereum assets.
What is Metamask?
Metamask is a popular web browser extension that functions as a cryptocurrency wallet, giving users access to the Ethereum blockchain. With Metamask, you can send and receive Ether (ETH) and ERC-20 tokens, interact with decentralized applications (dApps), participate in ICOs, and much more.
Setting up Metamask is incredibly easy, even for beginners. In this guide, we will walk you through each step of the process, from installing the extension on your preferred browser to creating a new wallet and keeping it secure. We will also explore the various features of Metamask and provide tips for using it effectively.
So, if you’re ready to dive into the world of cryptocurrencies and take control of your digital assets, let’s get started with our complete guide on setting up and using Metamask!
Understanding Metamask: An Overview
Metamask is a popular cryptocurrency wallet and browser extension that allows users to interact with decentralized applications (dapps) on the Ethereum blockchain. It provides users with a secure and convenient way to manage their digital assets and interact with the blockchain without the need for a separate wallet.
Once installed, Metamask creates a digital identity for the user, represented by a public and private key pair. These keys are used to securely store and access the user’s cryptocurrency holdings. Metamask also acts as a gateway to the Ethereum blockchain, allowing users to send and receive transactions, sign messages, and interact with smart contracts.
Metamask integrates seamlessly with popular web browsers like Google Chrome and Mozilla Firefox, making it easy for users to access and use dapps directly from their browser. It provides a user-friendly interface that allows users to view their account balance, transaction history, and manage their Ethereum addresses.
One of the key features of Metamask is its ability to handle multiple Ethereum addresses. This allows users to manage different accounts for various purposes, such as personal finances, business transactions, or investments. Users can easily switch between accounts within the Metamask interface, making it convenient to manage different wallets and keep track of their cryptocurrency holdings.
In addition to its wallet functionality, Metamask also provides users with a secure way to interact with dapps. When users visit a dapp website, Metamask automatically detects the presence of a dapp and prompts the user to connect their wallet. Once connected, users can approve transactions, sign messages, and interact with the dapp seamlessly.
Overall, Metamask is a powerful tool that provides users with a simple and secure way to manage their Ethereum assets and interact with the blockchain. Whether you are a beginner or an experienced cryptocurrency user, Metamask offers a user-friendly interface and powerful features that make it an essential tool for anyone participating in the decentralized web.
Step-by-Step Guide: Installing Metamask
Installing Metamask is a straightforward process that can be done in just a few simple steps. Follow the guide below to get started:
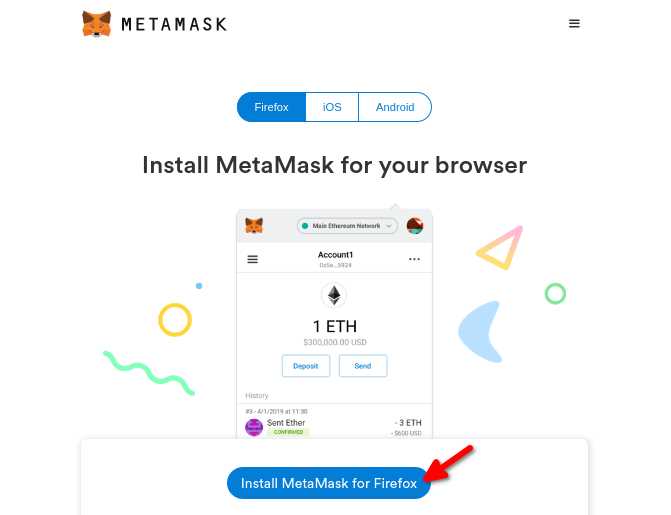
Step 1: Open your preferred web browser and navigate to the Metamask website.
Step 2: Once on the website, click on the “Get Chrome Extension” button.
Step 3: You will be redirected to the Chrome Web Store. Click on the “Add to Chrome” button to start the installation process.
Step 4: A pop-up will appear asking for confirmation to add the extension. Click on the “Add extension” button to continue.
Step 5: After the installation is complete, you will see the Metamask fox icon added to your browser’s toolbar.
Step 6: Click on the Metamask fox icon to open the extension.
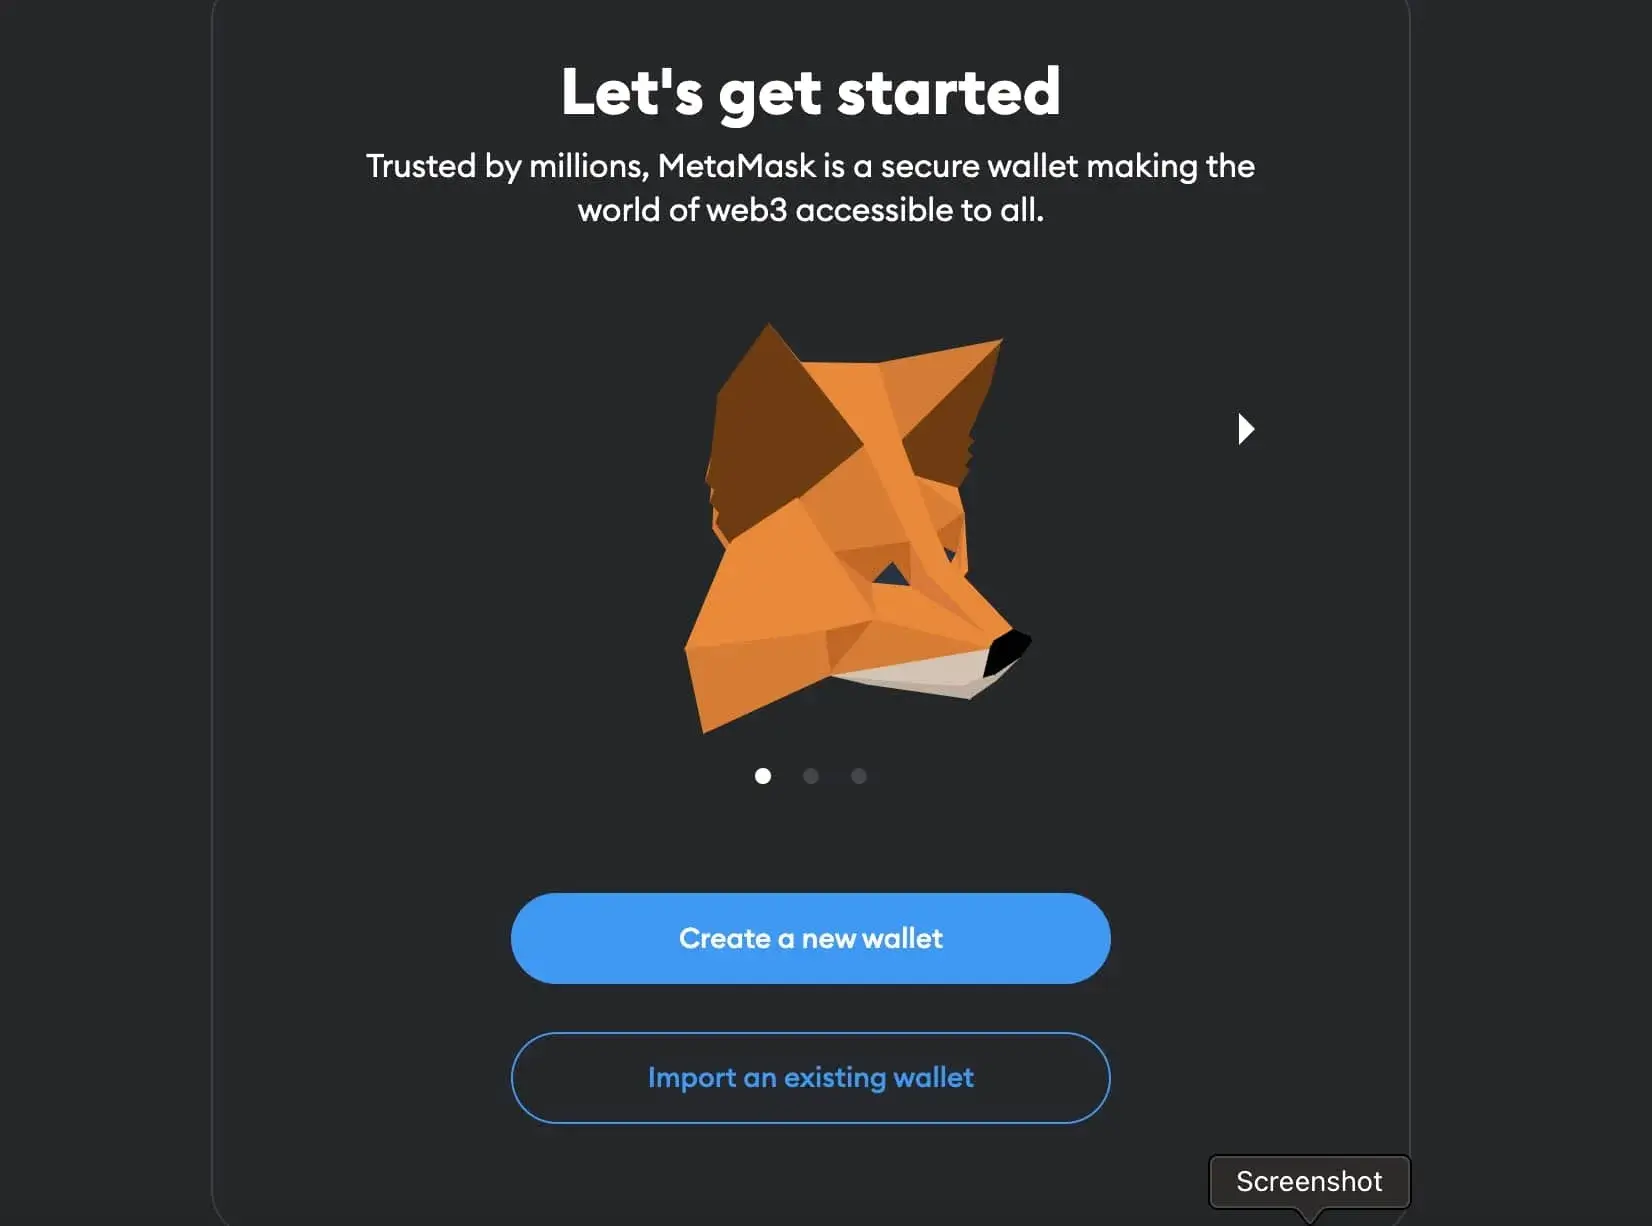
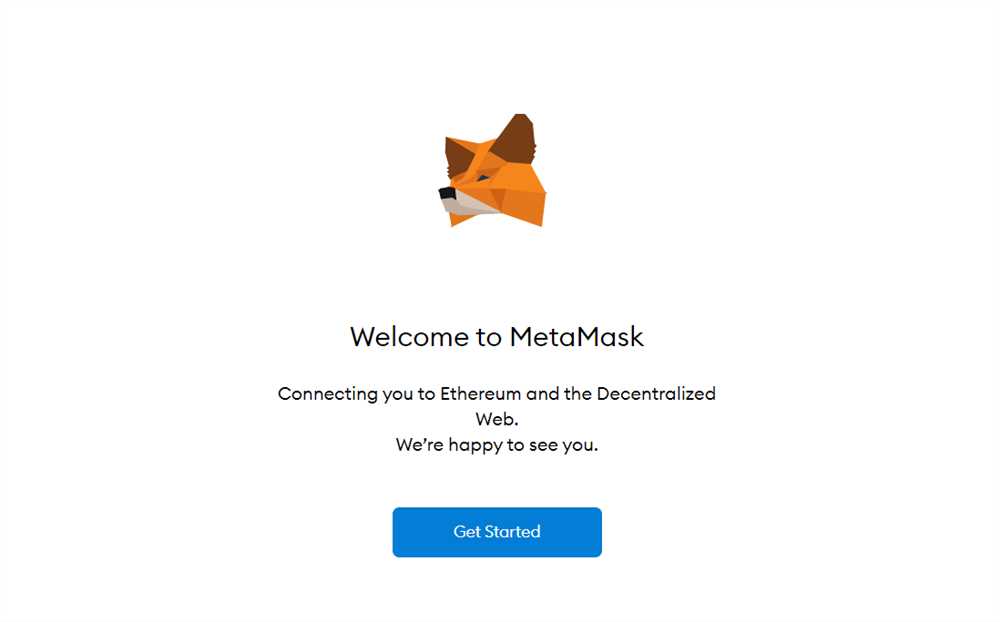
Step 7: A welcome screen will appear prompting you to create a new wallet. Click on the “Get Started” button.
Step 8: You will be asked to create a password for your wallet. Make sure to choose a strong password and click on the “Create” button.
Step 9: Metamask will provide you with a secret backup phrase. Make sure to write it down and keep it in a safe place. Click on the “Next” button.
Step 10: You will be asked to confirm your backup phrase by selecting the words in the correct order. Once done, click on the “Confirm” button.
Step 11: Congratulations! Your Metamask wallet is now set up and ready to use. You can now use it to securely manage your Ethereum and other blockchain assets.
Note: It is essential to keep your password and backup phrase secure and never share it with anyone.
Now that you have successfully installed Metamask, you can continue exploring its features and start using it for various Ethereum-based applications and services.
Creating and Importing Wallets in Metamask
Metamask is a popular cryptocurrency wallet that allows users to manage their Ethereum assets and interact with decentralized applications (dApps). In order to use Metamask, you will need to create or import a wallet.
To create a new wallet in Metamask, follow these steps:
- Download and install the Metamask extension for your preferred web browser.
- Click on the Metamask icon in the toolbar of your browser to open the extension.
- Click on the “Get Started” button.
- Click on the “Create a Wallet” option.
- Choose a strong password for your wallet and click “Create”.
- Read and accept the terms of use.
- Click on the “Copy Secret Backup Phrase” button.
- Store the secret backup phrase in a safe place. This phrase can be used to restore your wallet in case you lose access to your device.
- Click on the “I’ve Copied It Somewhere Safe” button.
- Confirm your secret backup phrase by selecting the words in the correct order.
- Your wallet is now created and ready to use!
If you already have a wallet that you would like to import into Metamask, you can do so by following these steps:
- Open the Metamask extension by clicking on the Metamask icon in the toolbar of your browser.
- Click on the account avatar in the top right corner and then select “Import Account”.
- Enter your wallet’s private key or seed phrase in the provided field.
- Click on the “Import” button.
- Your wallet will be imported and ready to use in Metamask.
Remember to always keep your wallet’s private key or seed phrase secure and never share it with anyone. Losing access to this information can result in permanent loss of your funds.
Now that you know how to create and import wallets in Metamask, you can start managing your Ethereum assets and exploring the world of decentralized finance!
Making Transactions with Metamask: Basic Functions
To make transactions with Metamask, you’ll need to have a connected Ethereum wallet and some ETH in it. Here are the basic functions you can perform with Metamask:
- Sending ETH: To send ETH to another wallet, click on the “Send” button in the Metamask extension. Enter the recipient’s wallet address, the amount of ETH you want to send, and click “Next”. Review the details, including the gas fee, and click “Confirm” to complete the transaction.
- Receiving ETH: To receive ETH, simply share your wallet address with the sender. You can find your wallet address by clicking on your account in the Metamask extension and selecting “Copy Address to clipboard”. Share this address with the sender, and they can send ETH directly to your wallet.
- Viewing Transaction History: Metamask keeps a record of all your transactions. You can view your transaction history by clicking on the “Activity” tab in the Metamask extension. This will show you a list of all incoming and outgoing transactions, along with their status and details.
- Setting Gas Fees: Gas fees are the transaction fees paid on the Ethereum network. Metamask allows you to customize the gas fees for your transactions. You can set the gas fees by clicking on the “Advanced Options” when sending a transaction. Here, you can adjust the gas price and gas limit to prioritize speed or cost-effectiveness.
- Interacting with Decentralized Applications (dApps): Metamask is commonly used to interact with dApps on the Ethereum network. When you visit a dApp, Metamask will prompt you to connect your wallet. Once connected, you can perform various functions within the dApp, such as buying/selling tokens, participating in decentralized finance protocols, and more.
These are the basic functions you can perform with Metamask to manage your ETH and interact with the Ethereum network. Metamask provides a user-friendly and secure way to interact with the world of decentralized finance and blockchain technology.
Advanced Features and Tips for Metamask Users
Metamask is a powerful tool for managing your cryptocurrency assets and interacting with decentralized applications. In addition to its basic features, there are several advanced features and tips that can enhance your experience with Metamask.
1. Custom Network Setup
Metamask allows you to connect to different networks by default, such as Ethereum mainnet and testnets like Ropsten and Rinkeby. However, you can also set up custom networks to connect to other blockchain networks or even local development networks. To do this, simply access the network settings in Metamask and add the details of the network you want to connect to.
2. Importing and Exporting Accounts
If you have multiple accounts or want to transfer your account to another device, Metamask makes it easy to import and export accounts. You can export your account as a JSON file, which contains all the necessary information to restore your account on another device. Additionally, you can import accounts by using the JSON file or private key associated with the account.
3. Hardware Wallet Integration
For enhanced security, you can integrate Metamask with a hardware wallet such as Ledger or Trezor. This allows you to sign transactions using your hardware wallet, keeping your private keys secure and offline. To set up hardware wallet integration, simply connect your hardware wallet to your computer and follow the instructions provided by Metamask.
4. Gas Price Customization
Metamask automatically estimates the required gas price for each transaction, but you can also manually customize the gas price if you want your transactions to be processed more quickly or cost less. To do this, simply access the advanced settings in Metamask and adjust the gas price according to your preferences.
5. Privacy and Security Tips
- Regularly check for updates and ensure you are using the latest version of Metamask.
- Enable two-factor authentication (2FA) for an extra layer of security.
- Use a strong, unique password for your Metamask account.
- Be cautious of phishing attempts and only enter your Metamask password on official websites or trusted applications.
- Keep your recovery phrases and private keys secure and offline.
- Consider using a separate browser profile or virtual machine for your cryptocurrency activities to minimize the risk of malicious extensions or software.
By utilizing these advanced features and following these security tips, you can make the most of your experience with Metamask while keeping your cryptocurrency assets safe and secure.
What is Metamask?
Metamask is a cryptocurrency wallet that allows users to store, manage, and interact with their digital assets on the Ethereum blockchain.
How do I install Metamask?
To install Metamask, you need to first visit the official website (metamask.io) and download the plugin for your preferred browser. Once downloaded, follow the installation instructions provided on the website.