
If you’re an Ethereum enthusiast, chances are you’ve heard of Metamask. It’s a popular browser extension that allows you to interact with the Ethereum blockchain and access your cryptocurrency wallet with ease. But what if you already have an existing wallet and want to import it into Metamask? Well, good news! It’s a simple process that can be done in just a few steps.
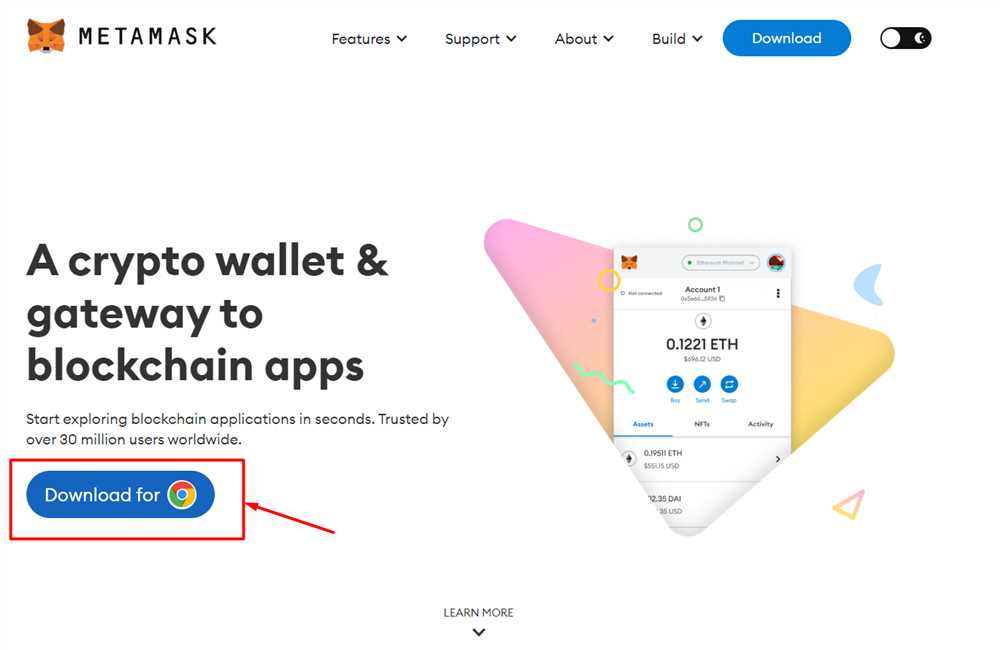
The first step is to download and install the Metamask extension on your browser. Once installed, you’ll see the Metamask icon in your browser toolbar. Click on it to open the extension.
Next, click on the “Import Account” button to start the import process. You’ll be prompted to enter your account’s private key or seed phrase. This is the key to your wallet, so make sure to keep it secure and never share it with anyone.
After entering your private key or seed phrase, click on the “Import” button to proceed. Metamask will then validate your account and import it into the extension. Once imported, you’ll be able to access your Ethereum wallet and perform all the functions that Metamask offers.
That’s it! You’ve successfully imported your Metamask account and can now enjoy easy access to your Ethereum wallet. Whether you want to send or receive ETH, interact with decentralized applications, or participate in token sales, Metamask has got you covered. So go ahead and explore the world of Ethereum with confidence and convenience!
Why Import Your Metamask Account?
Importing your Metamask account is a simple and convenient way to access your Ethereum wallet. By importing your account, you can easily manage and transact with your funds without the need to remember lengthy private keys or seed phrases.
Here are a few reasons why you should consider importing your Metamask account:
- Easy access: Importing your account allows you to quickly access your Ethereum wallet without the need for additional login credentials.
- Convenience: By importing your account, you can seamlessly manage your funds and execute transactions without the hassle of remembering complex private keys or seed phrases.
- Security: Importing your Metamask account does not compromise the security of your wallet. The private keys or seed phrases are still securely stored in your Metamask extension or device.
- Compatibility: Importing your account ensures compatibility across different devices and platforms. Whether you’re using Metamask on your computer or mobile device, you can easily import your account and access your wallet.
- Backup: Importing your account provides an additional backup option for your wallet. By importing your account on a new device, you can restore your wallet and access your funds.
Overall, importing your Metamask account offers a hassle-free and secure way to manage your Ethereum wallet. It eliminates the need to remember complicated private keys and provides easy access to your funds from any compatible device or platform.
Boost Your Accessibility
Importing your Metamask account is a simple and effective way to boost your accessibility to your Ethereum wallet. By following a few easy steps, you can securely access your funds from anywhere, at any time.
Step 1: Install Metamask Extension
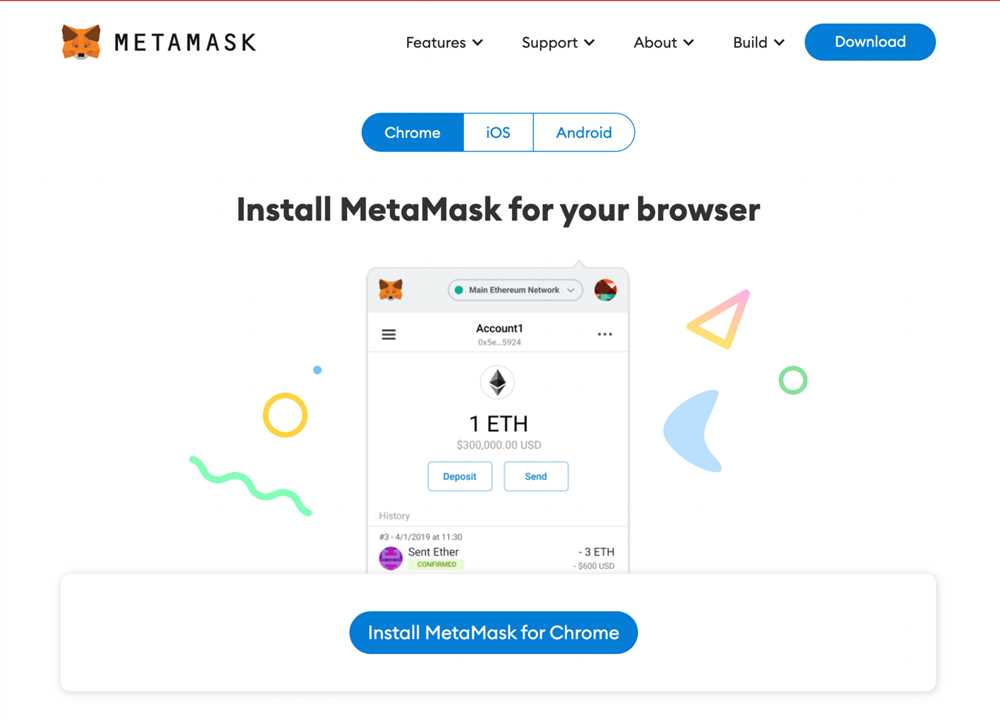
The first step in boosting your accessibility is to install the Metamask extension. This can be done by visiting the official Metamask website and following the easy installation instructions. Once installed, the extension will appear as a small fox icon in your browser toolbar.
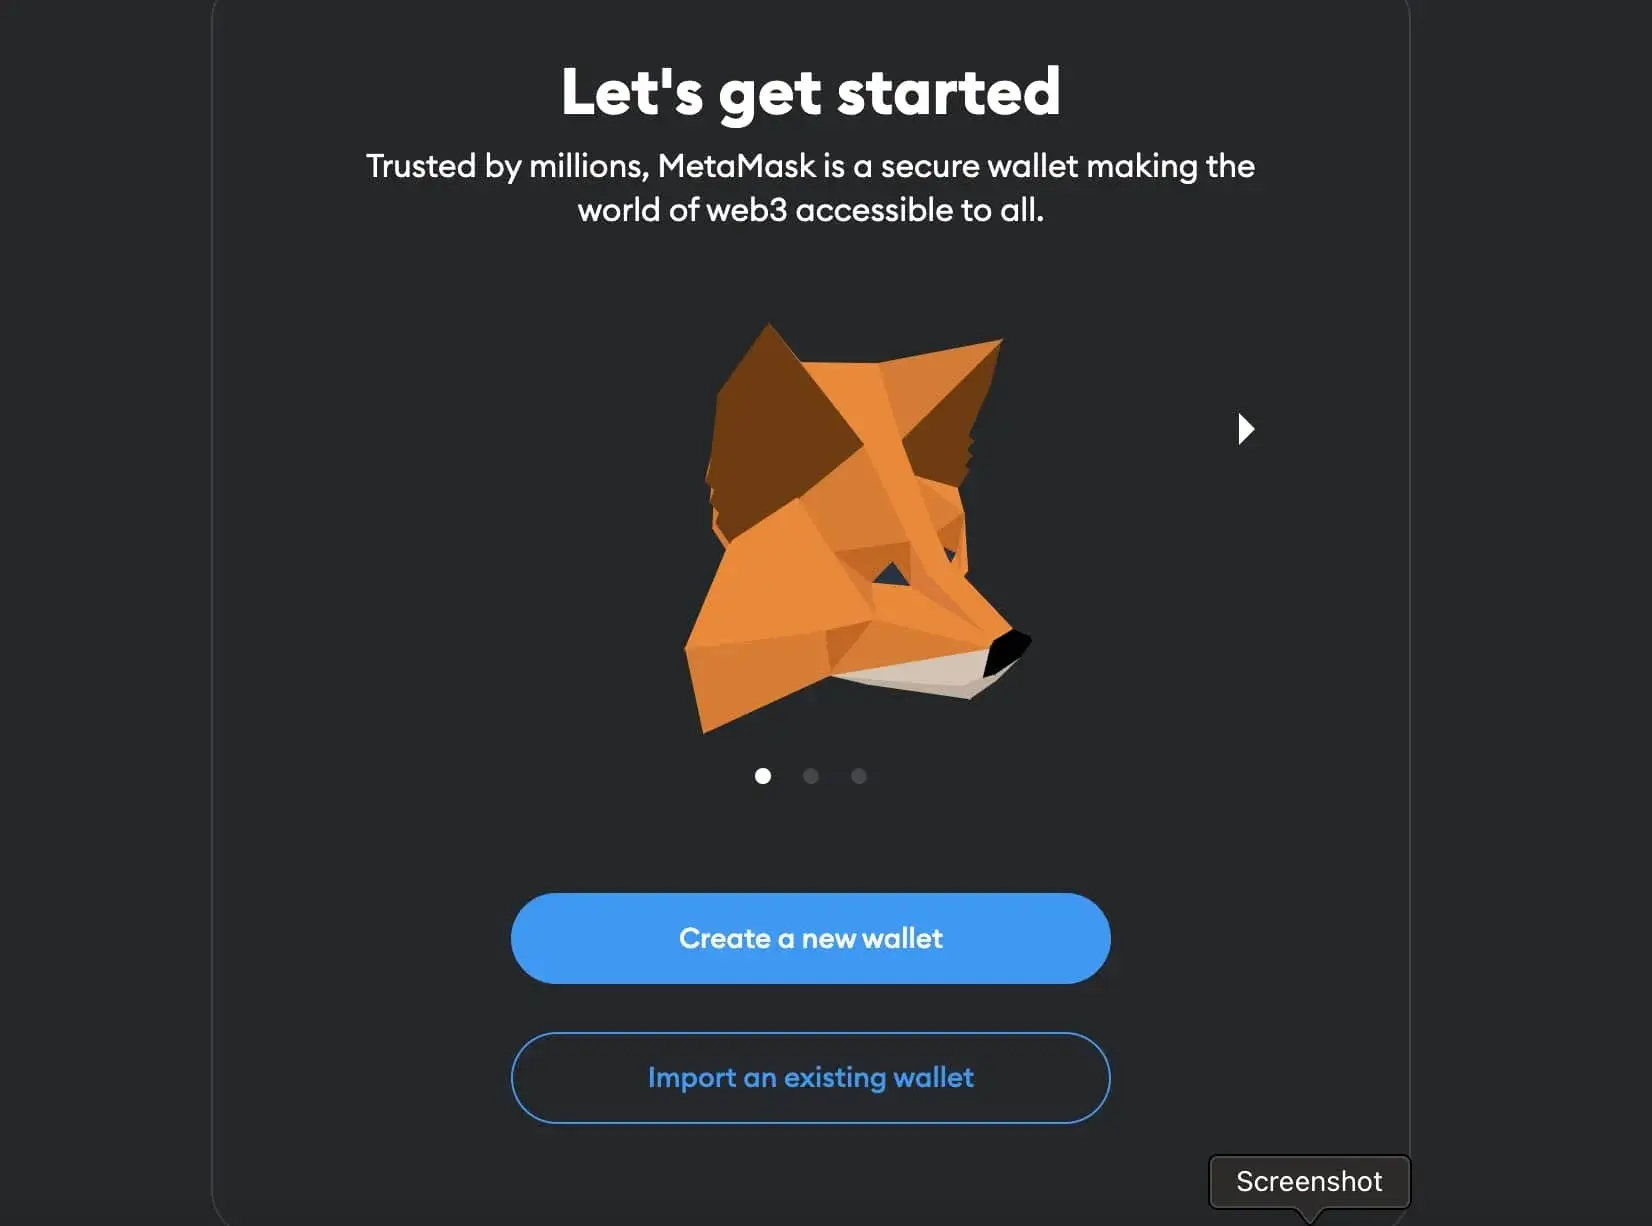
Step 2: Create a New Account
After installing the extension, you will need to create a new account. This can be done by clicking on the Metamask icon and selecting “Create a Wallet.” Follow the prompts to set a secure password and create a new account.
Step 3: Import Your Existing Account
If you already have an existing Metamask account that you want to import for easy access, you can do so by clicking on the Metamask icon and selecting “Import Wallet.” Follow the prompts to enter your account’s private key or seed phrase, and your account will be imported into the extension.
Step 4: Access Your Ethereum Wallet Anytime, Anywhere
Once you have installed Metamask and imported your account, you can now access your Ethereum wallet anytime, anywhere. Simply click on the Metamask icon in your browser toolbar and enter your password to unlock your wallet. From there, you can view your balance, send and receive funds, and interact with decentralized applications.
Boost your accessibility today by importing your Metamask account. With just a few simple steps, you can have convenient and secure access to your Ethereum wallet, no matter where you are.
Seamlessly Connect to Your Ethereum Wallet
By importing your Metamask account, you can easily connect to your Ethereum wallet and access your funds with just a few simple steps. This convenient feature allows for a smooth and efficient user experience, ensuring that you can manage your digital assets effortlessly.
Step 1: Install Metamask

If you haven’t already, make sure to install the Metamask extension on your web browser. This plugin is compatible with popular browsers such as Chrome, Firefox, and Brave.
Step 2: Create or Import Account
Once Metamask is installed, you will need to create a new account or import an existing one. If you don’t have a Metamask account, simply follow the prompts to set up a new wallet. If you already have a Metamask account, choose the option to import an account, and enter your account’s private key or seed phrase.
Step 3: Connect to Your Ethereum Wallet
After your account is set up or imported, you will now be able to connect to your Ethereum wallet seamlessly. Click on the Metamask extension icon in your browser’s toolbar and enter your account password. Once logged in, you will have full access to your Ethereum wallet with the ability to send, receive, and manage your funds.
It’s worth noting that importing your Metamask account into another Ethereum wallet is a secure and efficient way to access your funds. No matter which wallet you choose to use, the process is straightforward and ensures that your digital assets are easily accessible whenever you need them.
| Advantages of Importing Your Metamask Account |
| 1. Convenience: Importing your account allows for seamless access to your Ethereum wallet with just a few clicks. |
| 2. Security: Your private key or seed phrase is securely stored within the Metamask extension, ensuring the safety of your funds. |
| 3. Compatibility: Metamask is widely supported and can be used with various Ethereum-based applications, making it a versatile wallet solution. |
| 4. User-Friendly Interface: Metamask provides an intuitive and user-friendly interface, making it easy for both beginners and experienced users to navigate. |
Effortlessly Manage Your Digital Assets
Managing your digital assets should be a seamless and stress-free process. With the help of Metamask, you can now take control of your Ethereum wallet and effortlessly manage your digital assets.
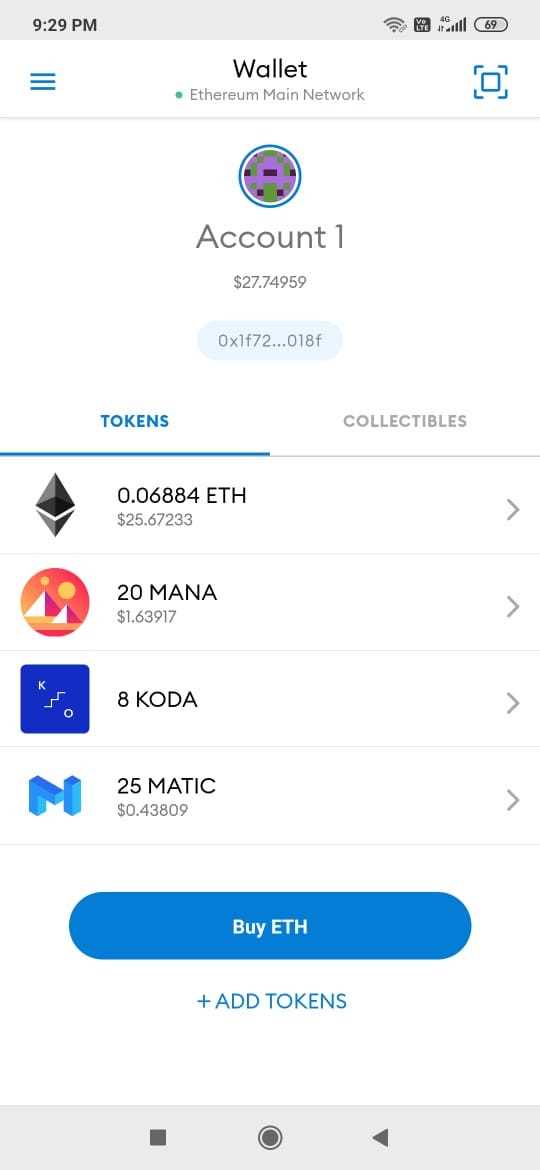
Metamask provides a user-friendly interface that allows you to easily view and access your digital assets. Whether you are holding Ethereum, ERC-20 tokens, or any other digital assets, Metamask makes it simple to track and manage your portfolio.
Secure and Convenient
With Metamask, you no longer need to worry about security concerns or complicated processes. Your assets are securely stored in your wallet and protected by your private key. Metamask simplifies the process of managing your digital assets by providing a convenient and intuitive platform.
Metamask also allows you to seamlessly import your account, making it even easier to access and manage your digital assets. Whether you are on your computer or mobile device, you can quickly and securely import your account and take control of your assets.
Select and Swap Assets
In addition to managing your digital assets, Metamask also allows you to select and swap assets with ease. With just a few clicks, you can enter the world of decentralized finance (DeFi) and explore a variety of tokens and protocols.
Through Metamask’s built-in decentralized exchange (DEX), you can effortlessly swap tokens, participate in liquidity pools, and engage in yield farming. This opens up a world of opportunities for you to maximize your earnings and explore the exciting world of DeFi.
Start managing your digital assets effortlessly with Metamask today and take control of your Ethereum wallet like never before.
Simplify Your Cryptocurrency Transactions
Managing cryptocurrency transactions doesn’t have to be complicated. By utilizing convenient tools and techniques, you can streamline the process and make it more efficient. Whether you’re trading, buying, or selling, these steps will help simplify your cryptocurrency transactions.
1. Use a Reliable Wallet

Choosing a reliable cryptocurrency wallet is crucial for smooth and secure transactions. Look for a wallet that has a user-friendly interface, strong security features, and support for multiple cryptocurrencies. Popular options include Metamask, Trust Wallet, and Ledger Wallet.
2. Enable Two-Factor Authentication
Add an extra layer of security to your cryptocurrency transactions by enabling two-factor authentication (2FA) for your wallet. This will require a verification code in addition to your password, making it much harder for hackers to gain unauthorized access to your funds.
3. Keep Your Private Key Secure
Your private key is like the key to your cryptocurrency vault. Keep it safe and secure by storing it offline, preferably in a hardware wallet or a secure password manager. Avoid saving it on your computer or sharing it with anyone.
4. Research and Verify Before Transactions
Before sending or receiving cryptocurrency, make sure to double-check the addresses and transaction details. Scammers often create fake addresses or mimic popular wallets in phishing attempts. Always verify the recipient’s address and confirm the transaction details with caution.
5. Stay Informed About Transaction Fees
Cryptocurrency transactions often involve fees, which can vary depending on factors like network congestion and transaction size. Stay informed about the current fee rates of the cryptocurrency you are transacting in, and consider adjusting your transaction timings accordingly to avoid high fees.
By following these simple steps, you can simplify your cryptocurrency transactions and minimize the risk of errors or security breaches. Remember to stay vigilant and keep yourself updated with the latest security practices in the cryptocurrency space.
How do I import my Metamask account?
You can import your Metamask account by following these simple steps: 1. Open the Metamask extension in your browser. 2. Click on the account icon at the top right corner. 3. Select “Import Account” from the dropdown menu. 4. Enter your account’s private key or seed phrase. 5. Click on “Import” and your account will be imported into Metamask.
Can I import my Metamask account to multiple devices?
Yes, you can import your Metamask account to multiple devices. To do this, follow these steps: 1. Install Metamask on the new device. 2. Click on the account icon and select “Import Account”. 3. Enter your private key or seed phrase. 4. Click on “Import” and your account will be imported to the new device. You can repeat this process on as many devices as you like.
What happens if I lose access to my Metamask account?
If you lose access to your Metamask account, don’t worry. You can easily restore it using the backup seed phrase. Here are the steps to restore your account: 1. Install Metamask on a new device or browser. 2. Click on the account icon and select “Import Account”. 3. Choose “Restore from seed phrase”. 4. Enter your backup seed phrase. 5. Create a new password for your account. Once you complete these steps, your account will be restored and you will have access to your funds again.