
MetaMask has become one of the most popular cryptocurrency wallets, allowing users to securely store, manage, and access their Ethereum-based assets. If you’re new to MetaMask and want to add Ether to your wallet, we’ve got you covered. In this step-by-step guide, we’ll walk you through the process of adding Ether to your MetaMask wallet.
Step 1: Install and Set Up MetaMask
If you haven’t already, start by installing the MetaMask extension on your browser. Once installed, create a new wallet or import an existing one using your seed phrase. Set a strong password and you’re ready to proceed.
Step 2: Access your Wallet
After setting up MetaMask, click on the extension icon in your browser’s toolbar to open the wallet. Enter your password to unlock your wallet and gain access to your Ethereum accounts.
Step 3: Add Ether to your Wallet
Now that you have access to your MetaMask wallet, it’s time to add Ether. Click on the “Deposit” or “Add Funds” button, usually located in the wallet’s user interface. Select the option to add Ether from an exchange or another wallet and follow the instructions provided.
Step 4: Confirm the Transaction
Once you’ve entered the amount of Ether you want to add and selected the source, review the details of the transaction. Ensure that the transaction fee is reasonable and that you’re sending Ether to the correct address. Confirm the transaction and wait for it to be processed.
Step 5: Check your Balance
After a few moments, your Ether should appear in your MetaMask wallet. You can check your balance by clicking on the extension icon and selecting your Ethereum account. Your Ether balance will be displayed along with other relevant details.
Congratulations! You have successfully added Ether to your MetaMask wallet. Feel free to explore the various features and functions of MetaMask as you continue your journey into the world of cryptocurrencies.
Create a MetaMask Wallet
In order to add Ether to MetaMask, you need to have a MetaMask wallet. If you already have one, you can skip this step and proceed to the next section. If you don’t have a MetaMask wallet yet, here’s how you can create one:
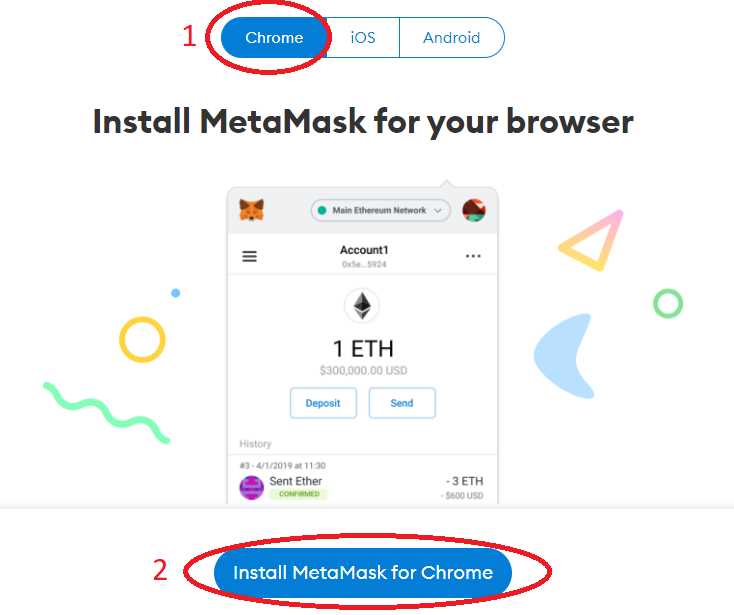
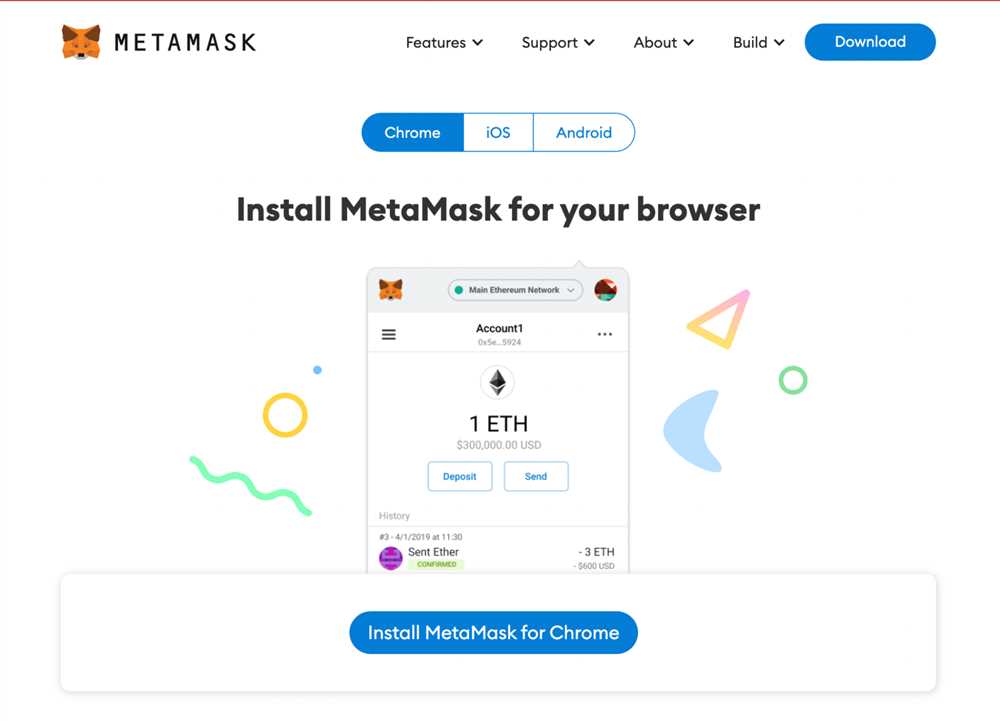
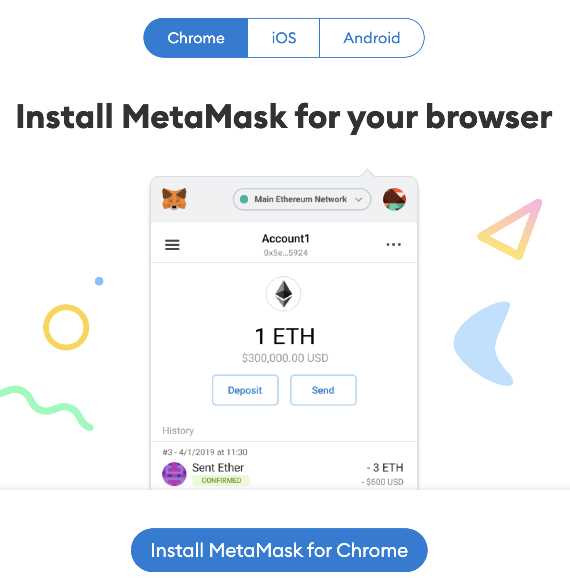
Step 1: Install MetaMask
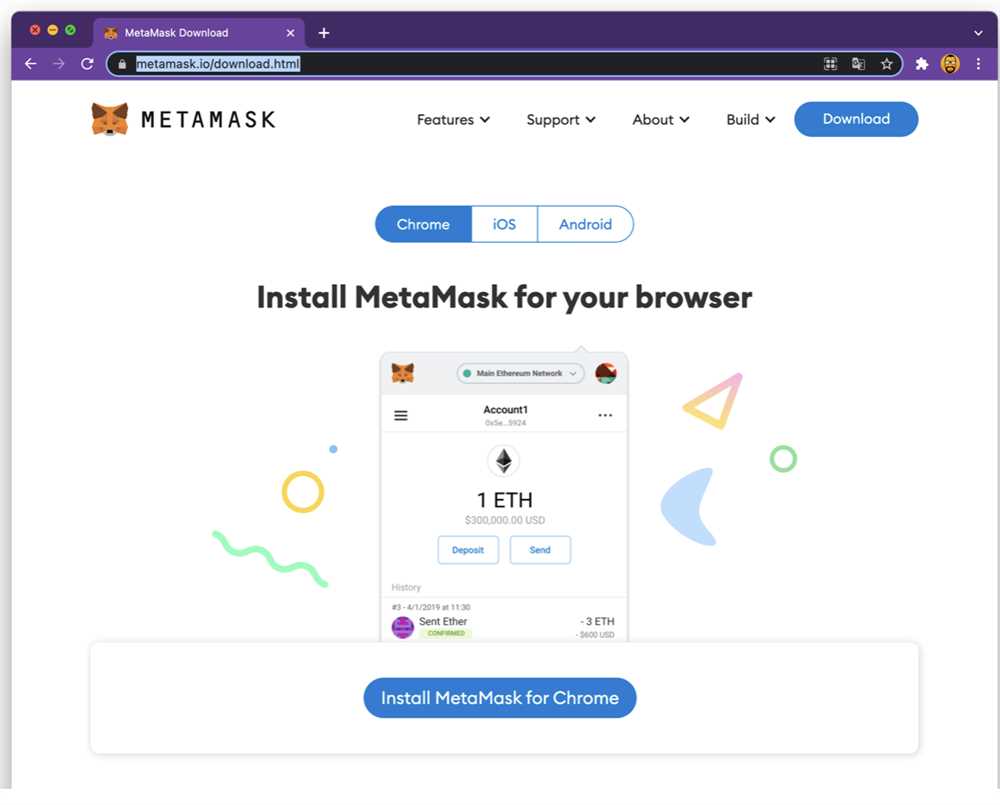
First, you need to install the MetaMask extension on your browser. MetaMask is available for Google Chrome, Firefox, and Brave browsers. Simply go to the extension store for your respective browser and search for “MetaMask”. Click on the “Add to Chrome” (or equivalent) button to start the installation process.
Step 2: Set Up Your Wallet
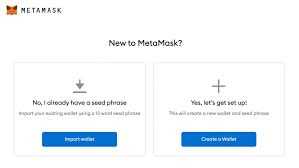
Once the extension is installed, you will see the MetaMask icon on your browser’s toolbar. Click on the icon to open MetaMask.
A welcome screen will appear, presenting you with two options: “Import Wallet” and “Create Wallet”. Since you are creating a new wallet, click on the “Create Wallet” button.
Next, you will be asked to create a password for your wallet. Make sure to choose a strong and secure password that you can remember. Confirm the password and click “Create” to proceed.
After creating the password, you will be shown a secret backup phrase. This phrase is extremely important as it is the only way to restore your wallet if you forget your password. Write down the backup phrase and keep it in a safe place. Click “Next” to continue.
The next step is to confirm your backup phrase. You will be presented with a random order of words from your backup phrase. Click on each word in the correct order to verify your backup phrase. Once you have completed this step, click “Confirm” to move forward.
Finally, you will be shown a congratulations message, indicating that your wallet has been successfully created. Click on the “All Done” button to access your newly created MetaMask wallet.
Your MetaMask wallet is now set up and ready to use. In the next section, we will guide you through the process of adding Ether to your wallet.
Obtain Ether
In order to add Ether to your MetaMask wallet, you will need to obtain some Ethereum cryptocurrency. There are several ways to get Ether:
Purchase Ether
The most common way to obtain Ether is by purchasing it from a cryptocurrency exchange. You will need to sign up for an account on an exchange, complete the necessary verification steps, and deposit funds. Once your account is funded, you can purchase Ether using the available trading pairs.
Receive Ether as Payment
If you are providing goods or services, you can also accept Ether as a form of payment. Simply provide your Ethereum address to the person making the payment, and they can send Ether directly to your wallet.
It’s important to note that there may be fees associated with purchasing Ether, such as transaction fees or exchange fees. Make sure to research and compare different exchanges to find the best rates and fees.
Once you have obtained Ether, you can proceed to the next step of adding it to your MetaMask wallet.
Add Ether to MetaMask
If you want to start using MetaMask to interact with Ethereum decentralized applications and smart contracts, you’ll need to add some Ether (ETH) to your MetaMask wallet. Follow these step-by-step instructions to add Ether to MetaMask:
Step 1: Install MetaMask Extension
First, make sure you have the MetaMask extension installed in your web browser. You can find the extension in the Chrome Web Store or the Firefox Add-ons marketplace. Once installed, set up your MetaMask wallet by creating a new account or importing an existing one.
Step 2: Access Your MetaMask Wallet
After installing MetaMask, access your wallet by clicking on the MetaMask icon in your browser’s toolbar. Enter your password or seed phrase to unlock your wallet.
Step 3: Select the Ethereum Mainnet

Make sure you are connected to the Ethereum Mainnet network in MetaMask. To do this, click on the network dropdown menu and select “Ethereum Mainnet” from the list. If you have other test networks selected, make sure to switch to the main network before proceeding.
Step 4: Purchase Ether
To add Ether to your MetaMask wallet, you have a few options:
- Buy Ether: Click on the “Buy” button in MetaMask, which will redirect you to a trusted cryptocurrency exchange platform. Follow the instructions on the exchange platform to purchase Ether and have it deposited directly into your MetaMask wallet.
- Receive Ether: If you already own Ether in another wallet or exchange, you can send it to your MetaMask wallet by clicking on the “Receive” button in MetaMask. Copy your Ethereum address and use it to send the desired amount of Ether from your other wallet or exchange.
- Faucets: Some websites and applications offer free Ether through faucets. These faucets distribute small amounts of Ether to users for various tasks or simply for signing up. Search for Ethereum faucets online and follow their instructions to receive free Ether.
It’s important to note that purchasing Ether may require you to complete KYC (Know Your Customer) verification and follow the specific instructions provided by the exchange platform.
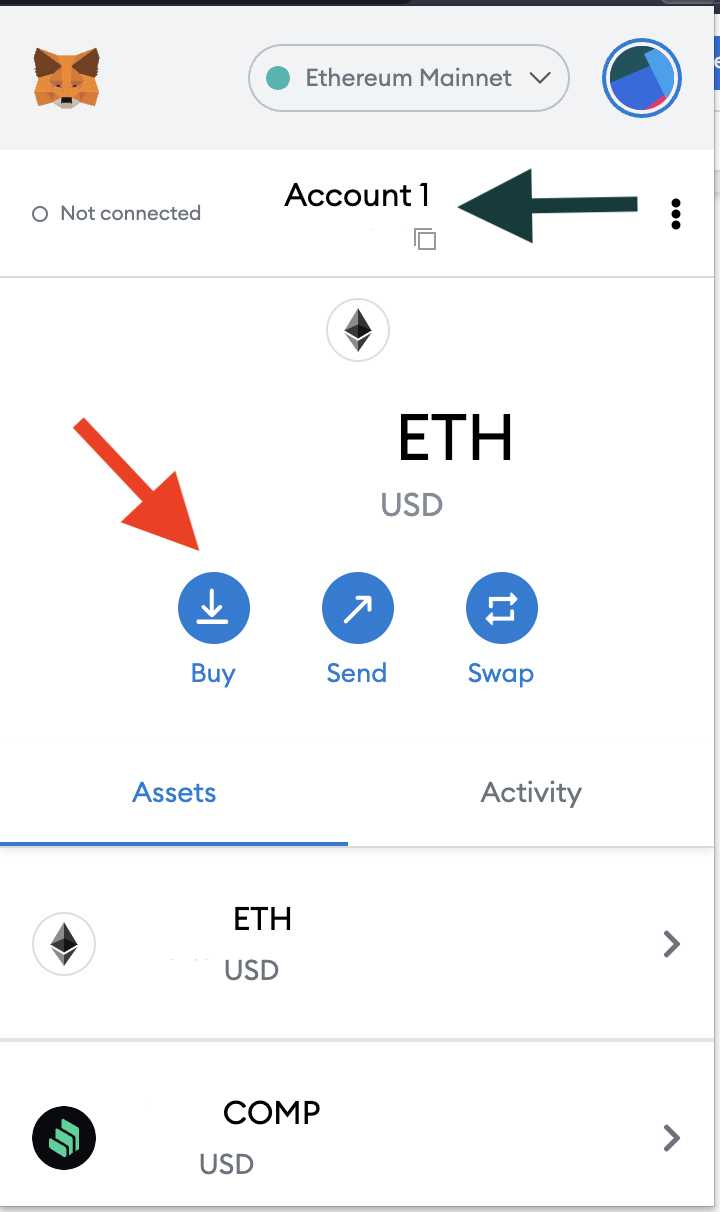
Step 5: Check Your Balance
Once you have added Ether to your MetaMask wallet, you can check your balance by clicking on the account icon in MetaMask. This will display your current Ether balance and recent transactions.
Congratulations! You have successfully added Ether to your MetaMask wallet. You can now use your Ether to interact with decentralized applications and smart contracts on the Ethereum network.
What is MetaMask?
MetaMask is a cryptocurrency wallet browser extension that allows users to interact with decentralized applications (dApps) on the Ethereum blockchain.