
Are you ready to explore the exciting world of non-fungible tokens (NFTs) and become a part of the growing digital art market? One of the first things you’ll need to know is how to send NFTs using Metamask, a popular cryptocurrency wallet and browser extension. This complete guide will walk you through the step-by-step process and help you master the art of sending NFTs with ease.
Step 1: Setting Up Metamask
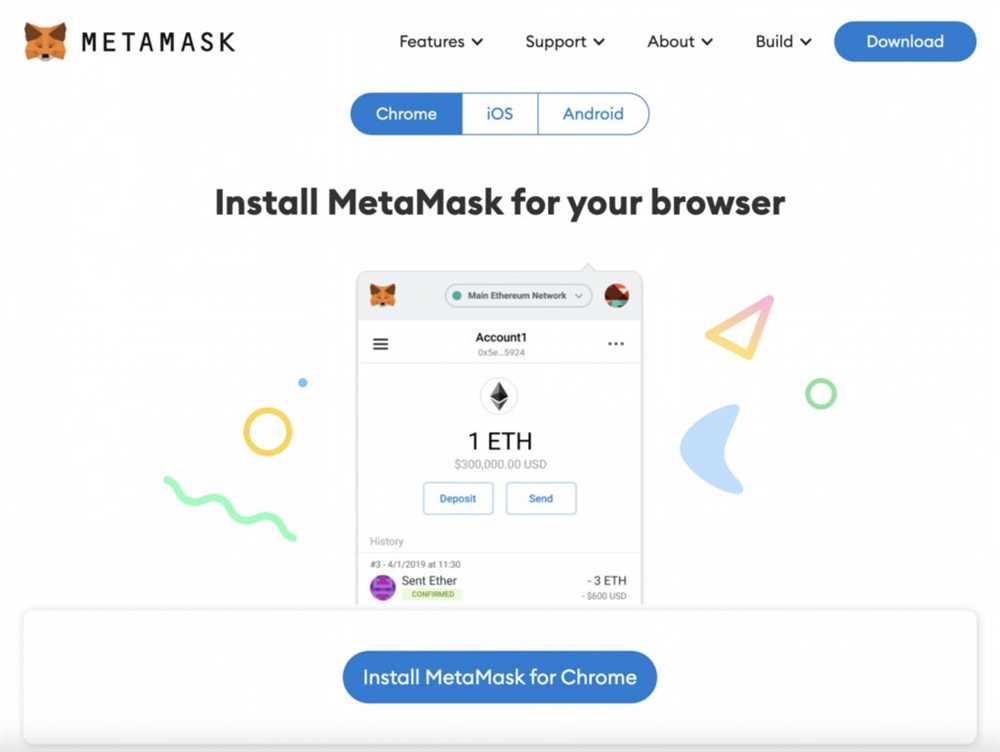
If you haven’t already, the first step is to set up your Metamask wallet. Simply visit the official Metamask website and follow the instructions to install the extension on your preferred browser. Once you’ve installed it, create a new wallet or import an existing one using your seed phrase. Make sure to safely store your seed phrase, as it serves as a backup to your wallet.
Step 2: Connecting to the Ethereum Network
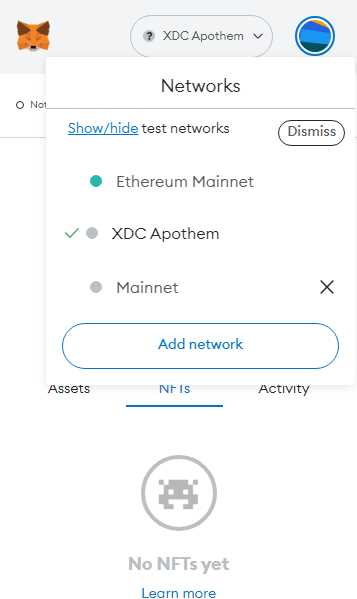
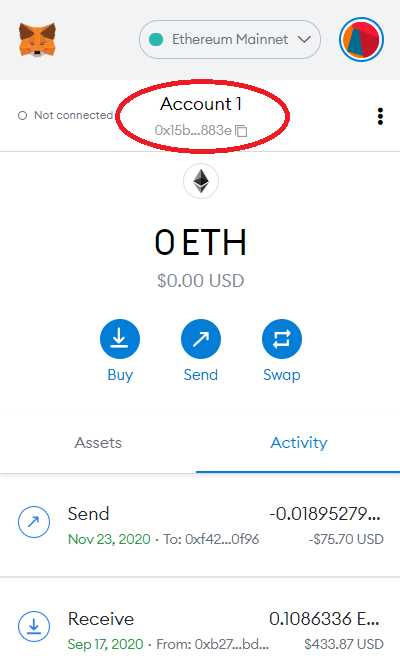
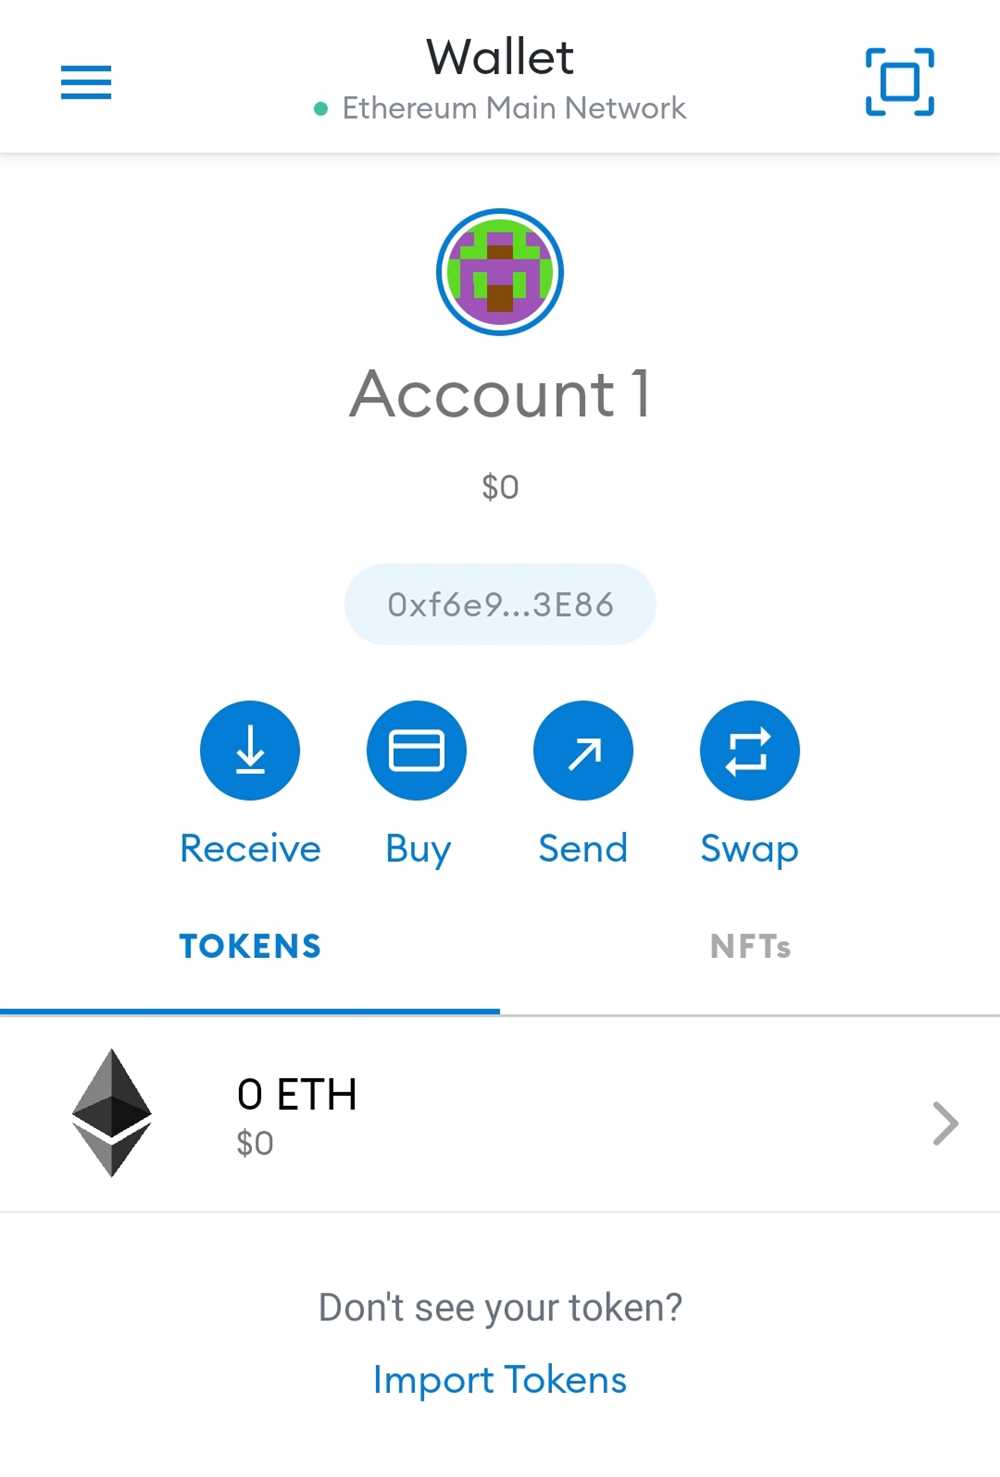
After setting up your wallet, you’ll need to connect Metamask to the Ethereum network. Click on the Metamask extension in your browser toolbar and select the network you want to connect to. For sending NFTs, you’ll typically want to choose the Ethereum Mainnet. Once connected, your wallet will display your account balance and other relevant information.
Step 3: Finding and Selecting Your NFT
Now that your wallet is set up and connected to the Ethereum network, it’s time to find the NFT you want to send. There are various NFT marketplaces such as OpenSea, Rarible, and SuperRare, where you can browse and discover unique digital art and collectibles. Once you’ve found the NFT you want to send, click on it to view its details and verify its authenticity.
Step 4: Initiating the Transfer
With the NFT selected, look for the option to “Send” or “Transfer” within the marketplace interface. Click on it to start the transfer process. Metamask will automatically detect the NFT and prompt you to confirm the transaction. Review the details carefully, including the gas fee, and click on “Confirm” to proceed with the transfer. Be aware that the gas fee may vary depending on network congestion.
Step 5: Completing the Transfer
Once you’ve confirmed the transaction, you’ll need to wait for the transfer to be processed and confirmed on the Ethereum network. This can take a few minutes, so be patient. You can track the progress of the transfer by clicking on the transaction hash in your Metamask wallet or by visiting a blockchain explorer like Etherscan. Once the transfer is complete, you and the recipient will be able to see the NFT in the recipient’s wallet.
Congratulations! You’ve successfully sent an NFT using Metamask. Now you can fully participate in the exciting world of digital art and collectibles. Remember to always practice good security measures and research the projects and artists you’re interested in before making any purchases or transfers. Happy collecting!
What are NFTs and their significance in the digital world
NFTs, or Non-Fungible Tokens, have emerged as a game-changing technology in the digital world. Unlike traditional cryptocurrencies such as Bitcoin or Ethereum, which are fungible and can be exchanged on a one-to-one basis, NFTs represent unique assets that cannot be interchanged.
One of the key features of NFTs is their ability to establish ownership and provenance of digital assets, including artwork, music, videos, and other types of media. By utilizing blockchain technology, NFTs provide a transparent and immutable record of ownership, enabling creators to monetize their work and collectors to own and trade unique pieces in a digital marketplace.
NFTs have gained significant attention and adoption due to their potential to revolutionize various industries. Artists now have an opportunity to monetize their digital creations directly, without the need for intermediaries or galleries. Additionally, NFTs have opened up new possibilities for creators to engage with their audience, offering unique perks or experiences tied to their tokenized assets.
Token Standards
In the world of NFTs, there are different token standards that define the structure and functionality of these unique tokens. The most commonly used standard is the ERC-721, which is compatible with the Ethereum blockchain. This standard allows for the creation, ownership, and transfer of unique tokens.
Another popular token standard is ERC-1155, which allows for both fungible and non-fungible tokens to coexist within the same smart contract. This standard provides more flexibility for developers and creators, enabling the creation of hybrid tokens with varying degrees of uniqueness and interchangability.
The Significance of NFTs
NFTs have brought about a paradigm shift in the way we perceive and value digital assets. They provide a solution to the long-standing problem of establishing ownership and authenticity in the digital space. The ability to tokenize and trade unique digital assets opens up new opportunities for creators, collectors, and investors.
Furthermore, NFTs have sparked a new wave of creativity, as artists explore innovative ways to leverage this technology. Digital art, once regarded as intangible and easily replicable, can now be owned, traded, and collected as unique pieces. This has led to a renaissance in digital art, pushing the boundaries of creativity and redefining the art market.
| Benefits of NFTs | Challenges of NFTs |
|---|---|
| Establishes ownership and provenance | Environmental concerns with high energy consumption |
| Enables direct monetization for creators | Scalability issues on the blockchain |
| Fosters engagement between creators and audience | Market volatility and speculation |
Understanding Metamask
Metamask is a popular Ethereum wallet that allows users to manage their digital assets, interact with decentralized applications (dApps), and securely store cryptocurrencies. It acts as a bridge between users and the Ethereum blockchain, providing a user-friendly interface for accessing the decentralized world.
With Metamask, users can create and manage multiple Ethereum accounts, each with its unique public address and private key. These accounts are protected by a password set by the user, ensuring their security and preventing unauthorized access.
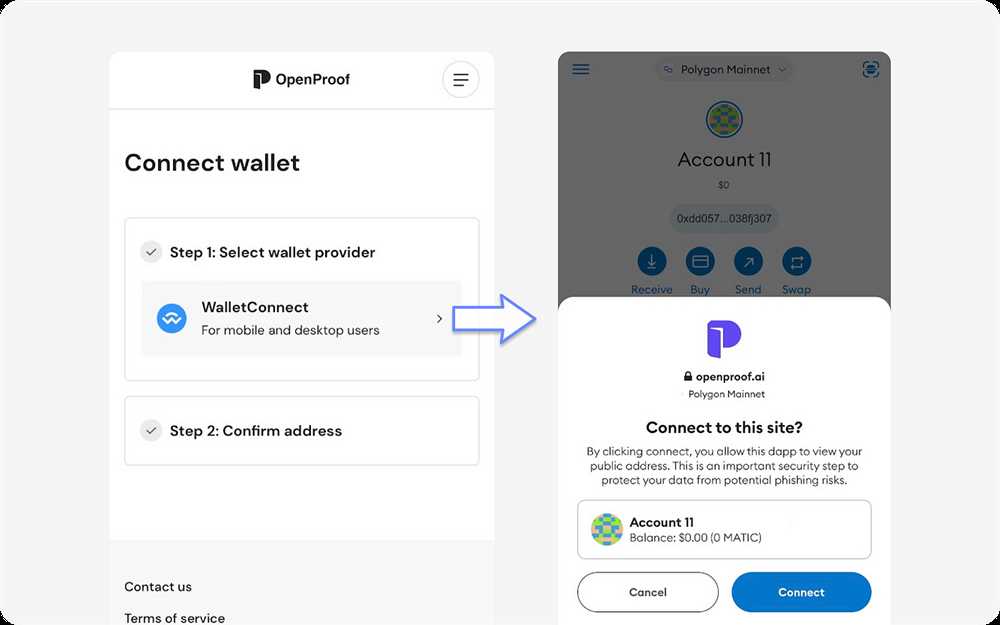
Metamask also provides a convenient way to interact with dApps. Users can easily connect their Metamask wallet to a dApp by simply clicking on a button or scanning a QR code. This allows them to seamlessly access the functionalities of the dApp, such as buying and selling NFTs.
Additionally, Metamask enables users to send and receive Ethereum and ERC-20 tokens. Users can specify the recipient’s public address, the amount of tokens to send, and optionally include a message. Metamask validates the transaction and prompts the user to confirm it before broadcasting it to the Ethereum network.
Overall, Metamask is a powerful tool that simplifies the process of interacting with the Ethereum blockchain. Its user-friendly interface and robust security measures make it an ideal choice for users who want to explore the world of decentralized finance (DeFi) and participate in the NFT marketplace.
A brief overview of Metamask and its features
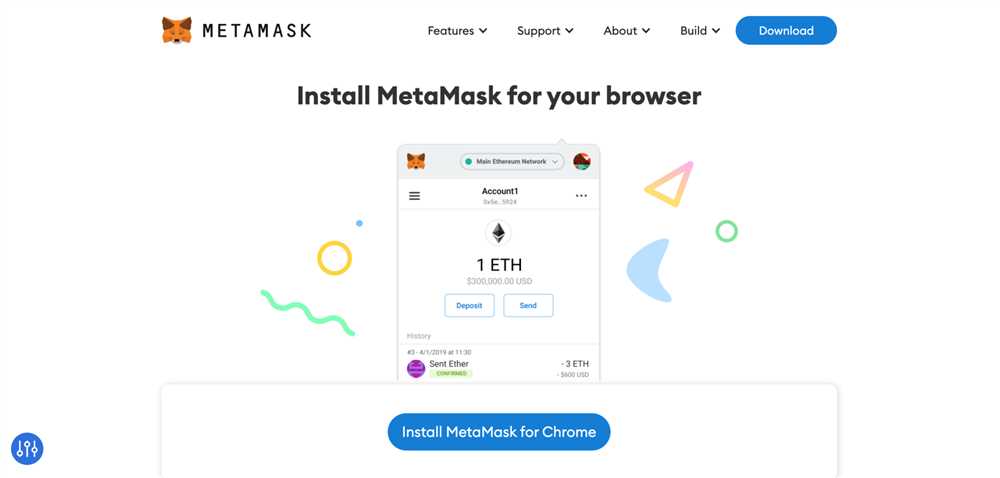
Metamask is a cryptocurrency wallet that allows users to connect to the Ethereum blockchain and interact with decentralized applications (dApps) directly from their web browser. It is a browser extension available for Chrome, Firefox, Brave, and other compatible browsers.
With Metamask, users can securely store and manage their Ethereum assets, including Ether (ETH) and non-fungible tokens (NFTs). It provides a simple and intuitive user interface for creating and storing multiple Ethereum accounts, as well as the ability to import existing accounts using private keys or seed phrases.
Key Features of Metamask:

1. Secure Wallet: Metamask uses state-of-the-art encryption to protect users’ private keys and funds. It enables users to sign transactions securely and interact with dApps without exposing their private keys.
2. Web3 Integration: Metamask seamlessly integrates with the web3.js library, allowing developers to build decentralized applications that interact with the Ethereum blockchain. It provides a set of JavaScript APIs that enable dApps to request user signatures, access account information, and perform transactions.
3. Custom Networks: Metamask supports multiple Ethereum networks, including the Ethereum mainnet, testnets (Ropsten, Kovan, Rinkeby, Goerli), and custom private networks. This makes it easy to switch between different networks for testing or accessing dApps on different networks.
4. NFT Support: Metamask has built-in support for non-fungible tokens (NFTs), which are unique digital assets stored on the Ethereum blockchain. Users can view, manage, and send NFTs using the Metamask interface, making it a popular wallet choice for collectors and creators of digital art and collectibles.
5. Browser Compatibility: Metamask is compatible with popular web browsers such as Chrome, Firefox, Brave, and Opera. This allows users to easily access their wallet and interact with dApps on different browsers without the need for additional installations or extensions.
Overall, Metamask provides a user-friendly and secure way to connect with the Ethereum blockchain and participate in the growing ecosystem of decentralized applications and NFTs. Its intuitive interface and extensive features make it a trusted tool for Ethereum users and developers alike.
How to Send NFTs with Metamask
Sending NFTs with Metamask is a straightforward process that requires just a few simple steps. Follow the guide below to learn how to send your NFTs using Metamask:
- Make sure you have Metamask installed and set up on your preferred web browser.
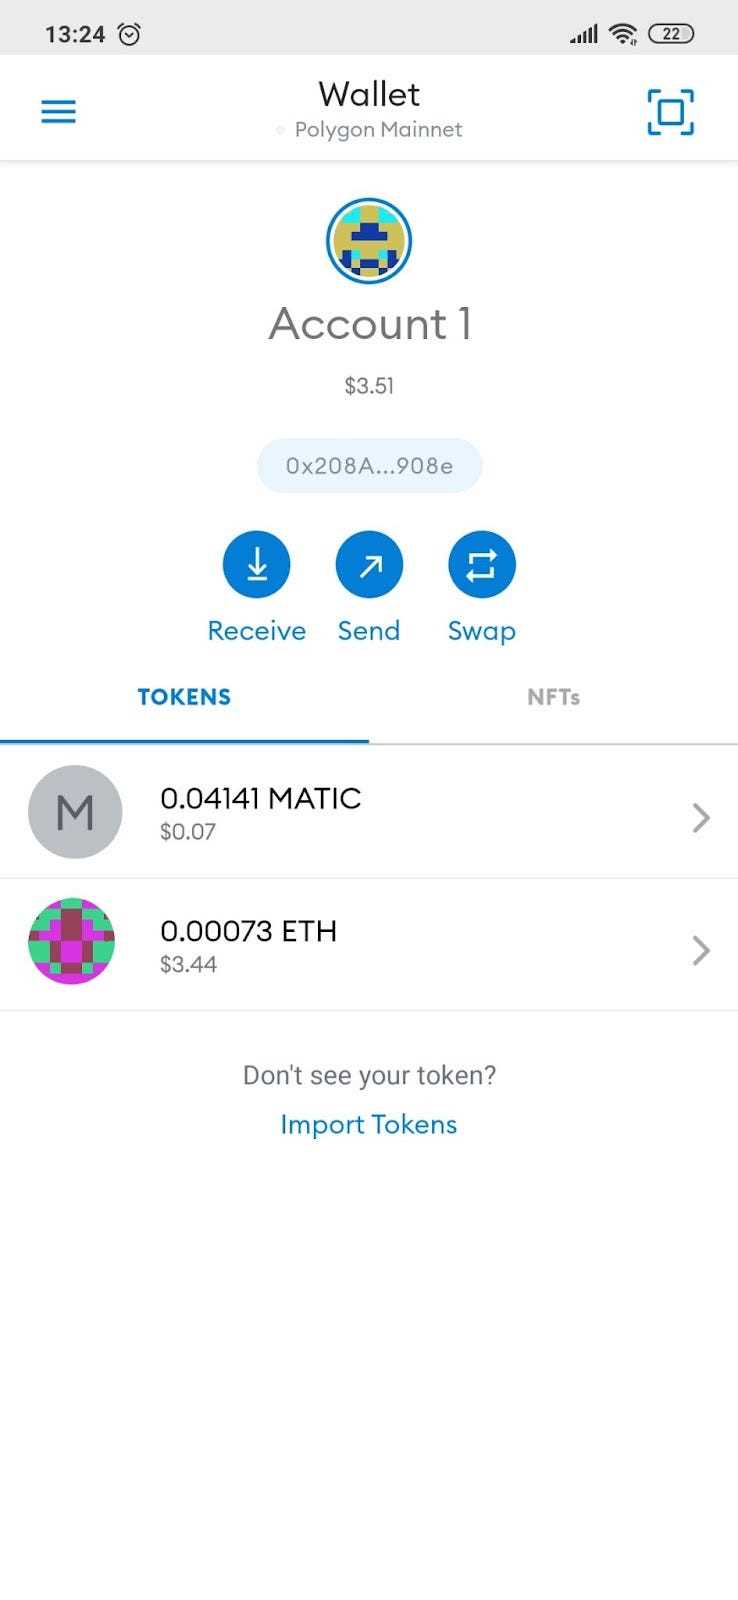
- Open the Metamask extension and click on the “Assets” tab.
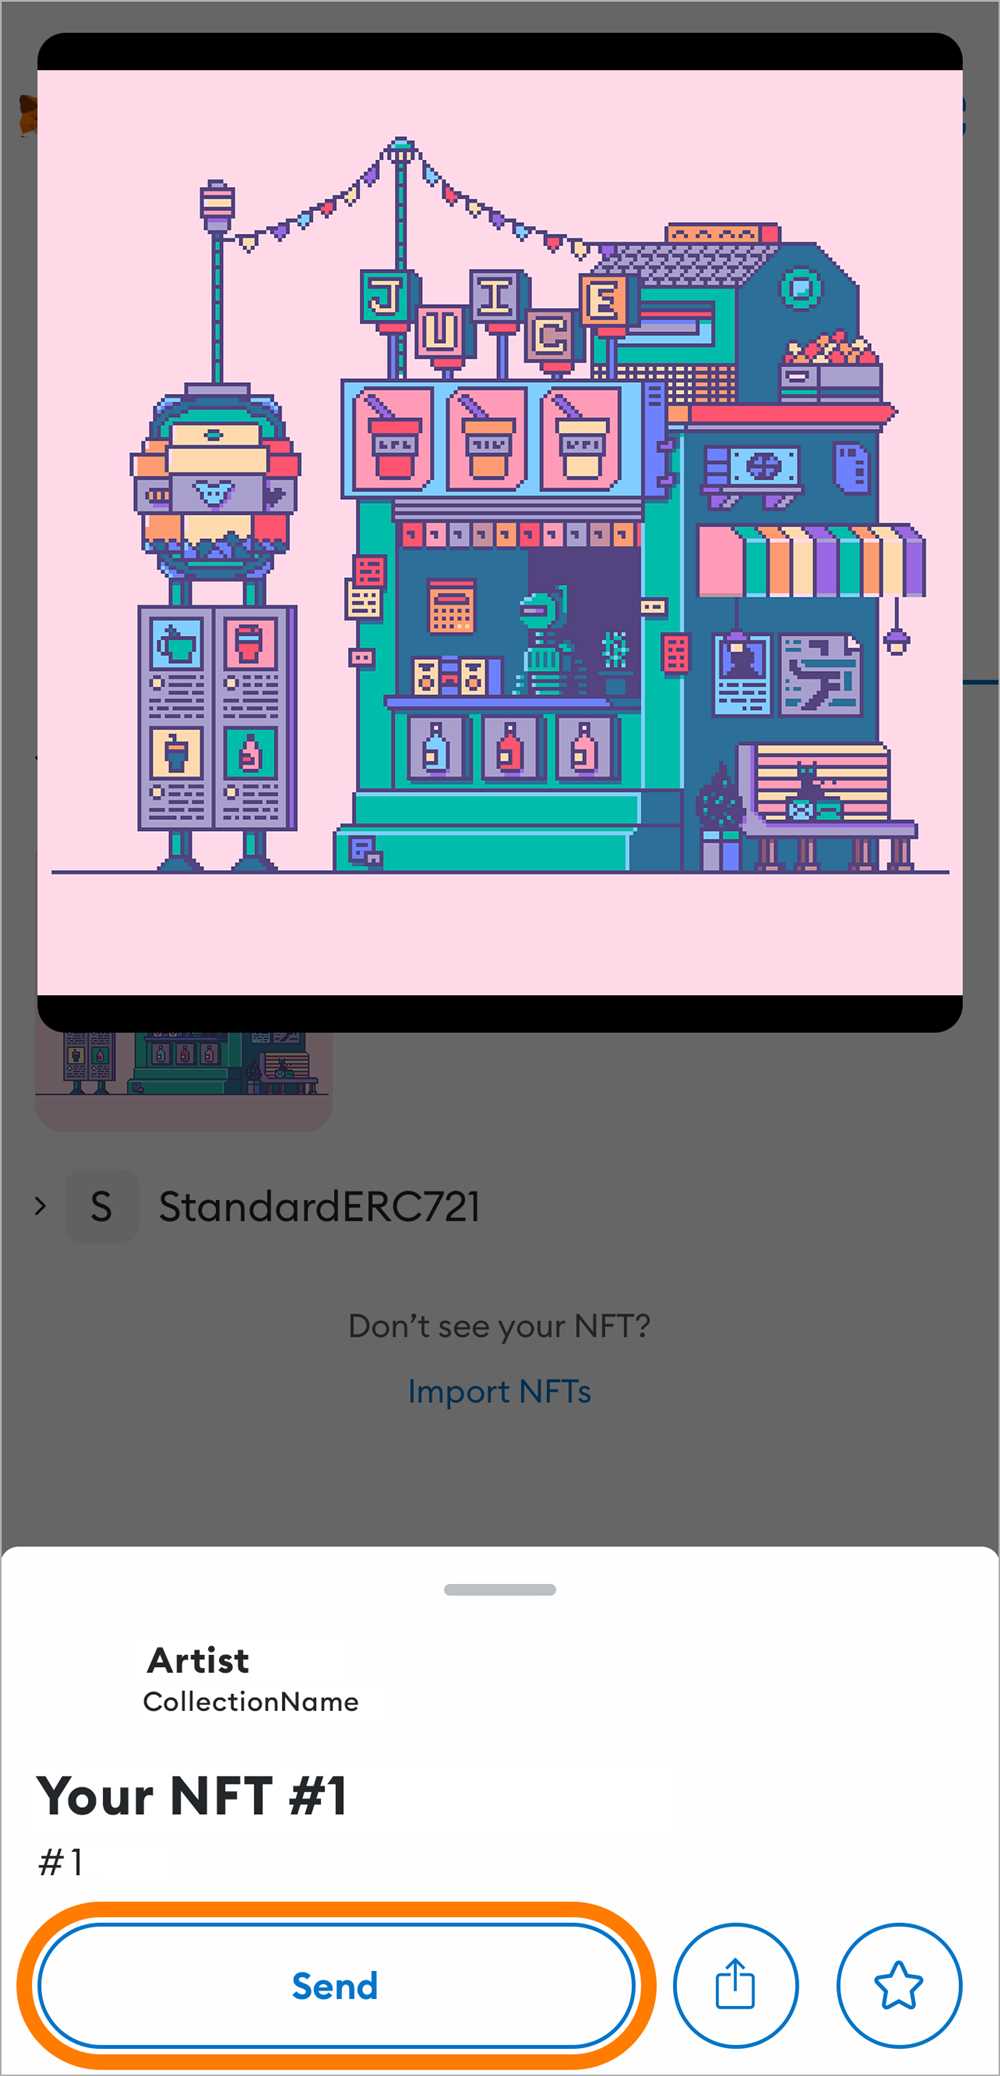
- Scroll through your list of assets and locate the NFT you want to send.
- Click on the three dots (…) next to the NFT and select “Send” from the dropdown menu.
- A new window will appear where you need to enter the recipient’s address.
- Copy and paste the address into the provided field and double-check for accuracy.
- Specify the amount or quantity of the NFT you want to send, if applicable.
- Review the transaction details and confirm that everything is correct.
- If you are satisfied, click on the “Send” button to initiate the transaction.
- Wait for the transaction to be confirmed on the blockchain.
- Once confirmed, the NFT will be sent to the recipient’s address.
Remember to double-check all the details before sending the NFT to ensure a smooth and accurate transaction. Additionally, it is important to consider any associated gas fees and network congestion that might affect the transaction speed and cost.
By following these simple steps, you can easily send NFTs with Metamask and enjoy the benefits of owning and trading digital assets on the blockchain.
Step-by-step guide on sending NFTs using Metamask

To send an NFT using Metamask, follow the step-by-step instructions below:
| Step | Description |
|---|---|
| 1 | Make sure you have the latest version of Metamask installed and set up on your browser. |
| 2 | Open the Metamask extension and click on the account you want to send the NFT from. |
| 3 | Visit the platform or marketplace where your NFT is stored or listed. |
| 4 | Find the NFT you want to send and click on the “Send” or “Transfer” button. |
| 5 | A new window or prompt will appear asking for confirmation. |
| 6 | Review the details of the transaction, such as the recipient address and gas fees. |
| 7 | Enter the recipient address in the designated field. |
| 8 | Set the desired gas fee for the transaction. Higher fees result in faster confirmation times. |
| 9 | Click on the “Confirm” or “Send” button to initiate the transaction. |
| 10 | Wait for the transaction to be confirmed on the blockchain. This may take a few moments. |
| 11 | Once confirmed, the NFT will be transferred to the recipient’s address. |
Following these steps will allow you to successfully send an NFT using Metamask and participate in the exciting world of non-fungible tokens.
Tips and Best Practices
When sending NFTs through Metamask, there are a few tips and best practices to keep in mind to ensure a smooth and secure transaction:
1. Double-check the recipient’s wallet address
Before sending an NFT, it is crucial to verify the recipient’s wallet address. One wrong character can result in permanent loss of the NFT. Take your time to carefully copy and paste the correct address, or use a QR code scanner for added convenience.
2. Gas fees and network congestion
Be aware of the current gas fees and network congestion on the blockchain you are using. High demand and congestion can lead to longer transaction times and increased fees. Consider adjusting the gas fees manually to optimize transaction speed and cost.
3. Test with a small transaction first
If you are sending NFTs for the first time or are unfamiliar with the process, it is advisable to test with a small transaction first. This way, you can familiarize yourself with the steps and verify that everything is working as expected before sending larger, more valuable NFTs.
4. Keep track of transaction history
Keep a record of all NFT transactions, including the wallet addresses involved, the NFT contract address, and the transaction hash. This information will be invaluable for future reference or in case of any disputes or issues that may arise.
5. Use a hardware wallet for added security
Consider using a hardware wallet, such as a Ledger or Trezor device, to store and send your NFTs. Hardware wallets provide an extra layer of security by keeping your private keys offline and protected from potential online threats.
Remember: Always exercise caution and stay vigilant when sending NFTs. It is your responsibility to ensure the security and accuracy of your transactions.
By following these tips and best practices, you can enhance your overall experience when sending NFTs with Metamask and reduce the risks associated with the process.
How do I send NFTs with Metamask?
To send NFTs with Metamask, you first need to connect your wallet to a compatible NFT marketplace or platform. Once connected, you can navigate to the “Send” or “Transfer” tab, select the NFT you want to send, enter the recipient’s wallet address, and confirm the transaction. Make sure you have enough Ether in your wallet to cover the gas fees.
Can I send multiple NFTs at once with Metamask?
No, currently Metamask does not have a built-in feature to send multiple NFTs at once. You will need to send them one by one. However, some NFT marketplaces or platforms may offer batch sending options or smart contracts that allow for the simultaneous transfer of multiple NFTs.
What are the gas fees when sending NFTs with Metamask?
The gas fees when sending NFTs with Metamask are determined by the Ethereum network and can vary depending on the network congestion. Gas fees cover the cost of executing the transaction on the network and are typically higher for NFT transfers compared to regular transactions. You can adjust the gas fee in Metamask to prioritize speed or lower costs, but keep in mind that lower fees may result in slower transaction times.
Is it safe to send NFTs with Metamask?
When sending NFTs with Metamask, it is generally safe as long as you follow best security practices. Ensure you are on the official website or a reputable platform before entering your wallet information. Always double-check the recipient’s wallet address before confirming the transaction. Additionally, make sure your computer is free from malware or keyloggers that could compromise your wallet information. Using hardware wallets can provide an extra layer of security.