
Decentralized Finance, or DeFi, has emerged as a game-changer in the financial industry, offering users an unprecedented level of financial freedom and control. The integration of blockchain technology in finance has given birth to a new era of innovation and possibilities. One of the key components in the DeFi ecosystem is Metamask, a popular web wallet that allows users to securely store, manage, and interact with various decentralized applications (dApps).
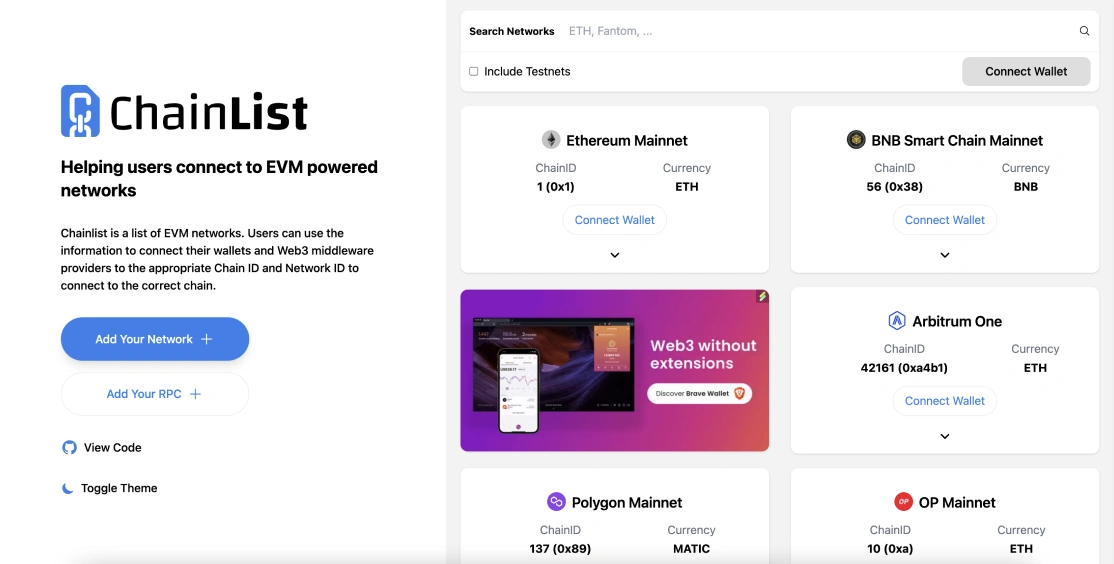
If you’re looking to explore the world of DeFi and want to leverage the benefits of the Fantom Network, setting up Metamask is a crucial step. Metamask supports multiple blockchains, including the Ethereum network and the Fantom network. By connecting your Metamask wallet to the Fantom network, you gain access to a wide range of DeFi applications and services powered by Fantom’s lightning-fast, low-cost infrastructure.
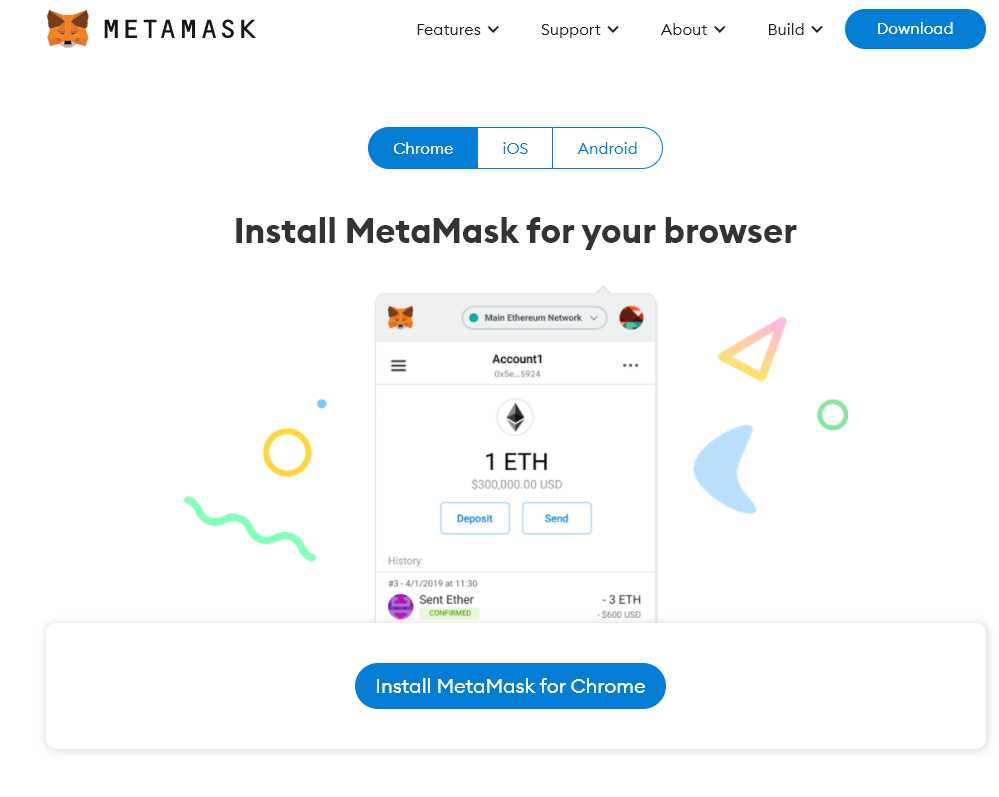
Setting up Metamask with the Fantom Network is a straightforward process that ensures a seamless DeFi experience. It begins with installing the Metamask browser extension, which is compatible with major web browsers such as Google Chrome and Mozilla Firefox. Once installed, you can create a new wallet or import an existing one by following the intuitive on-screen instructions.
After configuring Metamask, the next step is to connect it to the Fantom Network. To do this, you need to add the Fantom network as a custom network. You can easily find the network details, including the RPC URL and chain ID, on Fantom’s official documentation. By pasting these details into the Metamask network settings, you establish a connection with the Fantom Network, allowing you to seamlessly interact with Fantom-based dApps and explore the exciting world of DeFi.
In conclusion, setting up and using Metamask with the Fantom Network is an essential step for anyone looking to dive into the world of DeFi. With Metamask, you can securely manage your digital assets, interact with decentralized applications, and experience the full potential of the Fantom Network’s fast and cost-efficient infrastructure. So, why wait? Take the leap into DeFi today and unlock a world of possibilities with Metamask and the Fantom Network!
Setting Up Metamask for Fantom Network
Metamask is a popular cryptocurrency wallet and browser extension that allows users to manage their digital assets and interact with decentralized applications. By following these steps, you can set up Metamask to connect with the Fantom Network and enjoy a seamless DeFi experience.
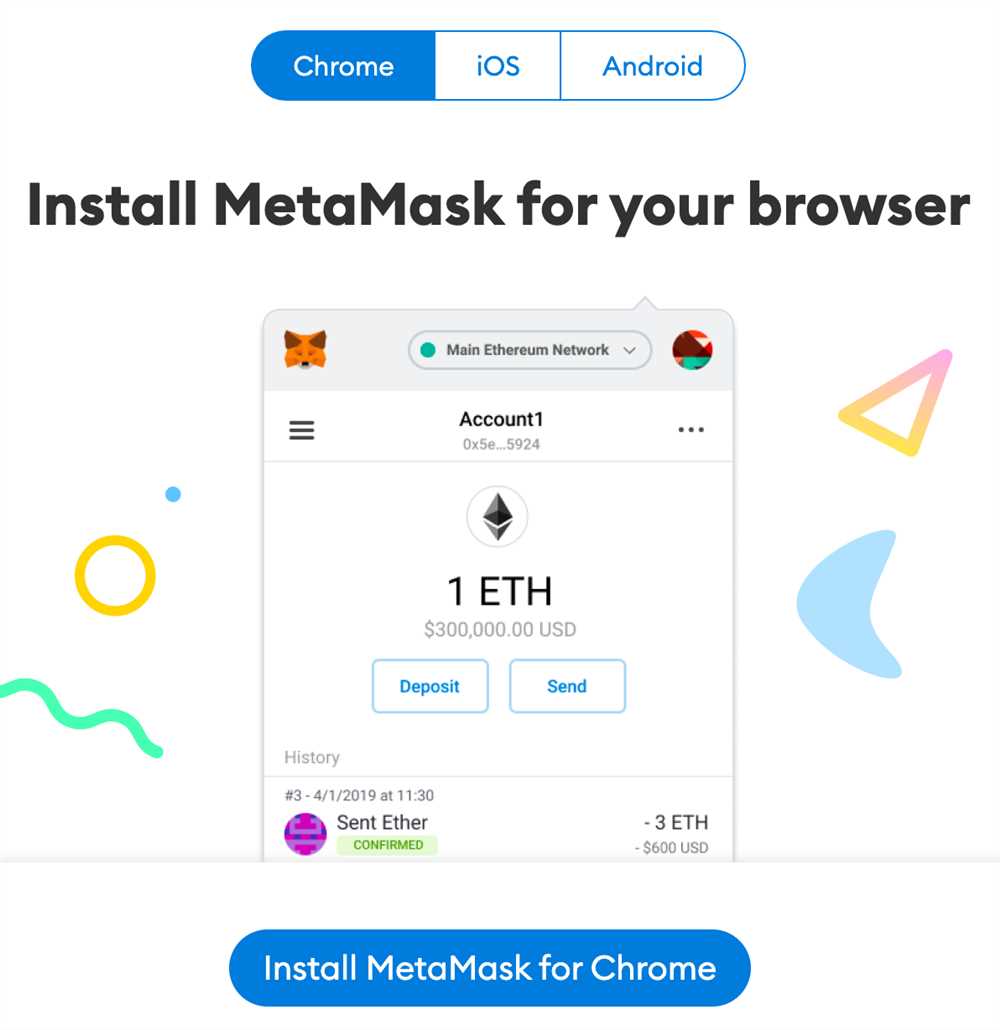
1. Install Metamask: Start by installing the Metamask extension on your preferred browser (Chrome, Firefox, or Brave). You can find the extension in the respective browser’s extension store.
2. Create a Wallet: Once Metamask is installed, click on the extension’s icon to open it. You will be prompted to create a new wallet or import an existing one. Choose the “Create a Wallet” option and follow the on-screen instructions.
3. Create a Password: After creating a wallet, set a strong password to secure your funds. Remember to choose a password that is unique and not easily guessable.
4. Backup Your Seed Phrase: Metamask will provide you with a seed phrase consisting of 12 or 24 words. This seed phrase is crucial for restoring your wallet if you ever lose access to it. Write down the seed phrase and store it in a safe place. Do not share it with anyone.
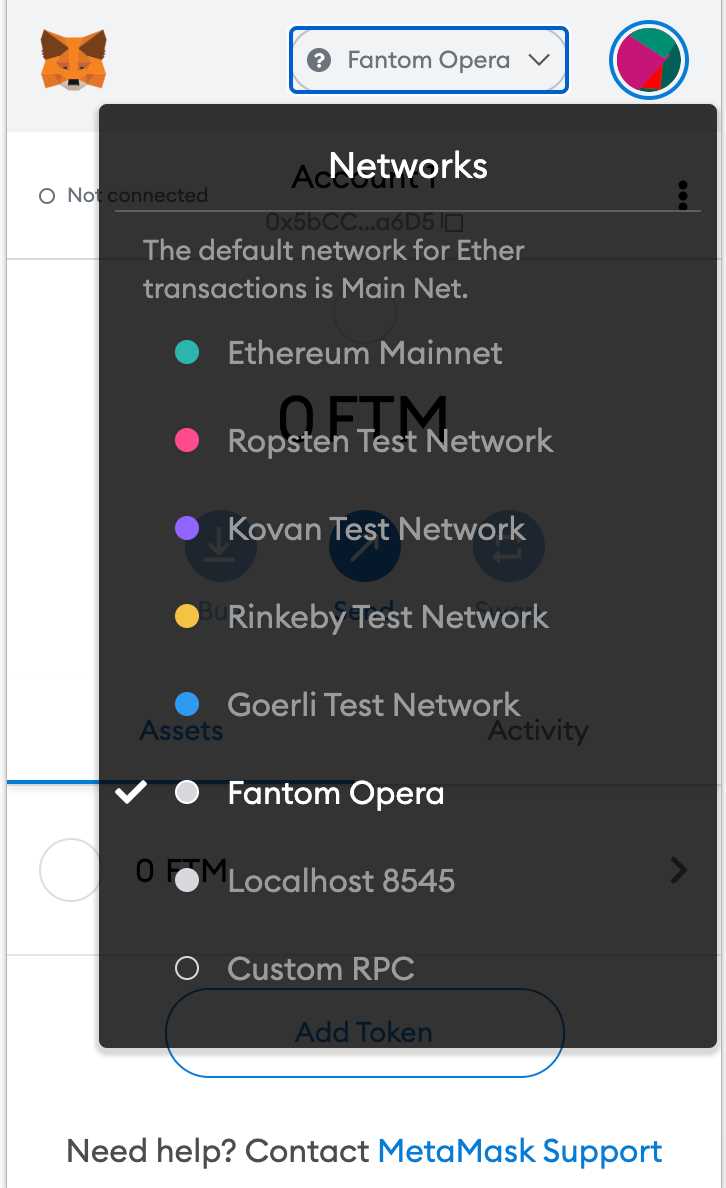
5. Connect to the Fantom Network: To connect to the Fantom Network, click on the network dropdown in the top right corner of the Metamask interface. Select “Custom RPC” and enter the following information:
Network Name: Fantom Opera
New RPC URL: https://rpc.fantom.network
Chain ID: 250
Symbol: FTM
Explorer URL: https://ftmscan.com
6. Save and Connect: After entering the correct information, click on the “Save” button. Metamask will now be connected to the Fantom Network.
7. Check Network Connection: To ensure that Metamask is connected to the correct network, check the network name and symbol in the top center of the interface. It should display “Fantom Opera” and “FTM” respectively.
8. Enable Fantom Tokens: By default, Metamask only displays Ethereum tokens. To view and manage Fantom tokens, click on the “Add Token” button in the Assets tab. Search for the desired token and click on the “Add” button next to it.
9. Ready to Go: Congratulations! You have successfully set up Metamask for the Fantom Network. You can now use your wallet to interact with Fantom-based decentralized applications and engage in the exciting world of DeFi on the Fantom Network.
Remember to practice good security measures and only interact with trusted platforms and projects.
Install and Configure Metamask
If you want to seamlessly experience DeFi on the Fantom network, it is essential to have Metamask installed and properly configured. Metamask is a popular browser extension that acts as a digital wallet and allows you to interact with decentralized applications (DApps) like Swaps, Loans, and Staking platforms.
Installation
To install Metamask, follow these steps:
- Open your preferred browser (e.g., Chrome, Firefox, Brave, or Edge).
- Go to the official Metamask website.
- Click on the “Get Chrome Extension” or “Get Firefox Extension” button, depending on your browser.
- Follow the browser-specific instructions to add the extension to your browser.
- Once the installation process is complete, you should see the Metamask icon in your browser’s toolbar.
Configuration
After installing Metamask, you need to configure it to connect to the Fantom network. Here’s how:
- Click on the Metamask icon in your browser’s toolbar to open the extension.
- If you already have a Metamask wallet, log in with your credentials. Otherwise, create a new wallet by following the provided instructions.
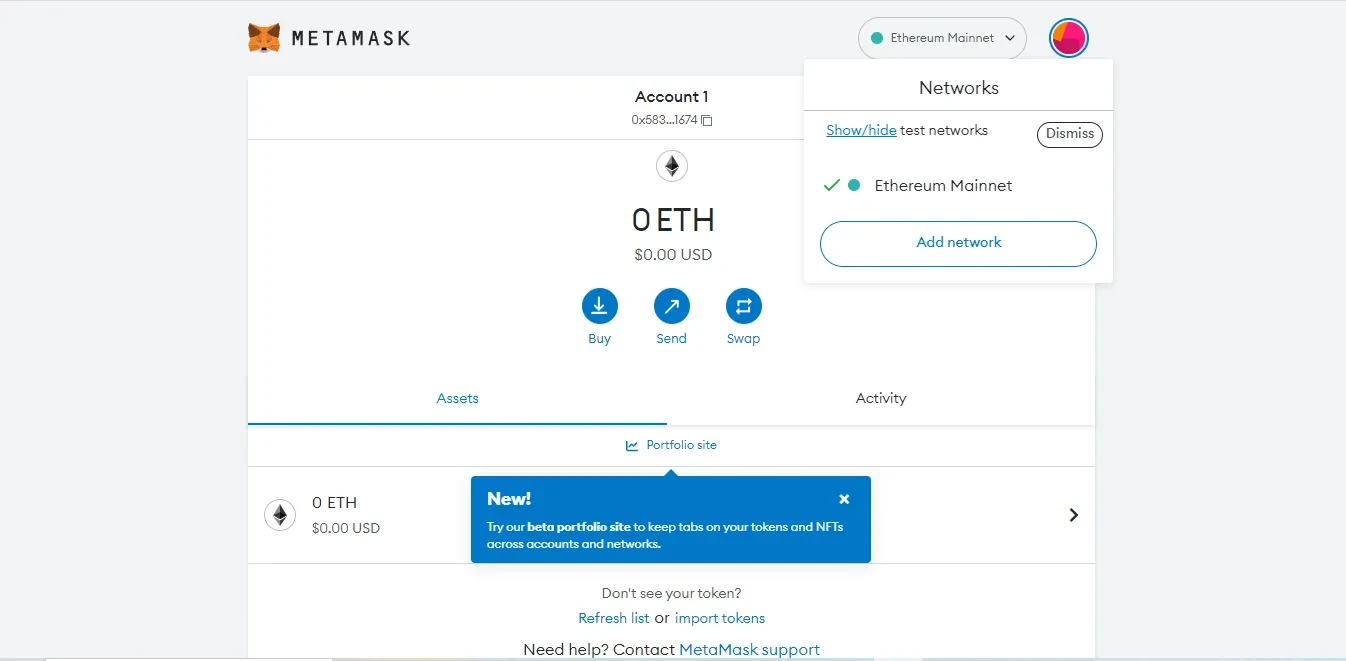
- Once you’re logged in, click on the network selection dropdown (usually displaying “Ethereum Mainnet”) to open the network options.
- Scroll down and click on “Custom RPC.”
- In the “New Network” section, enter the following details:
Network Name: Fantom Opera
New RPC URL: https://rpcapi.fantom.network
Chain ID: 250
Symbol: FTM
Block Explorer URL: https://ftmscan.com
- Click “Save” to add the Fantom network to your Metamask wallet.
Congratulations! You have successfully installed and configured Metamask to work with the Fantom network. Now, you’re ready to explore and use various DeFi applications on Fantom seamlessly.
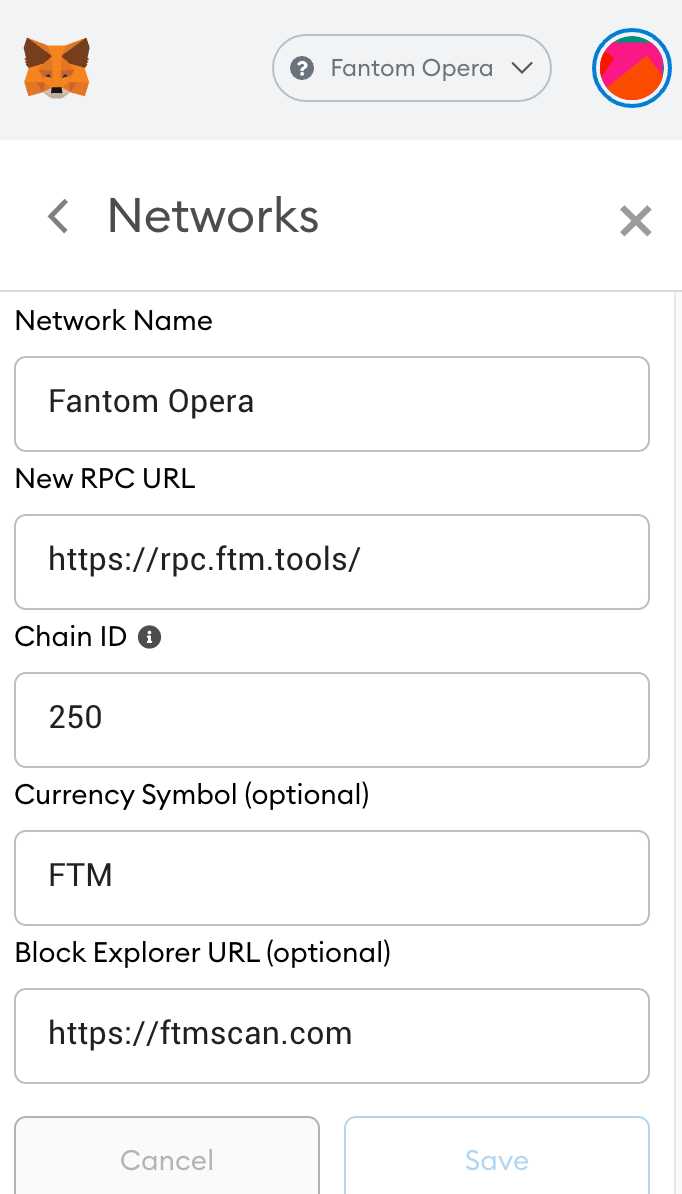
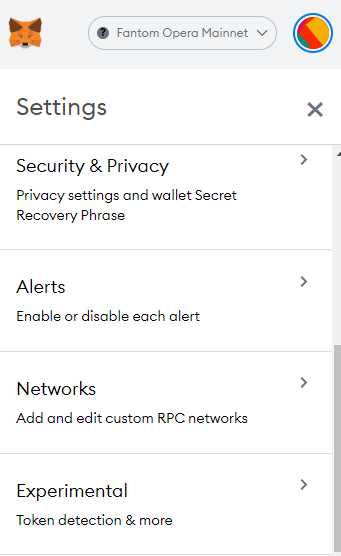
Add Fantom Network to Metamask

In order to use the Fantom Network with Metamask, you need to add it as a custom network. Here’s how:
Step 1: Open Metamask

If you haven’t already, download and install the Metamask extension for your preferred browser. Once installed, click on the Metamask icon in your browser toolbar to open the extension.
Step 2: Switch to the Network Settings
Once you’re in the Metamask extension, click on the network dropdown menu and select “Custom RPC” to switch to the network settings.
Step 3: Enter Fantom Network Details
In the network settings, you’ll need to enter the following details for the Fantom Network:
- Network Name: Fantom Opera
- New RPC URL: https://rpc.ftm.tools
- Chain ID: 250
- Symbol (optional): FTM
- Block Explorer URL (optional): https://ftmscan.com
Make sure all the details are entered correctly and then click on “Save” to save the network settings.
Step 4: Switch to the Fantom Network
After saving the network settings, click on the network dropdown menu again and now you should see the “Fantom Opera” network listed. Select it to switch to the Fantom Network.
Congratulations! You have successfully added the Fantom Network to Metamask. You can now seamlessly interact with DeFi applications on the Fantom Network using Metamask.
Fund Your Fantom Wallet
To start using Metamask with the Fantom Network, you first need to fund your Fantom wallet. Here are the steps to do so:
Step 1: Open your Metamask extension on your browser and make sure you are connected to the Fantom Network.
Step 2: Click on the “Deposit” or “Add Funds” button in your Fantom wallet.
Step 3: Choose the currency or token you want to deposit into your Fantom wallet. Fantom supports a wide range of tokens, including popular cryptocurrencies like USDT, BUSD, and others.
Step 4: Specify the amount you want to deposit and confirm the transaction. Take note of any network fees that may be applied during the deposit process.
Step 5: Wait for the transaction to be confirmed on the Fantom Network. This may take a few minutes depending on network congestion.
Step 6: Once the transaction is confirmed, you will see the deposited funds in your Fantom wallet balance. You are now ready to explore various DeFi applications and participate in decentralized finance on the Fantom Network.
Note: Make sure you are cautious when copying and pasting wallet addresses and always double-check the recipient address to avoid any loss of funds.
By following these steps, you can easily fund your Fantom wallet and start enjoying a seamless DeFi experience on the Fantom Network using Metamask.
Start Using Metamask with Fantom Network for DeFi Activities
Metamask is a popular Ethereum wallet that allows users to interact with decentralized applications (dApps) on the Ethereum blockchain. However, with the growing popularity of the Fantom network and its DeFi ecosystem, it is essential to set up and use Metamask with the Fantom network for seamless DeFi activities.
To start using Metamask with the Fantom network, follow the steps below:
| Step 1: | Install or open the Metamask wallet extension in your browser. |
| Step 2: | Create a new wallet or import an existing one into Metamask. |
| Step 3: | Once your wallet is set up, click on the network dropdown and select “Custom RPC”. |
| Step 4: | In the “Custom RPC” section, enter the following network details for the Fantom network: |
| Network Name: Fantom Opera | |
| New RPC URL: https://rpc.fantom.network | |
| Chain ID: 0xfa | |
| Symbol: FTM | |
| Block Explorer URL: https://ftmscan.com | |
| Step 5: | Click “Save” to add the Fantom network to your Metamask wallet. |
Now that you have successfully set up Metamask with the Fantom network, you can start enjoying a seamless DeFi experience on the Fantom ecosystem. You can access various dApps, participate in yield farming, trade tokens, and more.
Remember to always stay vigilant while using Metamask and interacting with DeFi applications. Make sure to double-check the URLs and contract addresses to avoid phishing attacks.
With Metamask and the Fantom network, you can unlock a world of opportunities in the DeFi space. Start exploring today!
What is Metamask?
Metamask is a cryptocurrency wallet that allows users to interact with decentralized applications (dApps) on the Ethereum network. It acts as a bridge between users’ browsers and the Ethereum blockchain, enabling them to securely send and receive Ethereum and ERC-20 tokens.
Can I use Metamask with the Fantom Network?
Yes, you can use Metamask with the Fantom Network by adding the Fantom Network as a custom network in your Metamask wallet. This will allow you to seamlessly interact with decentralized finance (DeFi) applications on the Fantom Network and access features such as yield farming, staking, and trading.
How do I set up Metamask with the Fantom Network?
To set up Metamask with the Fantom Network, you will need to add the Fantom Network as a custom RPC network in your Metamask wallet. You can do this by opening your Metamask extension, clicking on the network dropdown, selecting “Custom RPC,” and entering the following details: Network Name: Fantom Opera, RPC URL: https://rpc.ftm.tools, Chain ID: 250, Symbol: FTM, Block Explorer URL: https://ftmscan.com. Once you have entered these details, click on “Save,” and you should be connected to the Fantom Network.